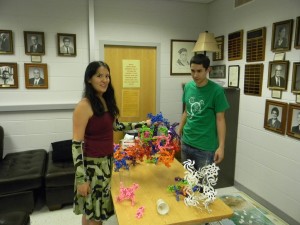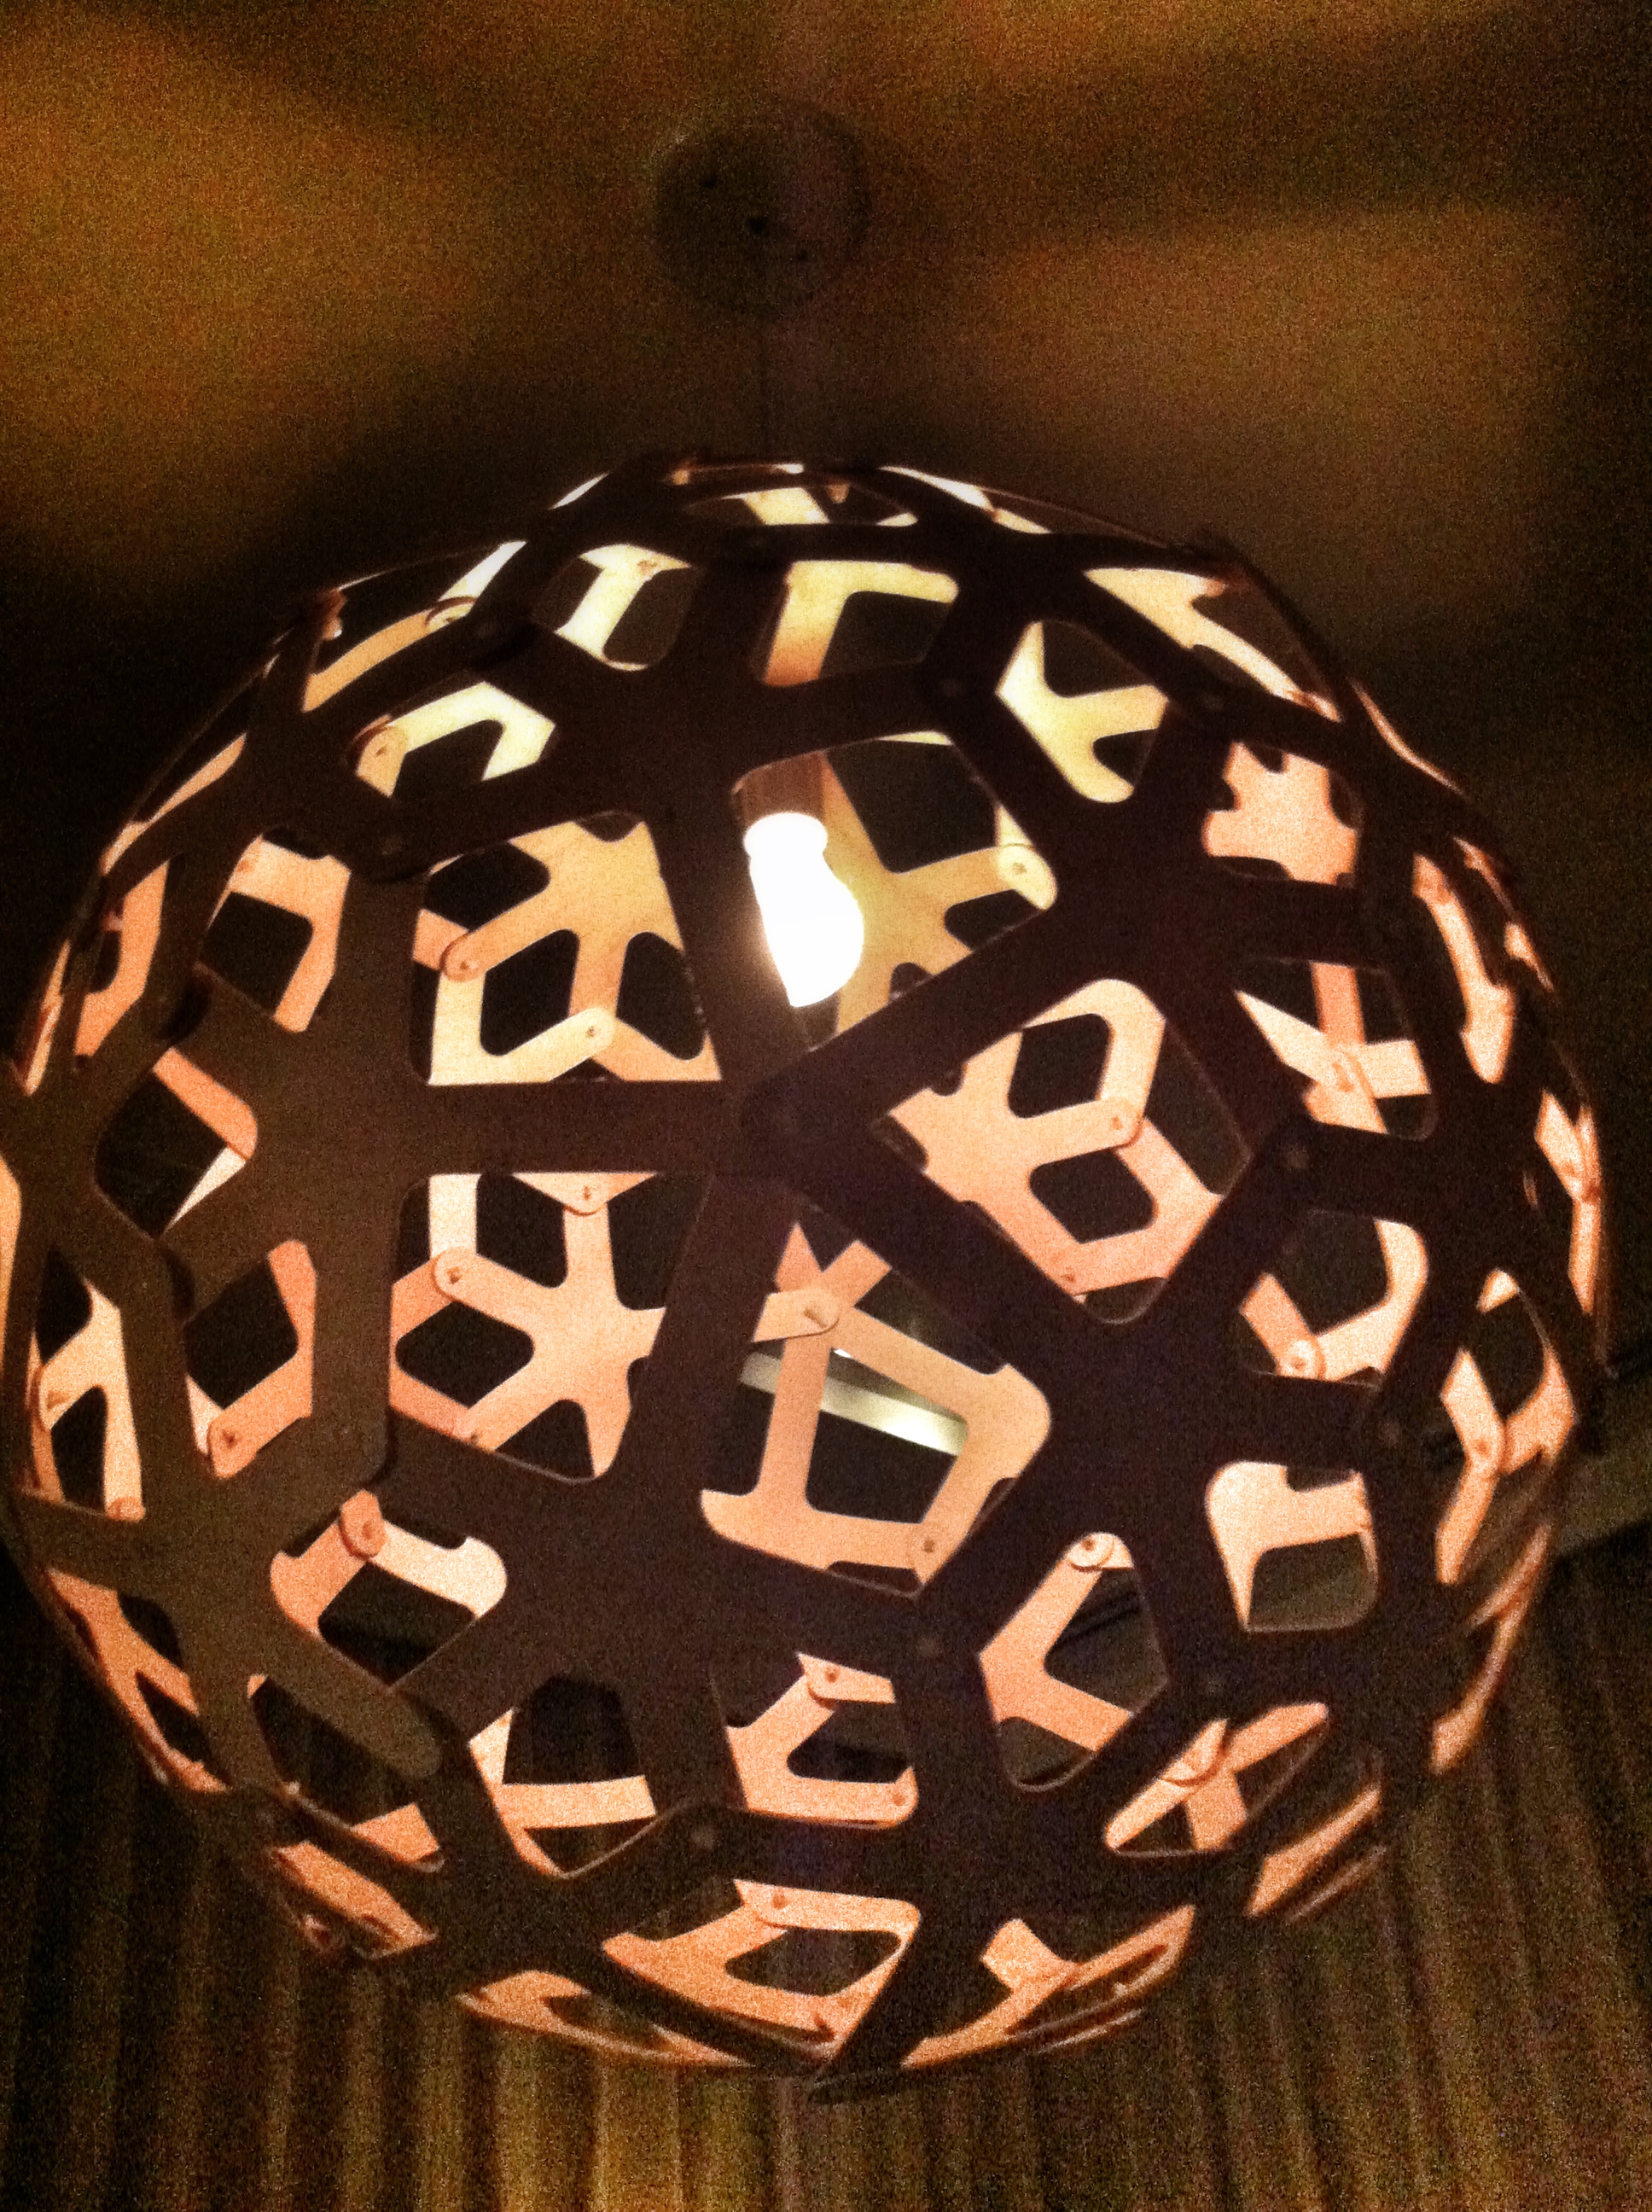
Professor Edmund Harriss has made and designed quite a lot of gorgeous mathematical art, including some neat laser cut paper modules that I put together into a pretty ball at the last Gathering for Gardner. So I was pretty excited when he invited me to run a math art workshop at the University of Arkansas math department.
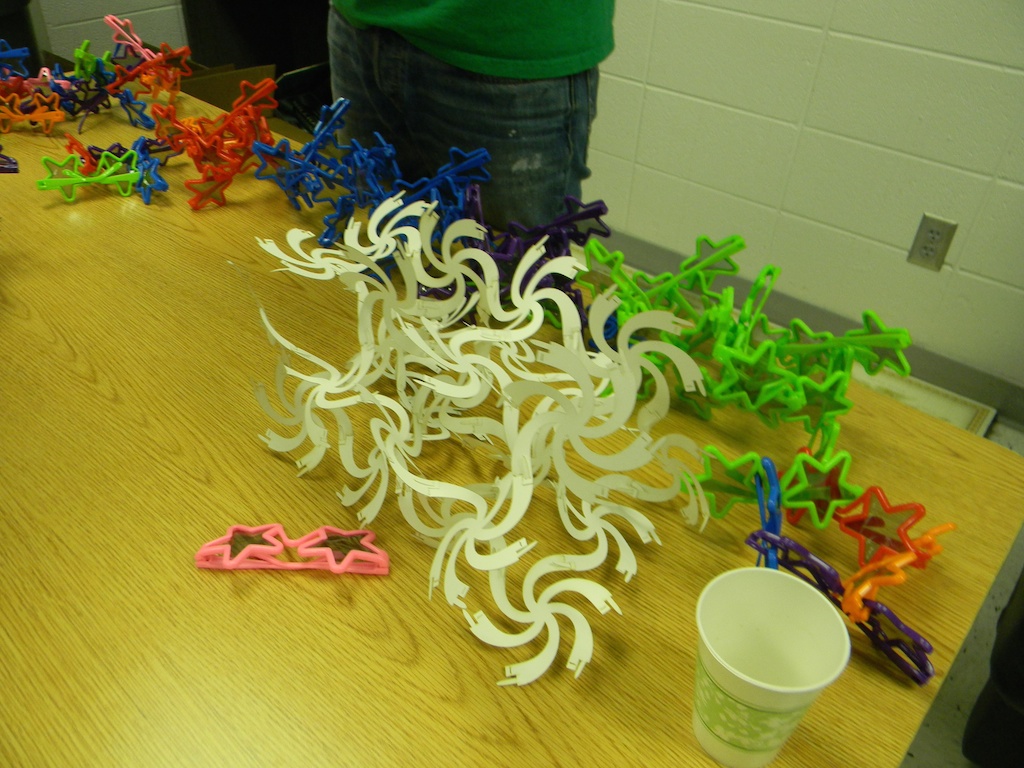
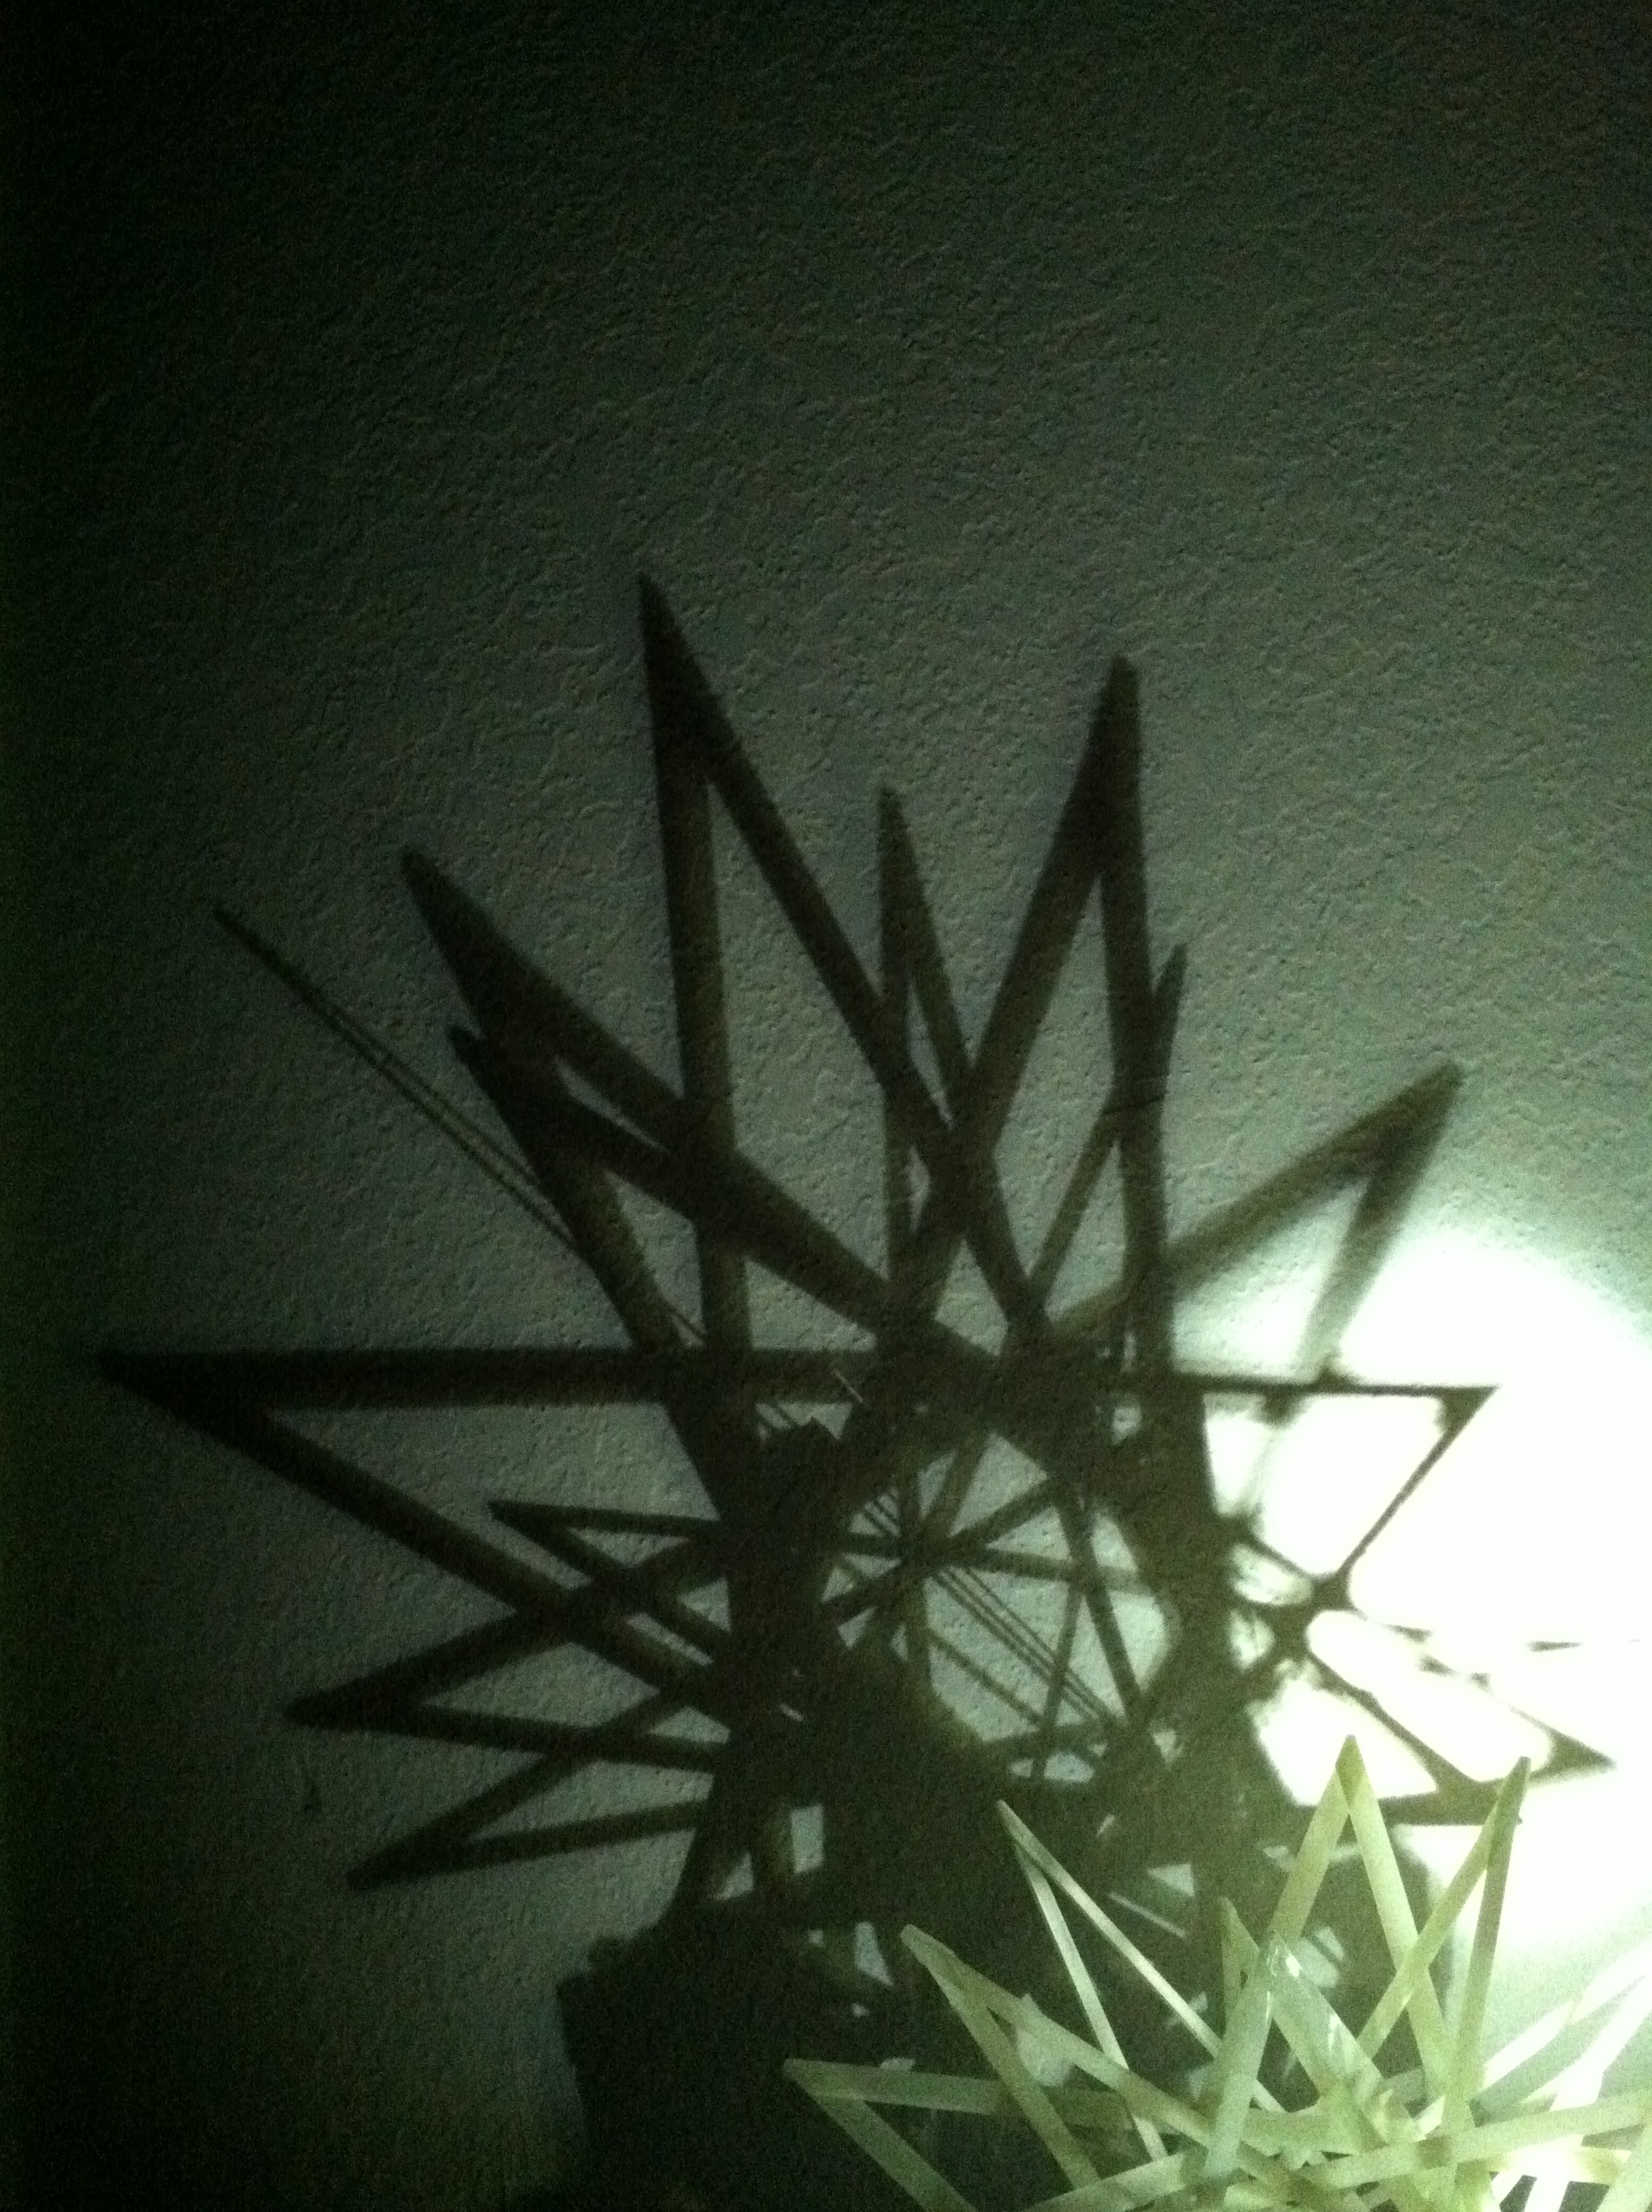
We had discussed a number of workshop ideas when Edmund sent me a picture of his latest laser cut paper sculpture – a gyroid.
Now, the gyroid is a particularly neat mathematical structure. It’s a triply periodic surface that divides space into two unconnected halves, and it shows up in nature in things like butterfly wings, giving them their natural iridescence. It’s also surprisingly incomprehensible to the average person despite living in normal three dimensional space.
The gyroid is closely related to the Schwarz P and D surfaces, which were first described by Hermann Schwarz in 1865, but the gyroid itself remained undiscovered until ~1970, when Alan Schoen, who apparently had a more natural understanding of these surfaces than anyone for the previous century, “intuited” it’s existence. He has a fascinating and detailed page on these surfaces here.
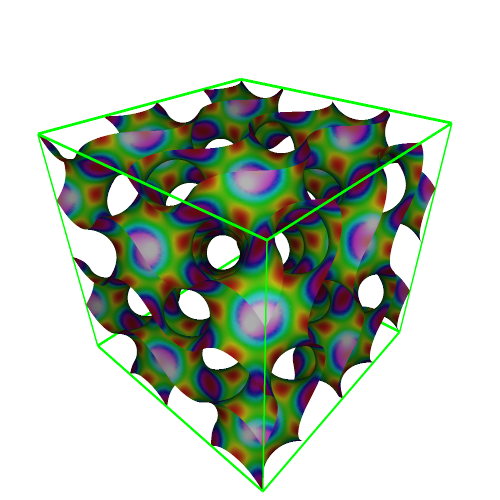
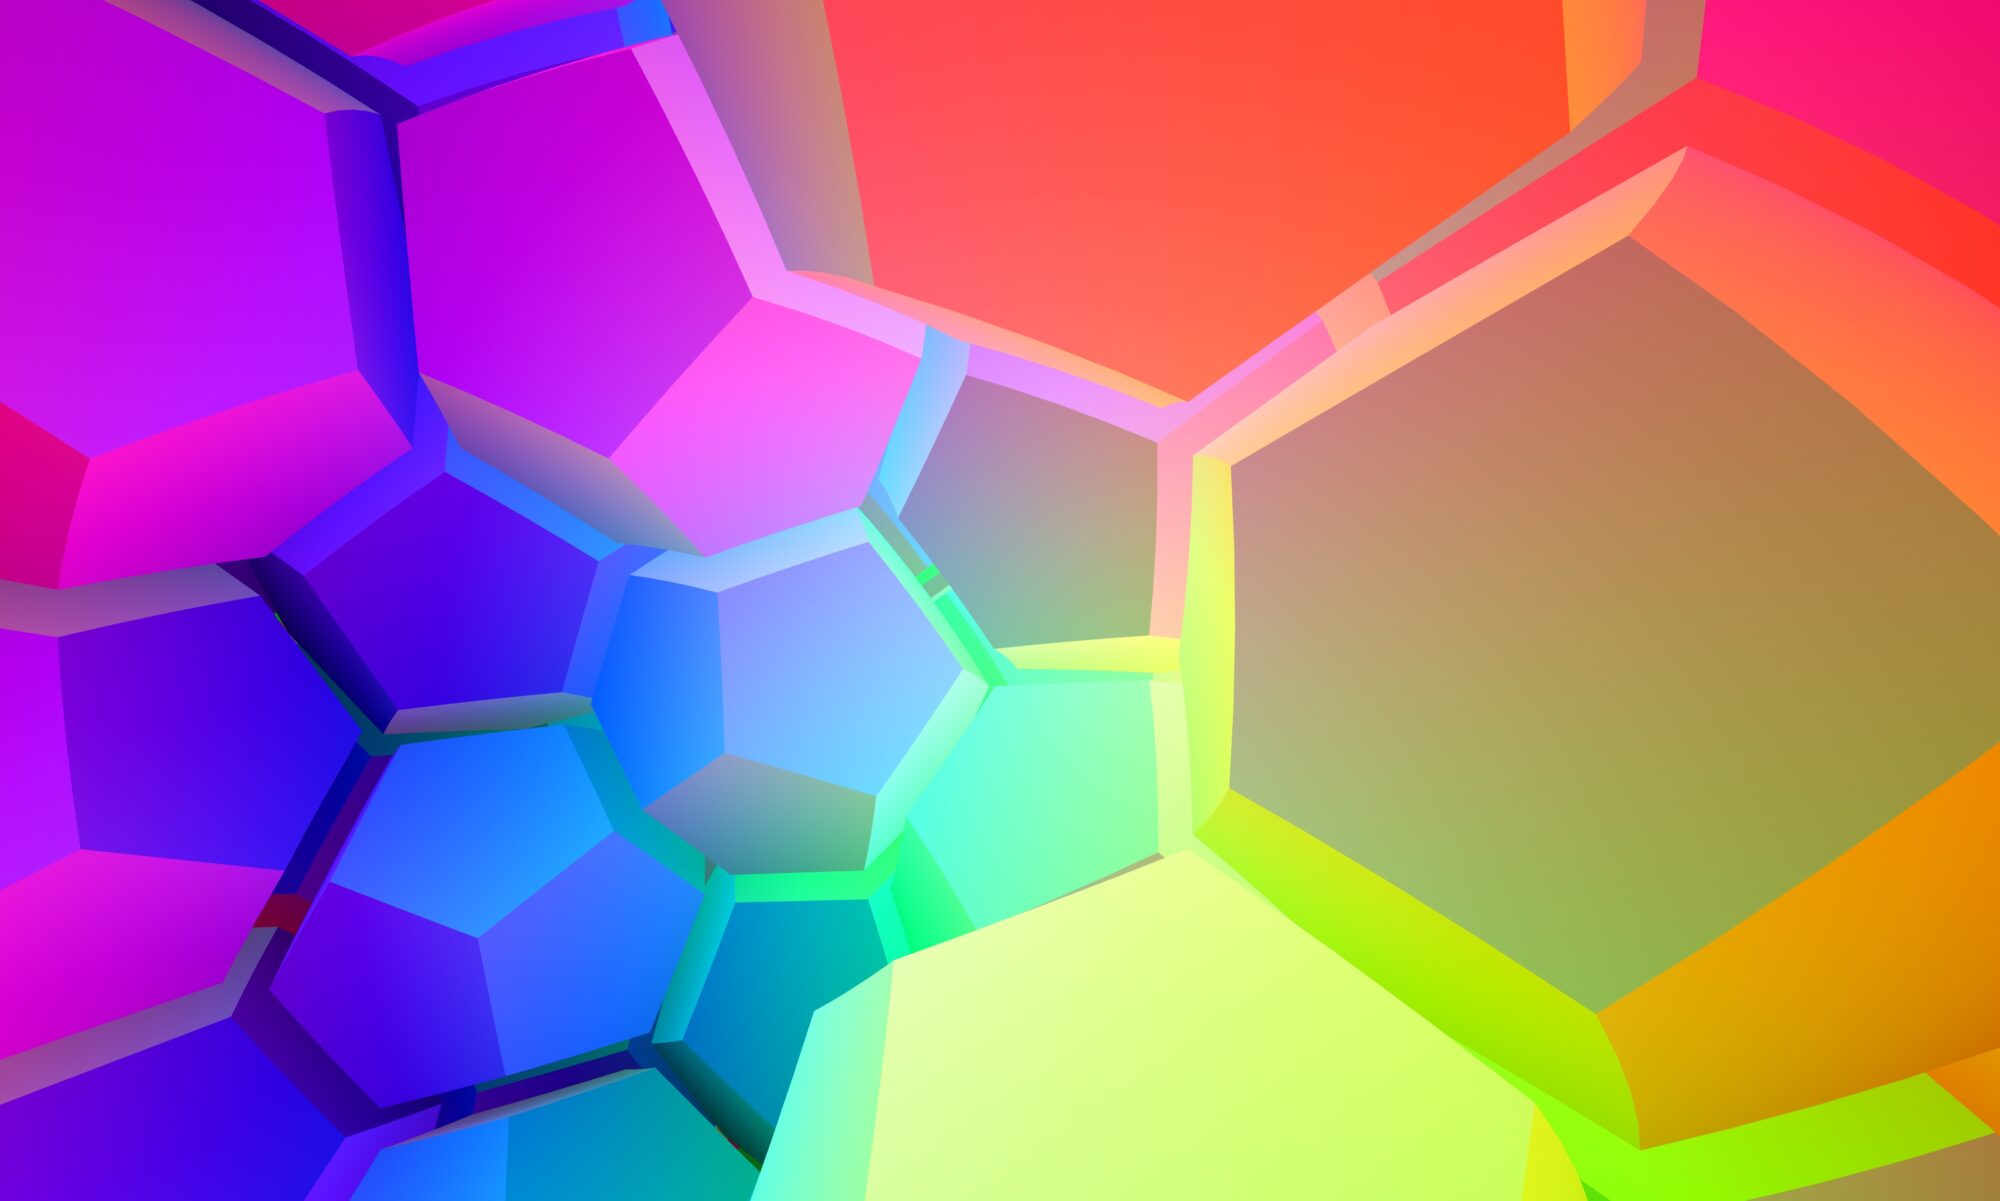
There is a ‘standard’ tiling of the gyroid surface with skew hexagons. These hexagons meet four at a vertex, so there are also “squares” meeting in sixes in the dual to the hexagon tiling (interestingly, the same skew hexagons can be used to tile the Schwarz P and D surfaces, and the tiling for those surfaces still uses six hexagons meeting four at a vertex). This means that it’s relatively easy to create modules that will combine to form a gyroid.
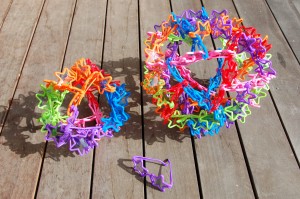
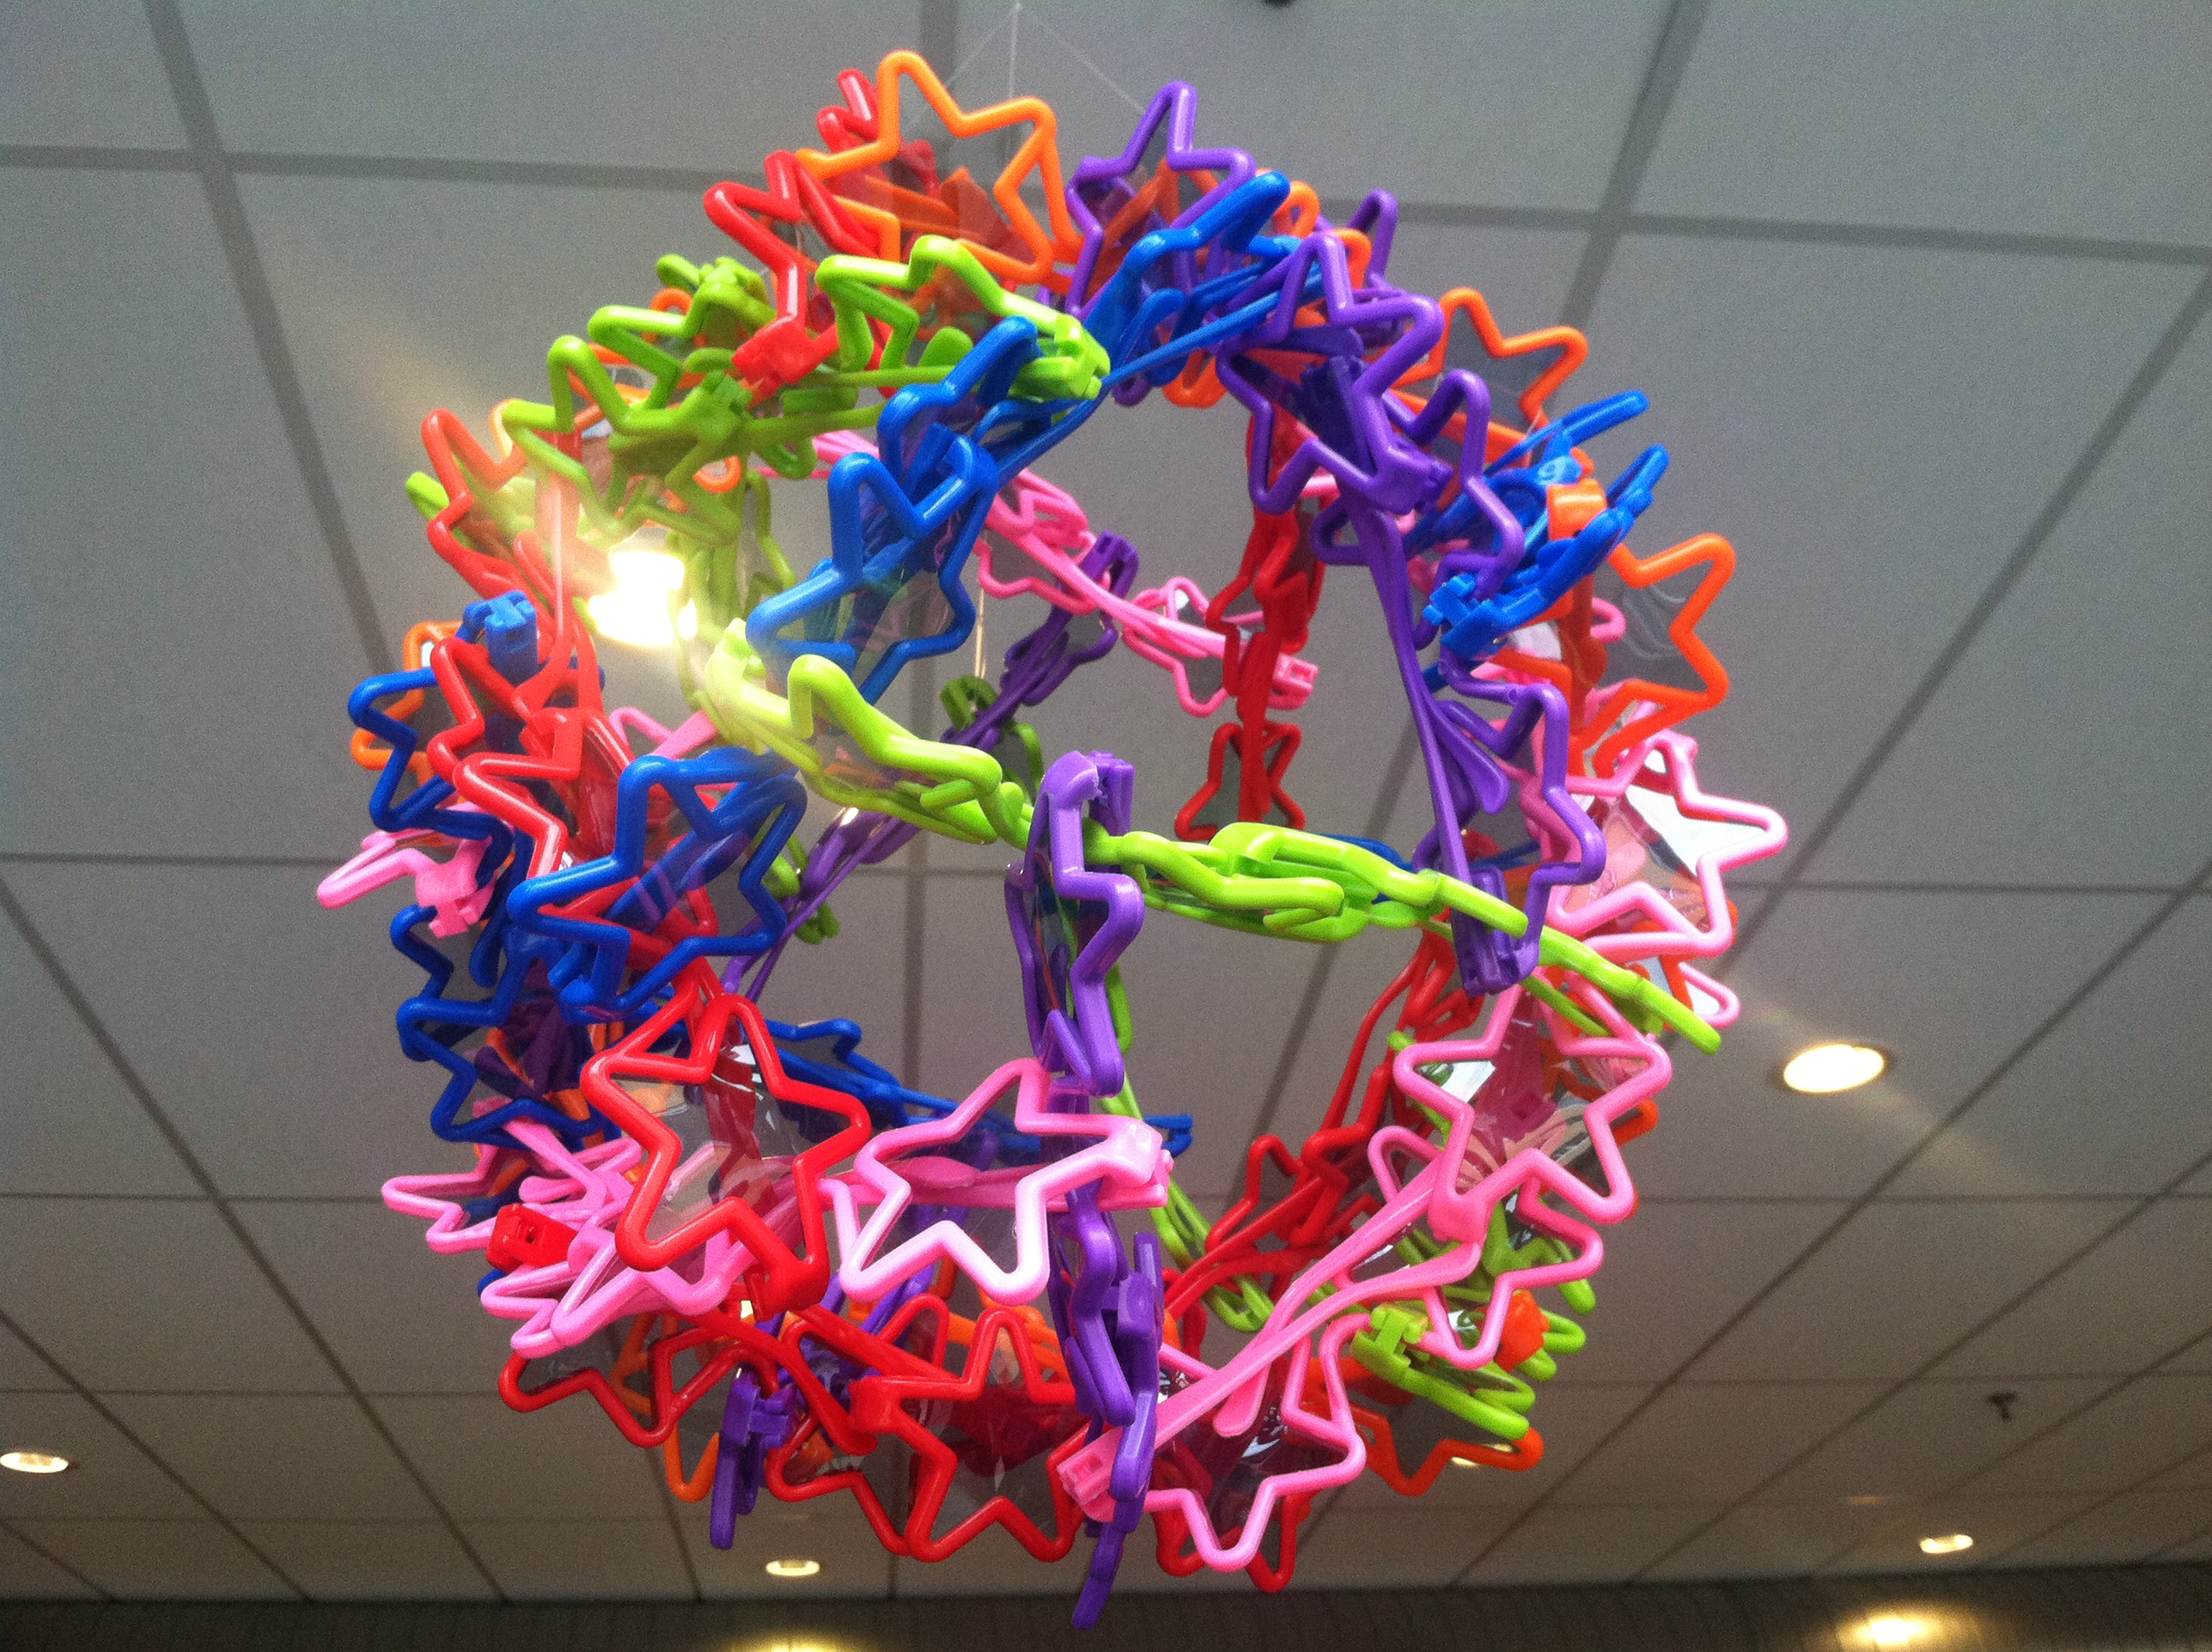
I’ve long thought that the gyroid was a neat surface, but I’ve never tried to construct one myself. However, I was pretty confident that I could construct one, especially with the help of an example and someone who has put a gyroid together in the past. I’ve known for quite some time that the plastic sunglasses that I used to make my Seeing Stars sculptures can be joined together in a variety of ways to make different sunglass sculptures.
Upon seeing Edmund’s gyroid, I promptly dismantled a sunglass sculpture to make test skew hexagon modules, then somehow convinced Edmund that making a completely untested sunglass gyroid sculpture would be a good use of my visit time (to be fair, we had the sunglass sculptures that I had already made as backups).
The construction started off with quite a lot of sunglasses and Edmund’s little section of paper gyroid for reference. While I had previously made some suitable test modules for the sculpture at home, I ended up spending some time redesigning my module right before the workshop in Arkansas. It turned out to be a good decision, as the new module was strictly superior.
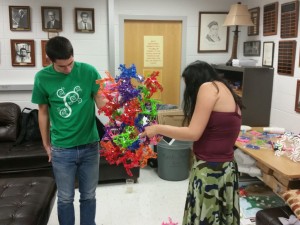
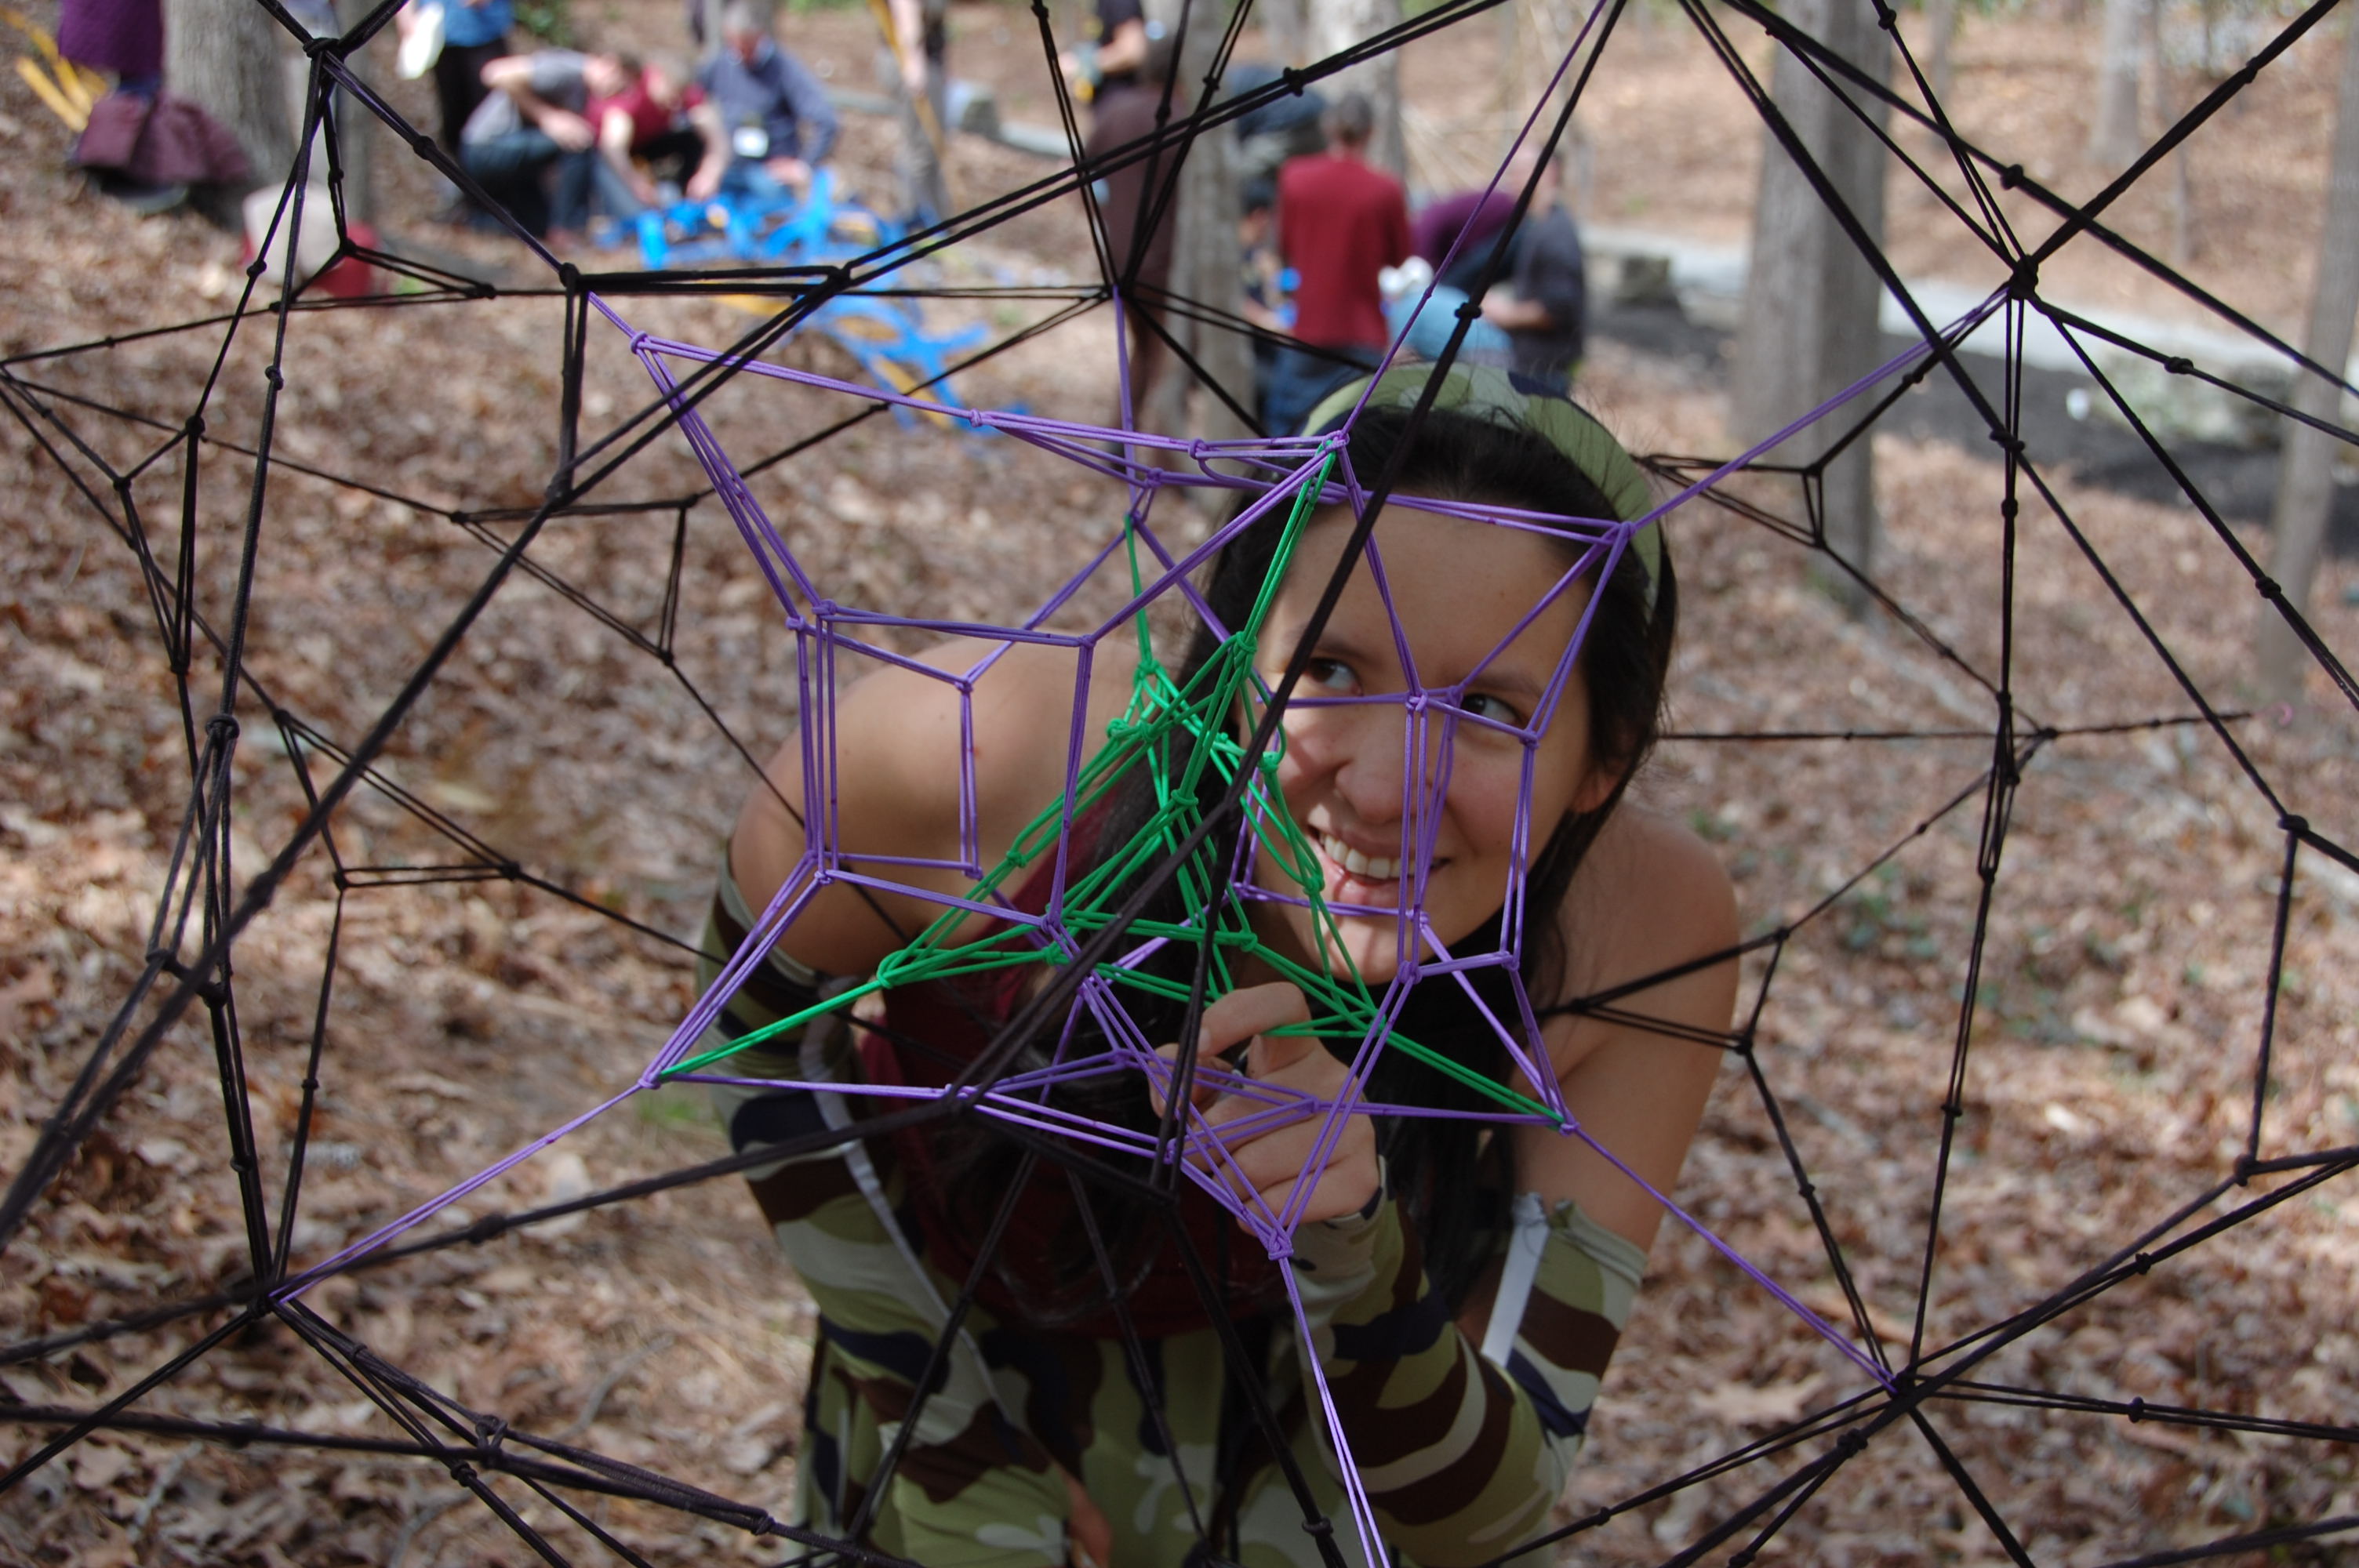
We started by making some modules. Then, we pieced a small number of them together experimentally. So far, so good.
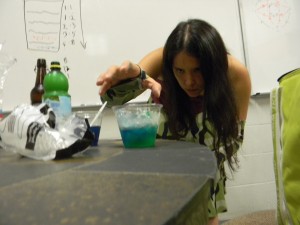
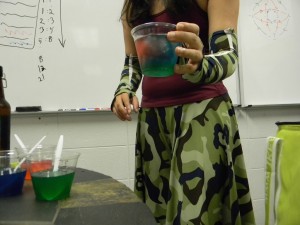
This was pretty tiring work, so we all took a break for Fibonacci Lemonade. Unsurprisingly, attendence for the math club at least tripled for this part of the event. For those following along at home, it’s a bit easier to layer Fibonacci Lemonade when you have tall skinny glasses.
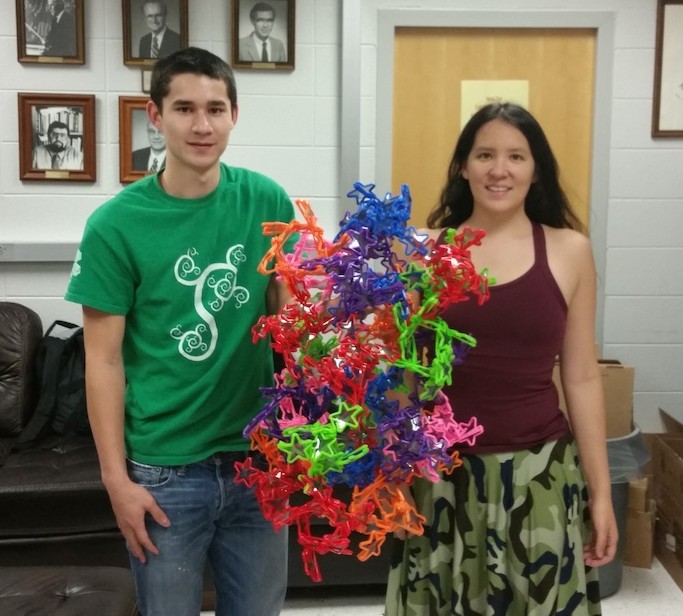
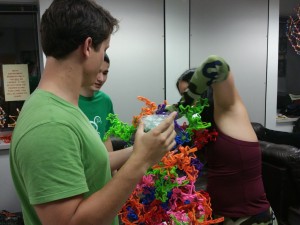
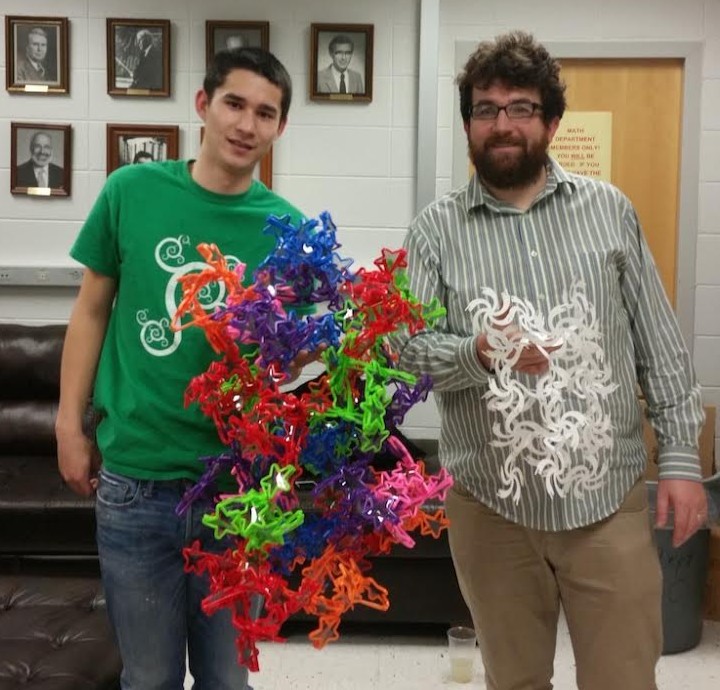
Finally, we completed the construction. My assistants in these two photos are math club president Josh Nunley and VP Jesse Horton, who were incredibly helpful both in organization of the event, and in the construction of our gyroid.
Success!
The sunglass sculpture (being held by Jesse) turned out quite a bit bigger than Edmund’s laser cut paper version (being held by Edmund), but still not nearly as big as the real infinite surface.
Working with VR makes me prone to describing things as the “first ever bla-bla-bla”. I think you can figure out how that applies to the sunglass gyroid.
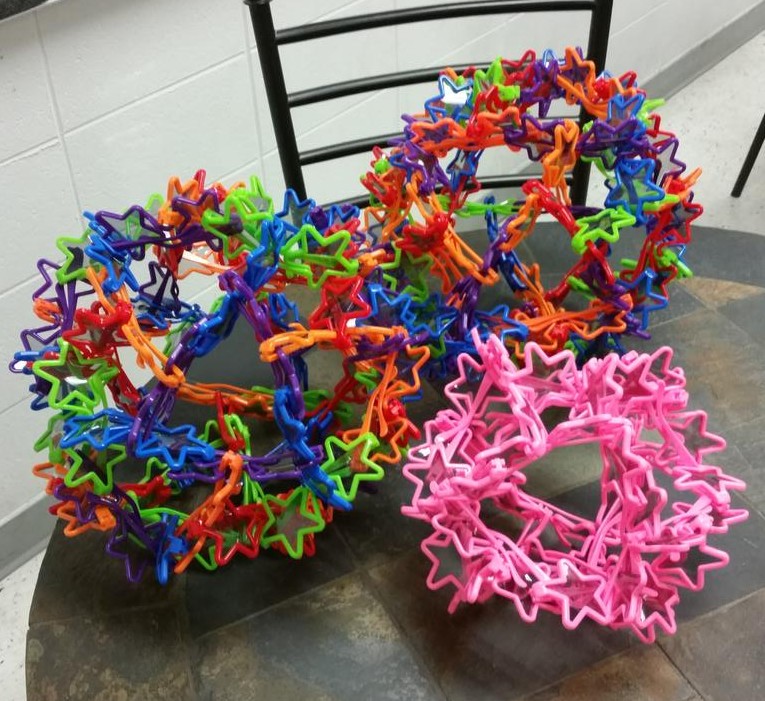
ps. I overestimated how many sunglasses we would use for our gyroid (to be fair, if construction had gone faster, we could presumably have used all of them). Fortunately, the math club put them to good use after I was gone construction some nice geometric shapes similar to my Seeing Stars sculptures.
