You might have gathered from my last post that I’ve been doing some sewing lately, and, while nearly all sewing projects require math, it’s probably not surprising that my latest project involved a bit more math than most.
See, a while back, my friend Vi, who is rather fond of hyperbolic geometry (though, aren’t we all?) brought a bunch of awesome airplane fabric to one of our math art get-togethers, with the plan of making the punniest hyperbolic plane quilt.
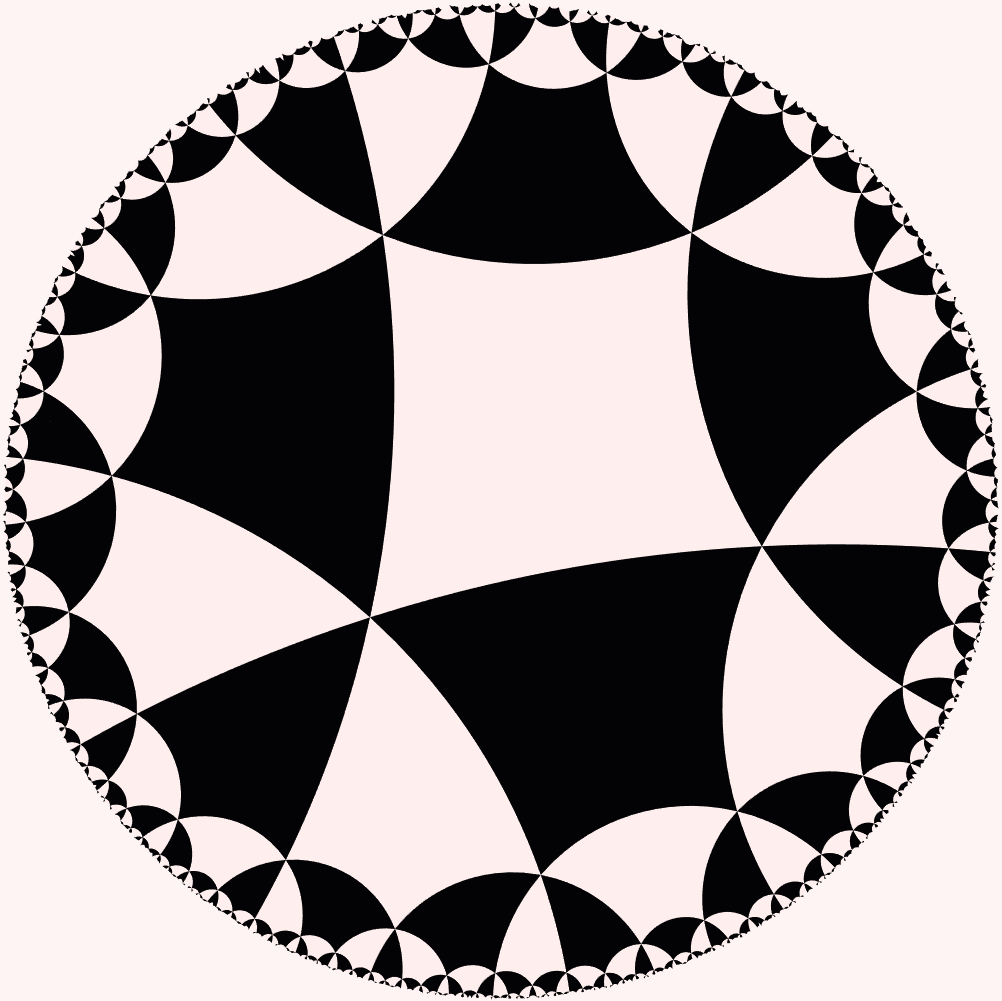
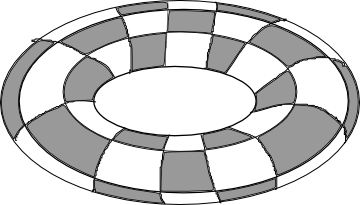
You may already know that the {5, 4} hyperbolic tiling is my favorite (yay! pentagons!), so it’s not surprising that we agreed that the pentagon tiling was the way to go. In particular, the {5, 4} tiling is a regular tiling that checkerboards nicely, has a Gaussian curvature that differs relatively minimally from that of a Euclidean plane compared to other checkerboarding tilings, and requires cutting relatively fewer pieces for the surface area. This makes it a natural choice for a hyperbolic quilt and it is unsurprising that other people who have made hyperbolic quilts appear to have independently made the same choice.
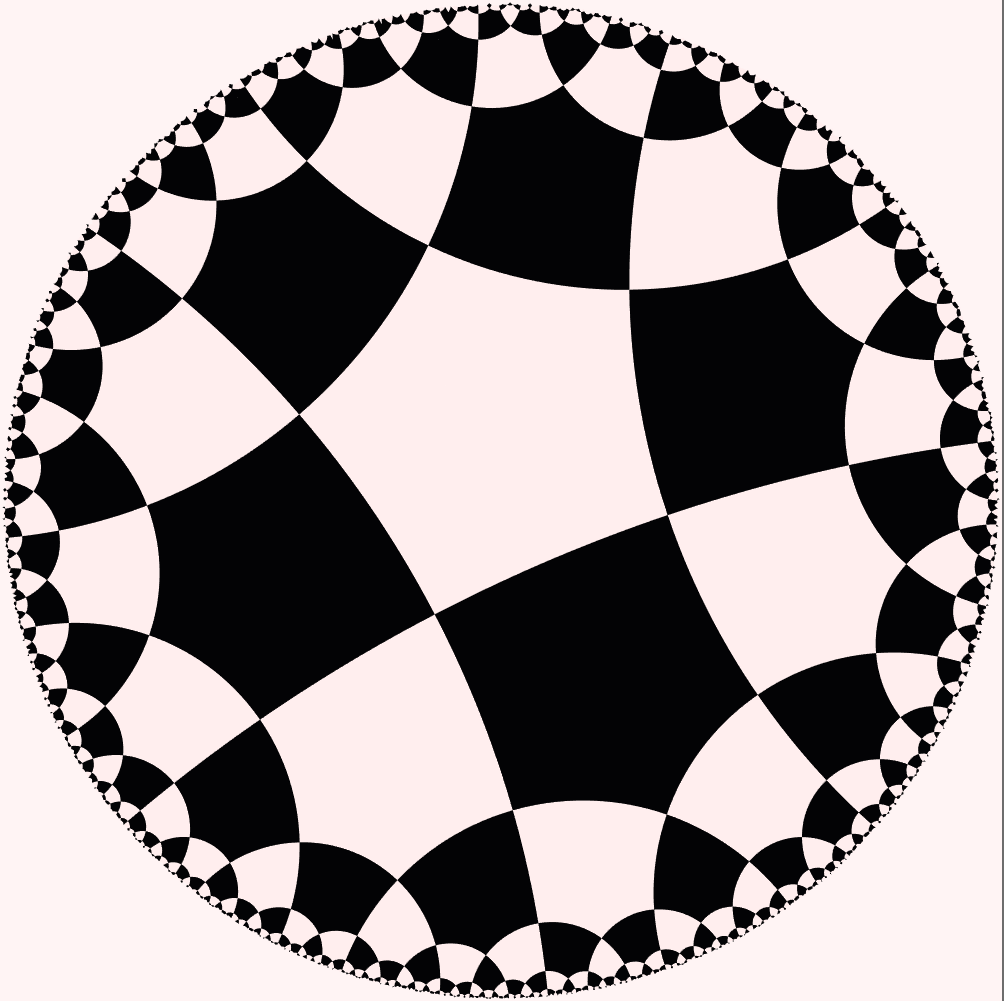
Unfortunately, after cutting a number of pentagons, Vi ended up abandoning the project. Some time later, I inherited her fabric, and, while cutting pentagons in a vain attempt to make the quilt longer (hyperbolic space just has way more space than Euclidean space, and tiles required is exponential to the desired radius), it occurred to me that what I really wanted wasn’t a quilt, but a skirt.
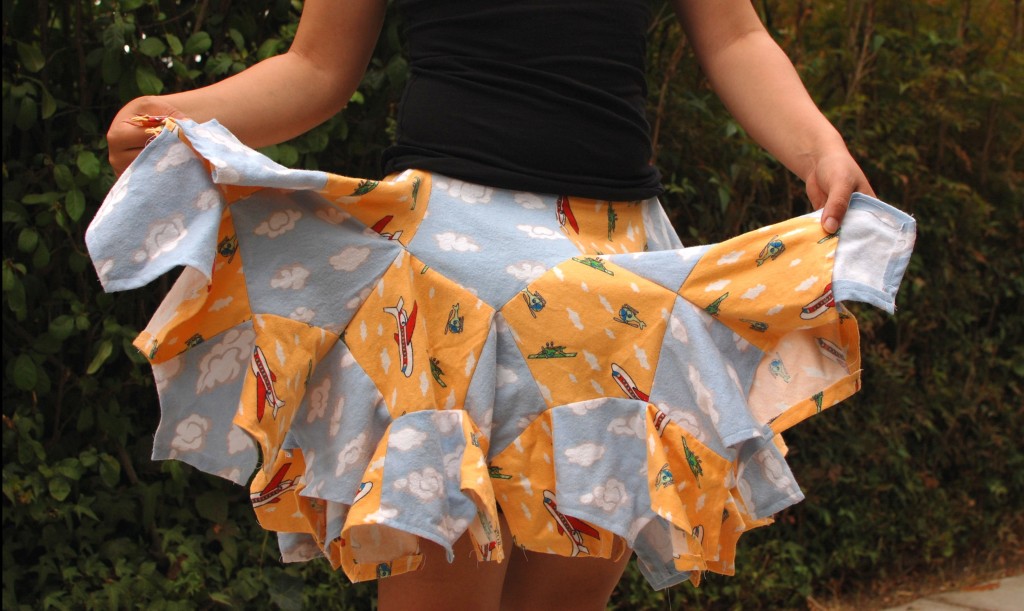
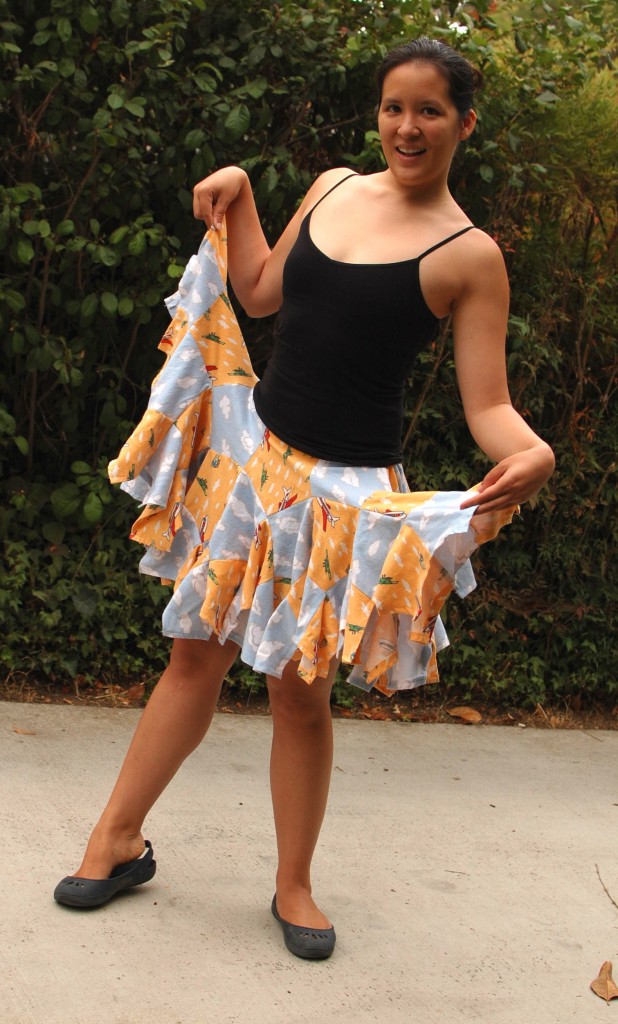
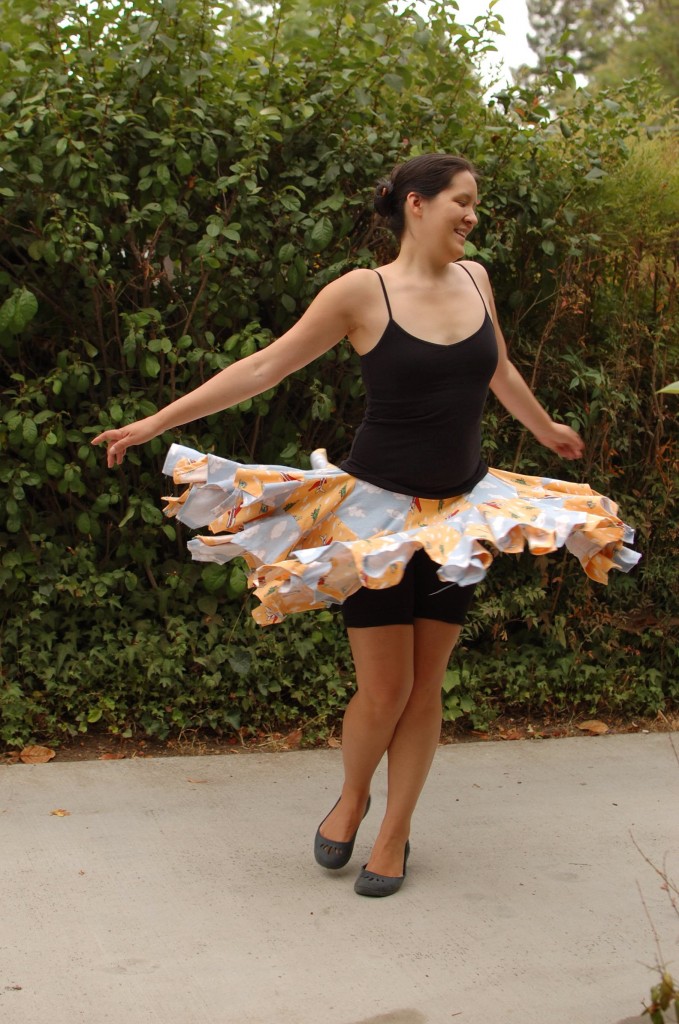
I seam-ripped a hole for the waist, used up nearly all of the fabric making a skirt long enough to actually wear outdoors, and spent a truly ridiculous amount of time hemming to create the worlds first hyperbolic airplane skirt.
Here are some take aways if you want to try making your own hyperbolic skirt.
- It would have been quite useful to have a hyperbolic iron and ironing board
- Ditto on hyperbolic fabric. Did you know that pentagons don’t tile the Euclidean plane?
- On that note, a tiling of 6 equilateral triangles might use space on the origin fabric better.
- Also, you’re going to need a lot of fabric.
- Bigger tiles would have made this skirt much easier. Then the waist could have been a single missing pentagon (on my skirt, I just ripped a seam line to make the waist), and I would have needed fewer tiles to achieve the same length.
- Be prepared to hem for a really long time. My skirt had 202 pentagon sides worth of hemming along the edge. How fast is that growth? Well, the waist is a slit along 3 pentagons (length 6 around) and if I hemmed after just one layer, the hem would have been 24 sides long. Yeah…
Finally, hyperbolic skirts have the most amazing swoosh. Wheeee!
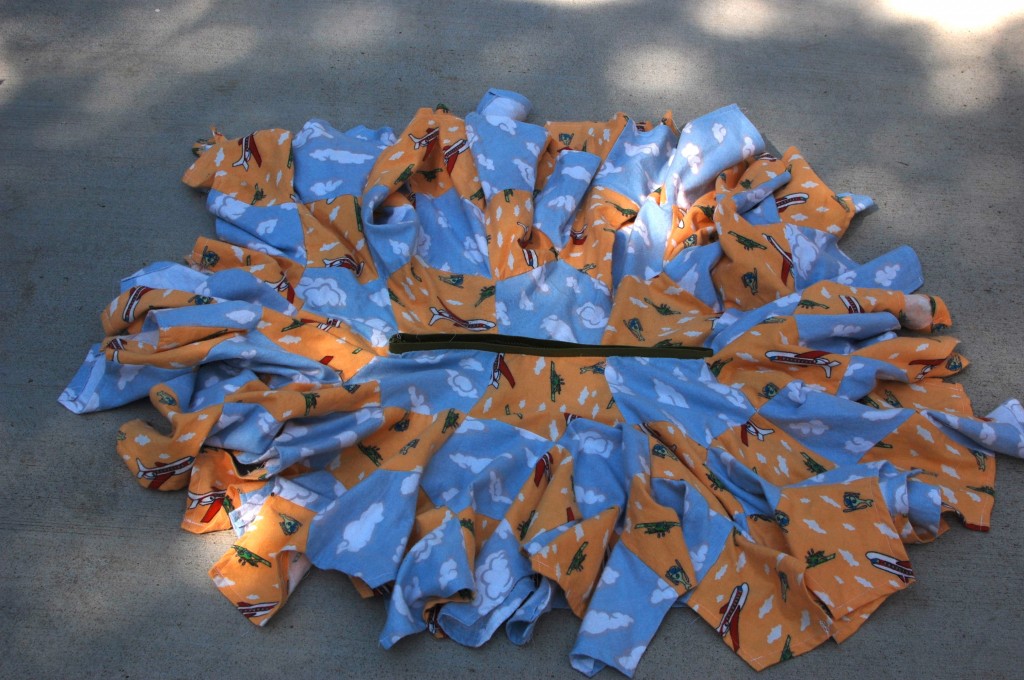
Edit: By request, here are some extra pictures and sewing tips. Lighting conditions were different, so the skirt looks a bit more vibrant in these pictures.
The waistline is literally just a slit in the hyperbolic plane that happens to be the right size for my waist. When the dress is laid flat like this, with the waist closed, you get a nearly seamless hyperbolic plane. I added some green elastic (to match the airplanes!) for the waistband.
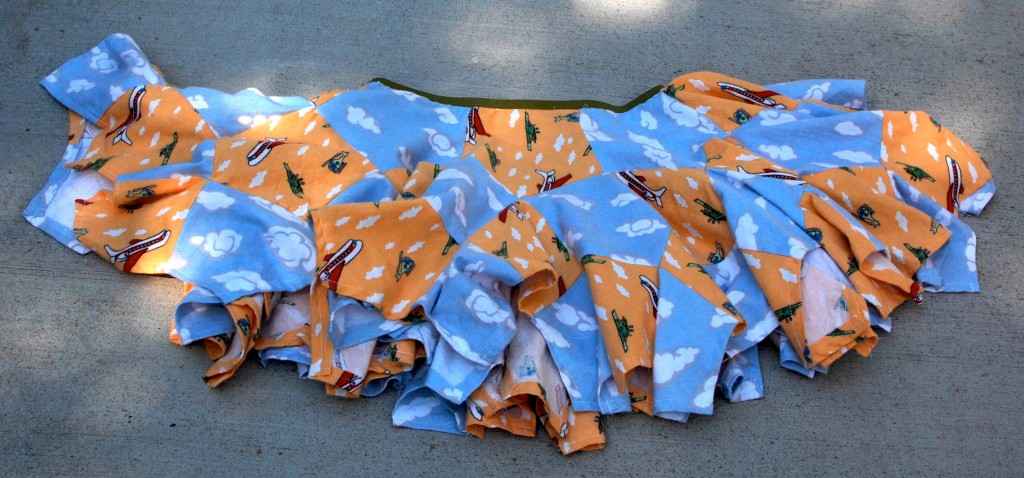 The skirt has two lines of reflectional symmetry – the front and back are the same, as well as the right and the left. Towards the end, I folded the skirt into quarters along the lines of symmetry and carefully made sure that they were really lines of symmetry.
I generally sewed two or three patches together, then sewed groups of patches onto the skirt. Sewing on groups of patches let me avoid having to sew corners – instead each patch set could be added as a roughly straight line.
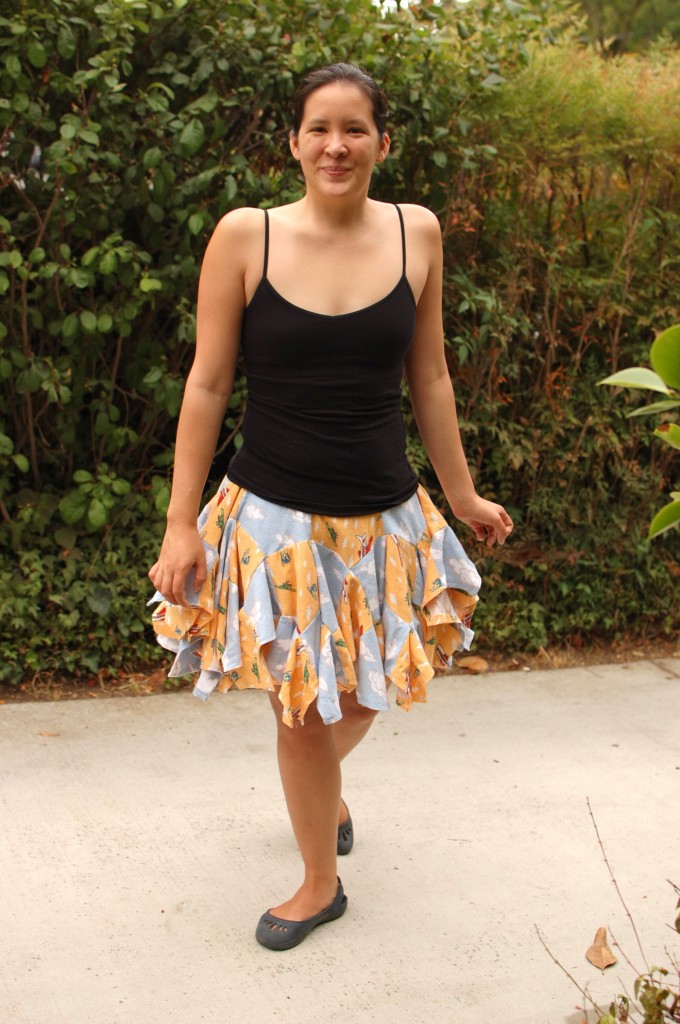
Finally, here is what the skirt looks like when not being held out or whirled:


Next time polar fleece. No hemming! 😎
That’s true, although I’d probably have to do something to make up for the fact that I’m not great at cutting straight lines. 🙂
While two colours work, ye can do it in six colours too, so that the pentagons of the same colour stellate to make a {10,4}.
But hyperbolic space does make a good ruffle, and sooner rather than later:
congrats.
The other way ye could have done it (outside a slit in the plane), is to make each “panel” as though the waist was cut from a line and the skirt was all on one side of the cut (and wrapped around, modulo something).
Andrea, I’m really glad you made this skirt. The pictures you have included are really great! How thoughtful of you to include a twirling shot. I wish we could see a couple more photos. The two I’d like is (1) one with you modeling the skirt without it being held up, so I could see what it looks like just as a regular skirt and (2) one of the skirt not on a person, so I can see exactly what the waist and what the hem look like. I understand your description of the construction process, but it would still be nice to view the finished product.
-Carolyn
Just updated with some additional pictures and info. Hope that is what you were looking for. 🙂