Gathering for Gardner 11

Today marks the beginning of Mathematics Awareness Month, and this year’s theme is Martin Gardner. Coincidentally, I recently returned from my second trip to the Gathering 4 Gardner (G4G), a recreational math conference with a focus on the sorts of things that Martin Gardner wrote about in is Scientific American column, such as puzzles, magic, mathematical art and other recreational mathematics.
Pretty much everyone who attends is really neat and has done something really cool that was directly or indirectly inspired by Martin Gardner. A number of the attendees are actually professional magicians and one highlight of the event is the astounding evening events and shows.
In addition to organized talks, the highlight of the conference is often just talking to people. I know quite a lot about polyhedra, but I had an interesting discussion with John Conway (who also had the honor of being the theme for this year’s conference) about the naming of the rhombicuboctahedron where I learned some new things that I hadn’t known previously.
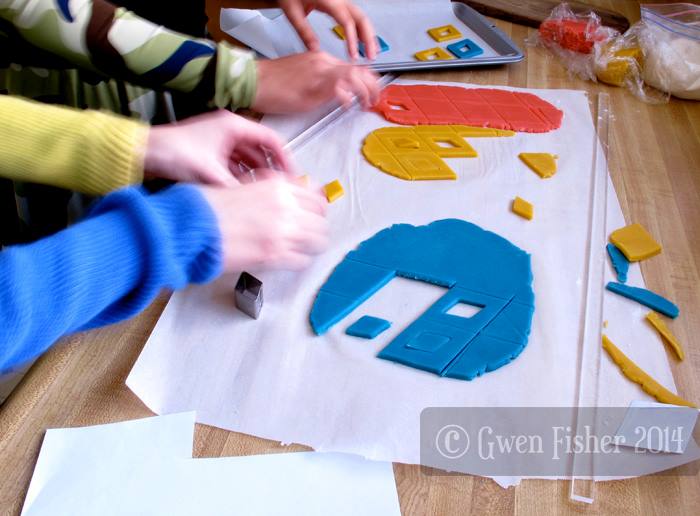
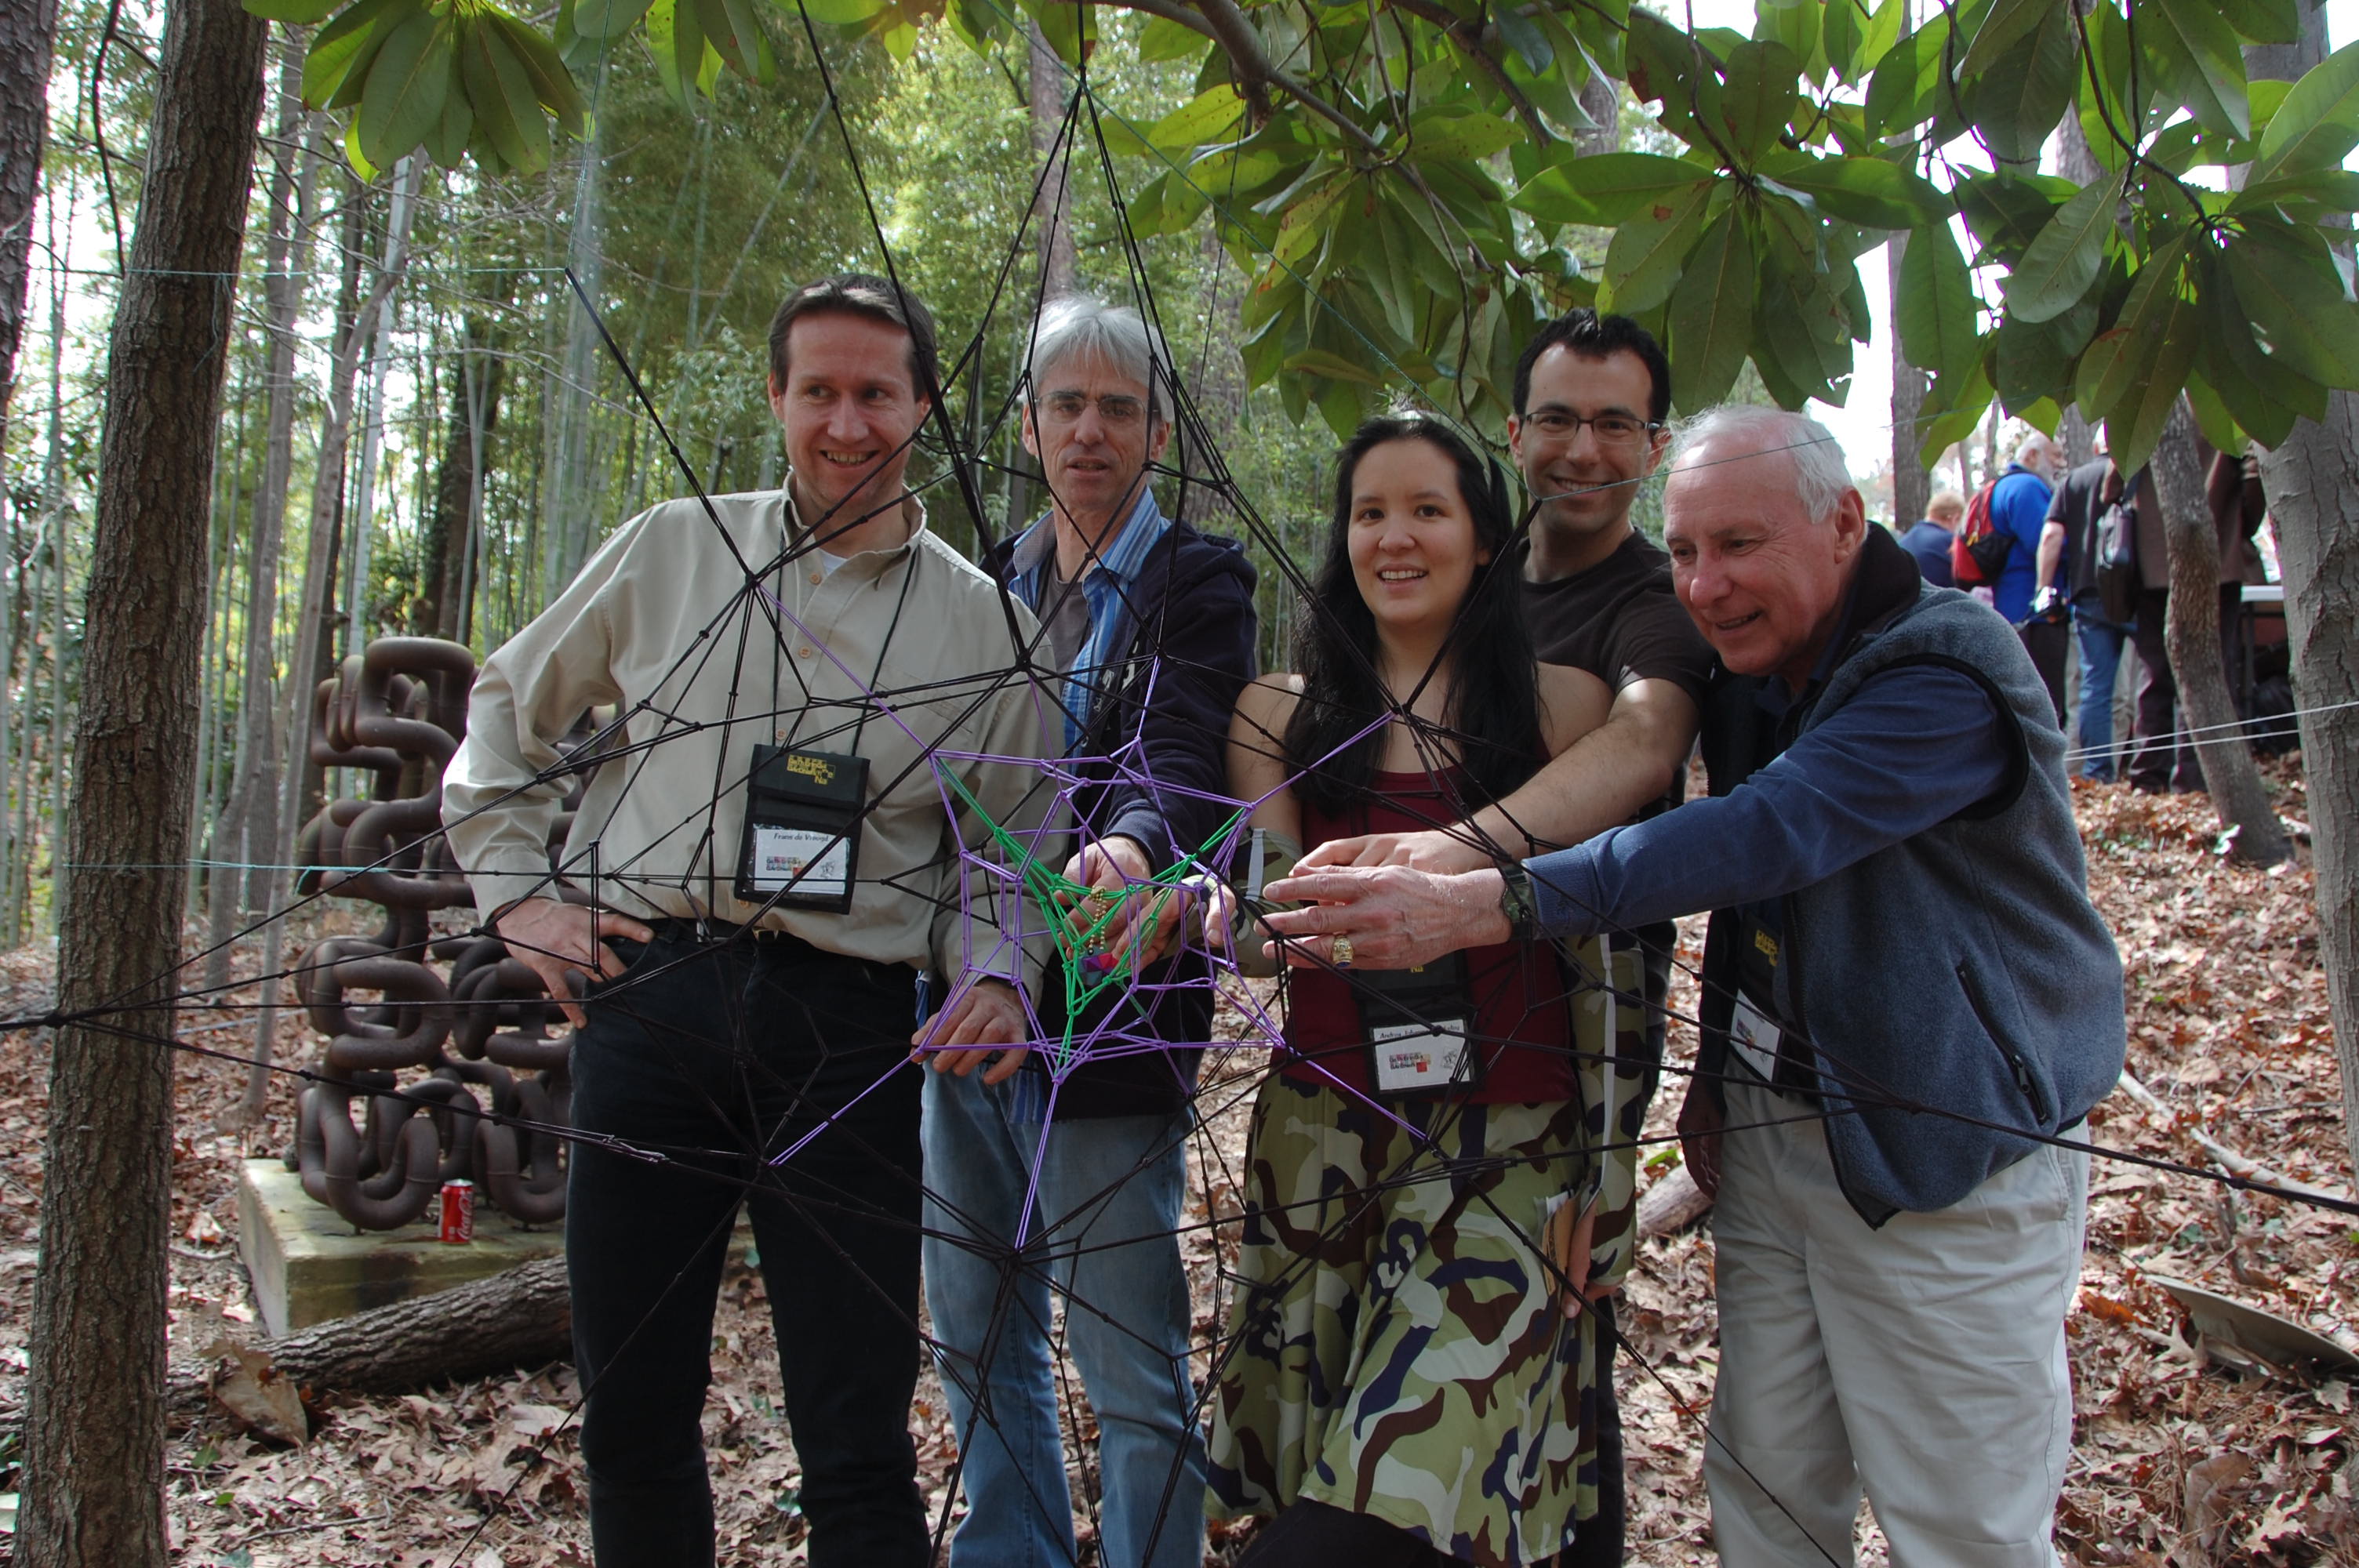
My favorite part of G4G is an afternoon excursion devoted to talking and learning things from other attendees, and also to large art sculpture “barn-raisings”. I was one of the six artists that participated in the sculpture event and organized a group to make a construction out of hair bands, a fun precursor to my later talk on a hair tie 120-cell (a 120-cell is a regular 4-dimensional polychoron made out of 120 dodecahedral cells). My creation used a technique for making large geometric constructions out of hair ties that I learned from Zachary Abel at the last G4G.
Here’s a picture of some the team that helped me construct the hair tie construction. Thanks to everyone that helped!
DSC_9392
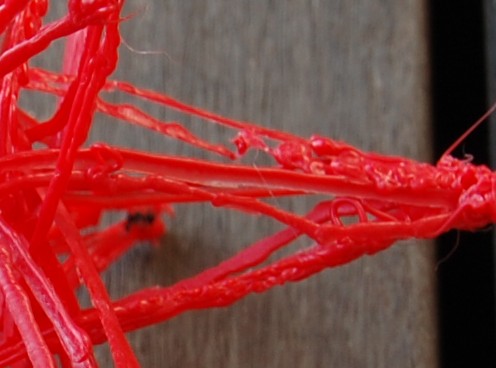
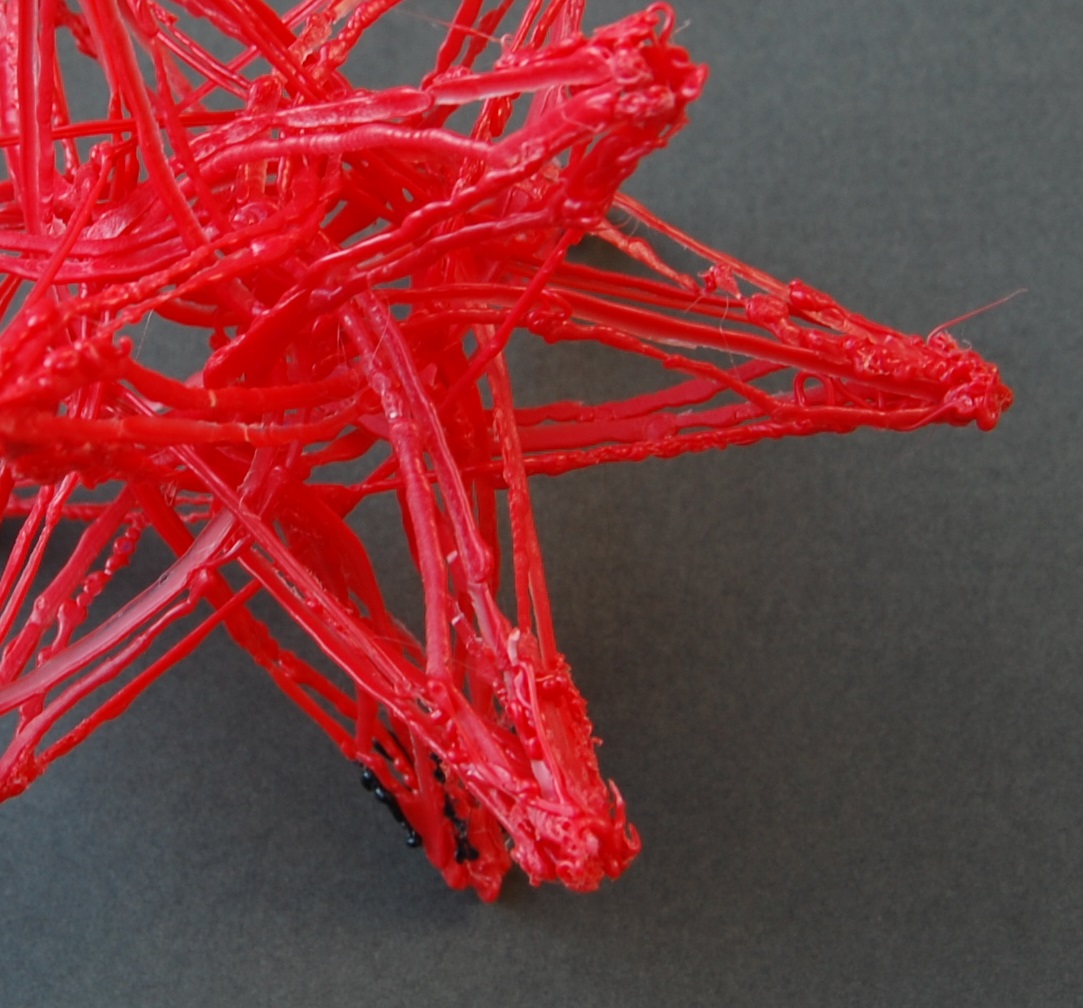
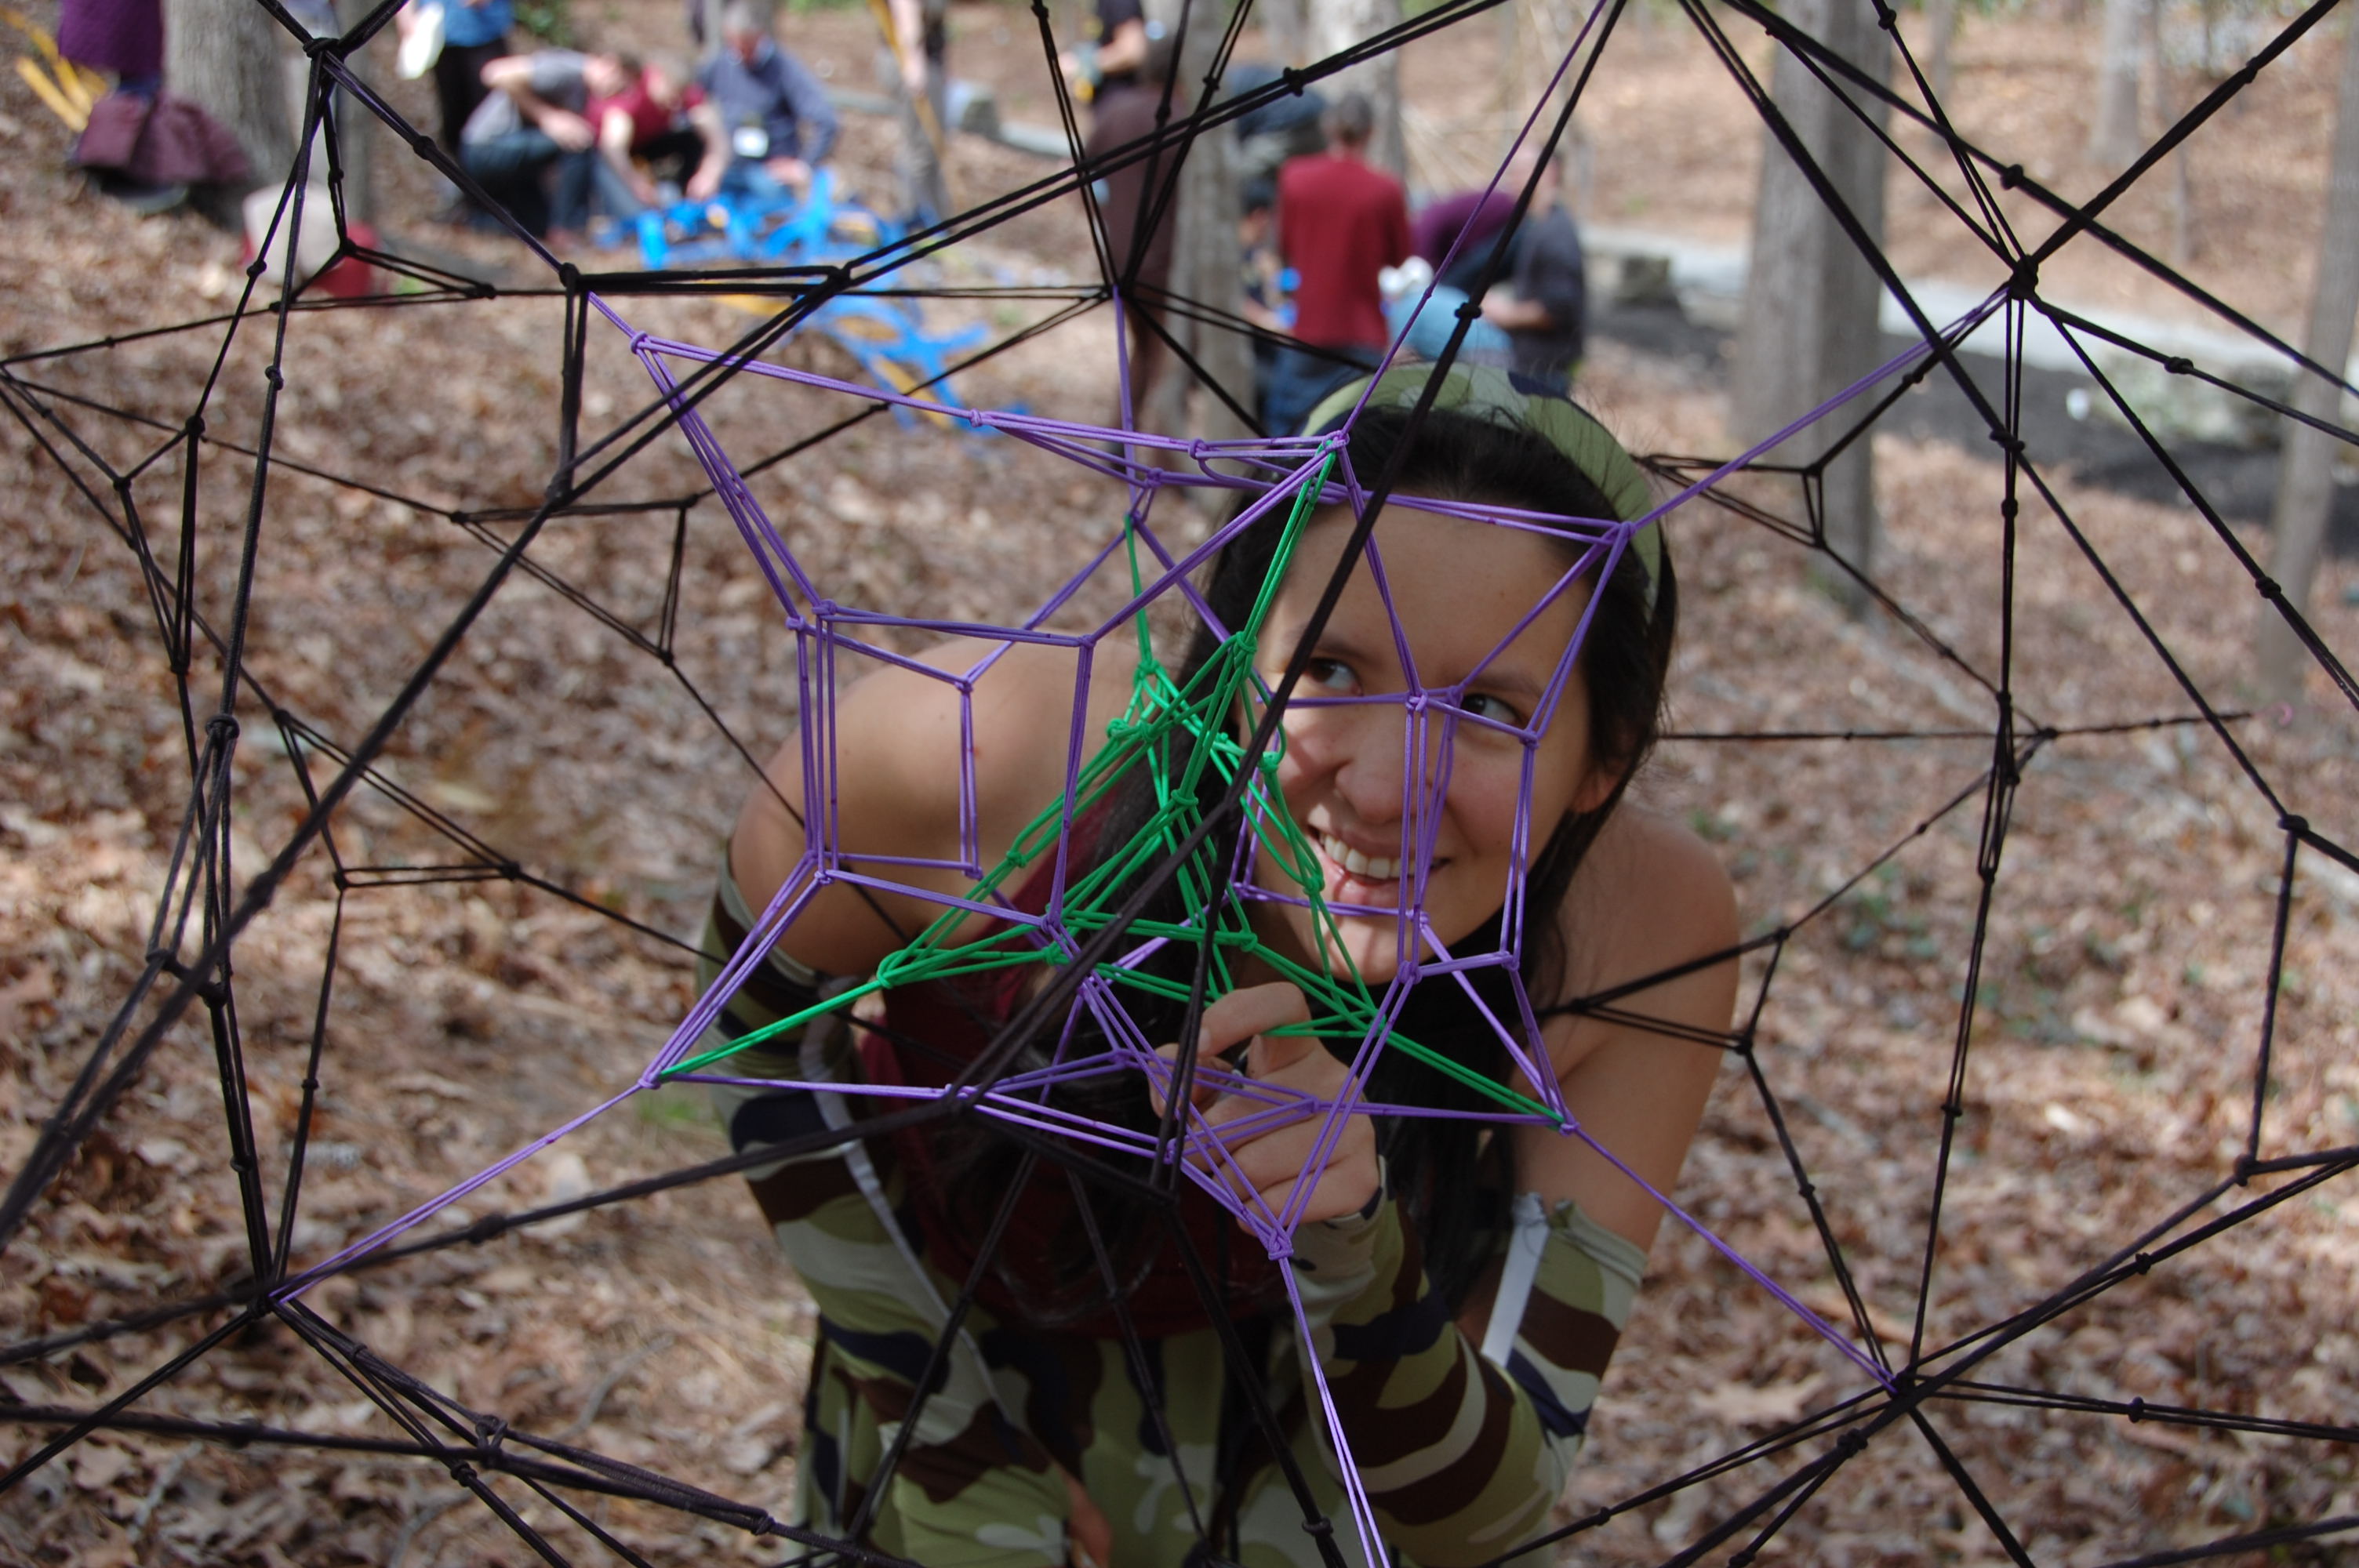
The hair band construction consists of a tetrahedron of green hair bands inside a cube of purple bands, inside an octahedron of black bands. You can see the tetrahedron in the cube fairly well in this close up shot.
DSC_9386

G4G has a formal puzzle and art exchange as well as many informal ones. Here are a few of the neat things that I got from G4G11. If you were in doubt about my claim that the people that attend G4G are collectively really cool and amazing, these pictures should probably lay your doubts to rest.

George Hart’s gift exchange item was a set of pre-cut cards that assemble into a Tunnel Cube.DSC_9420
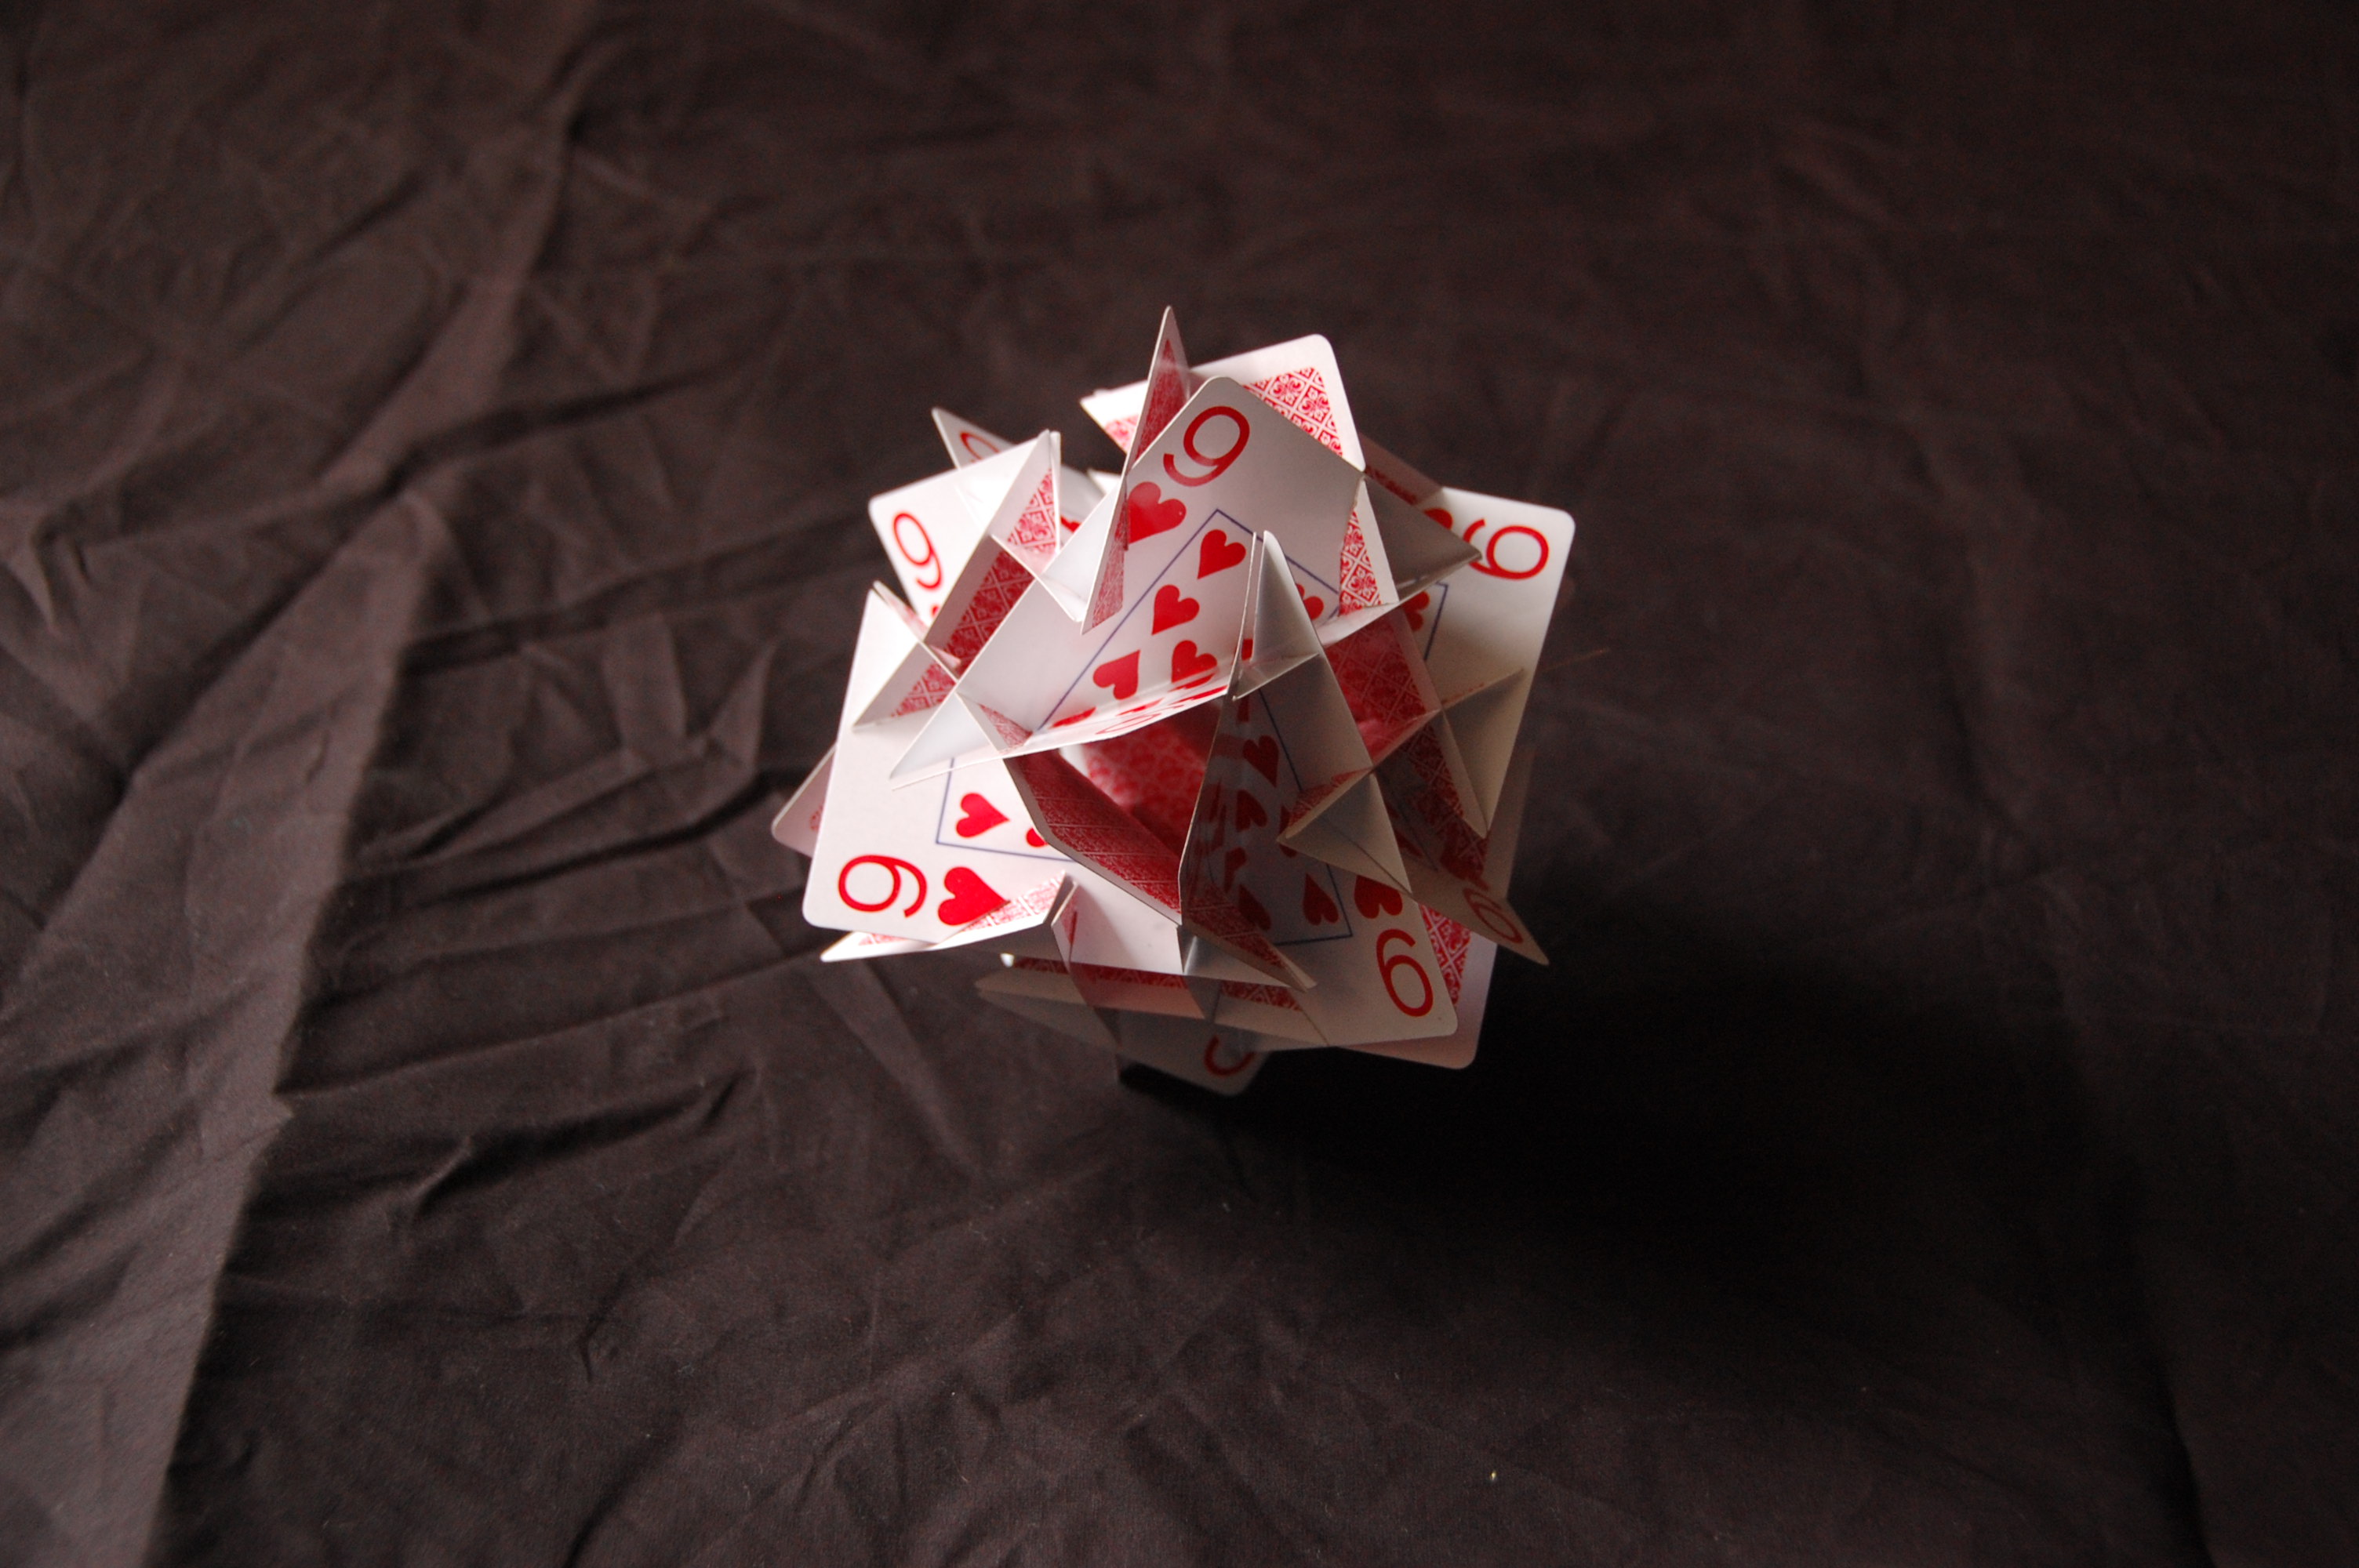
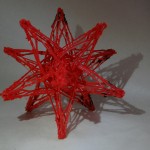
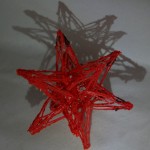
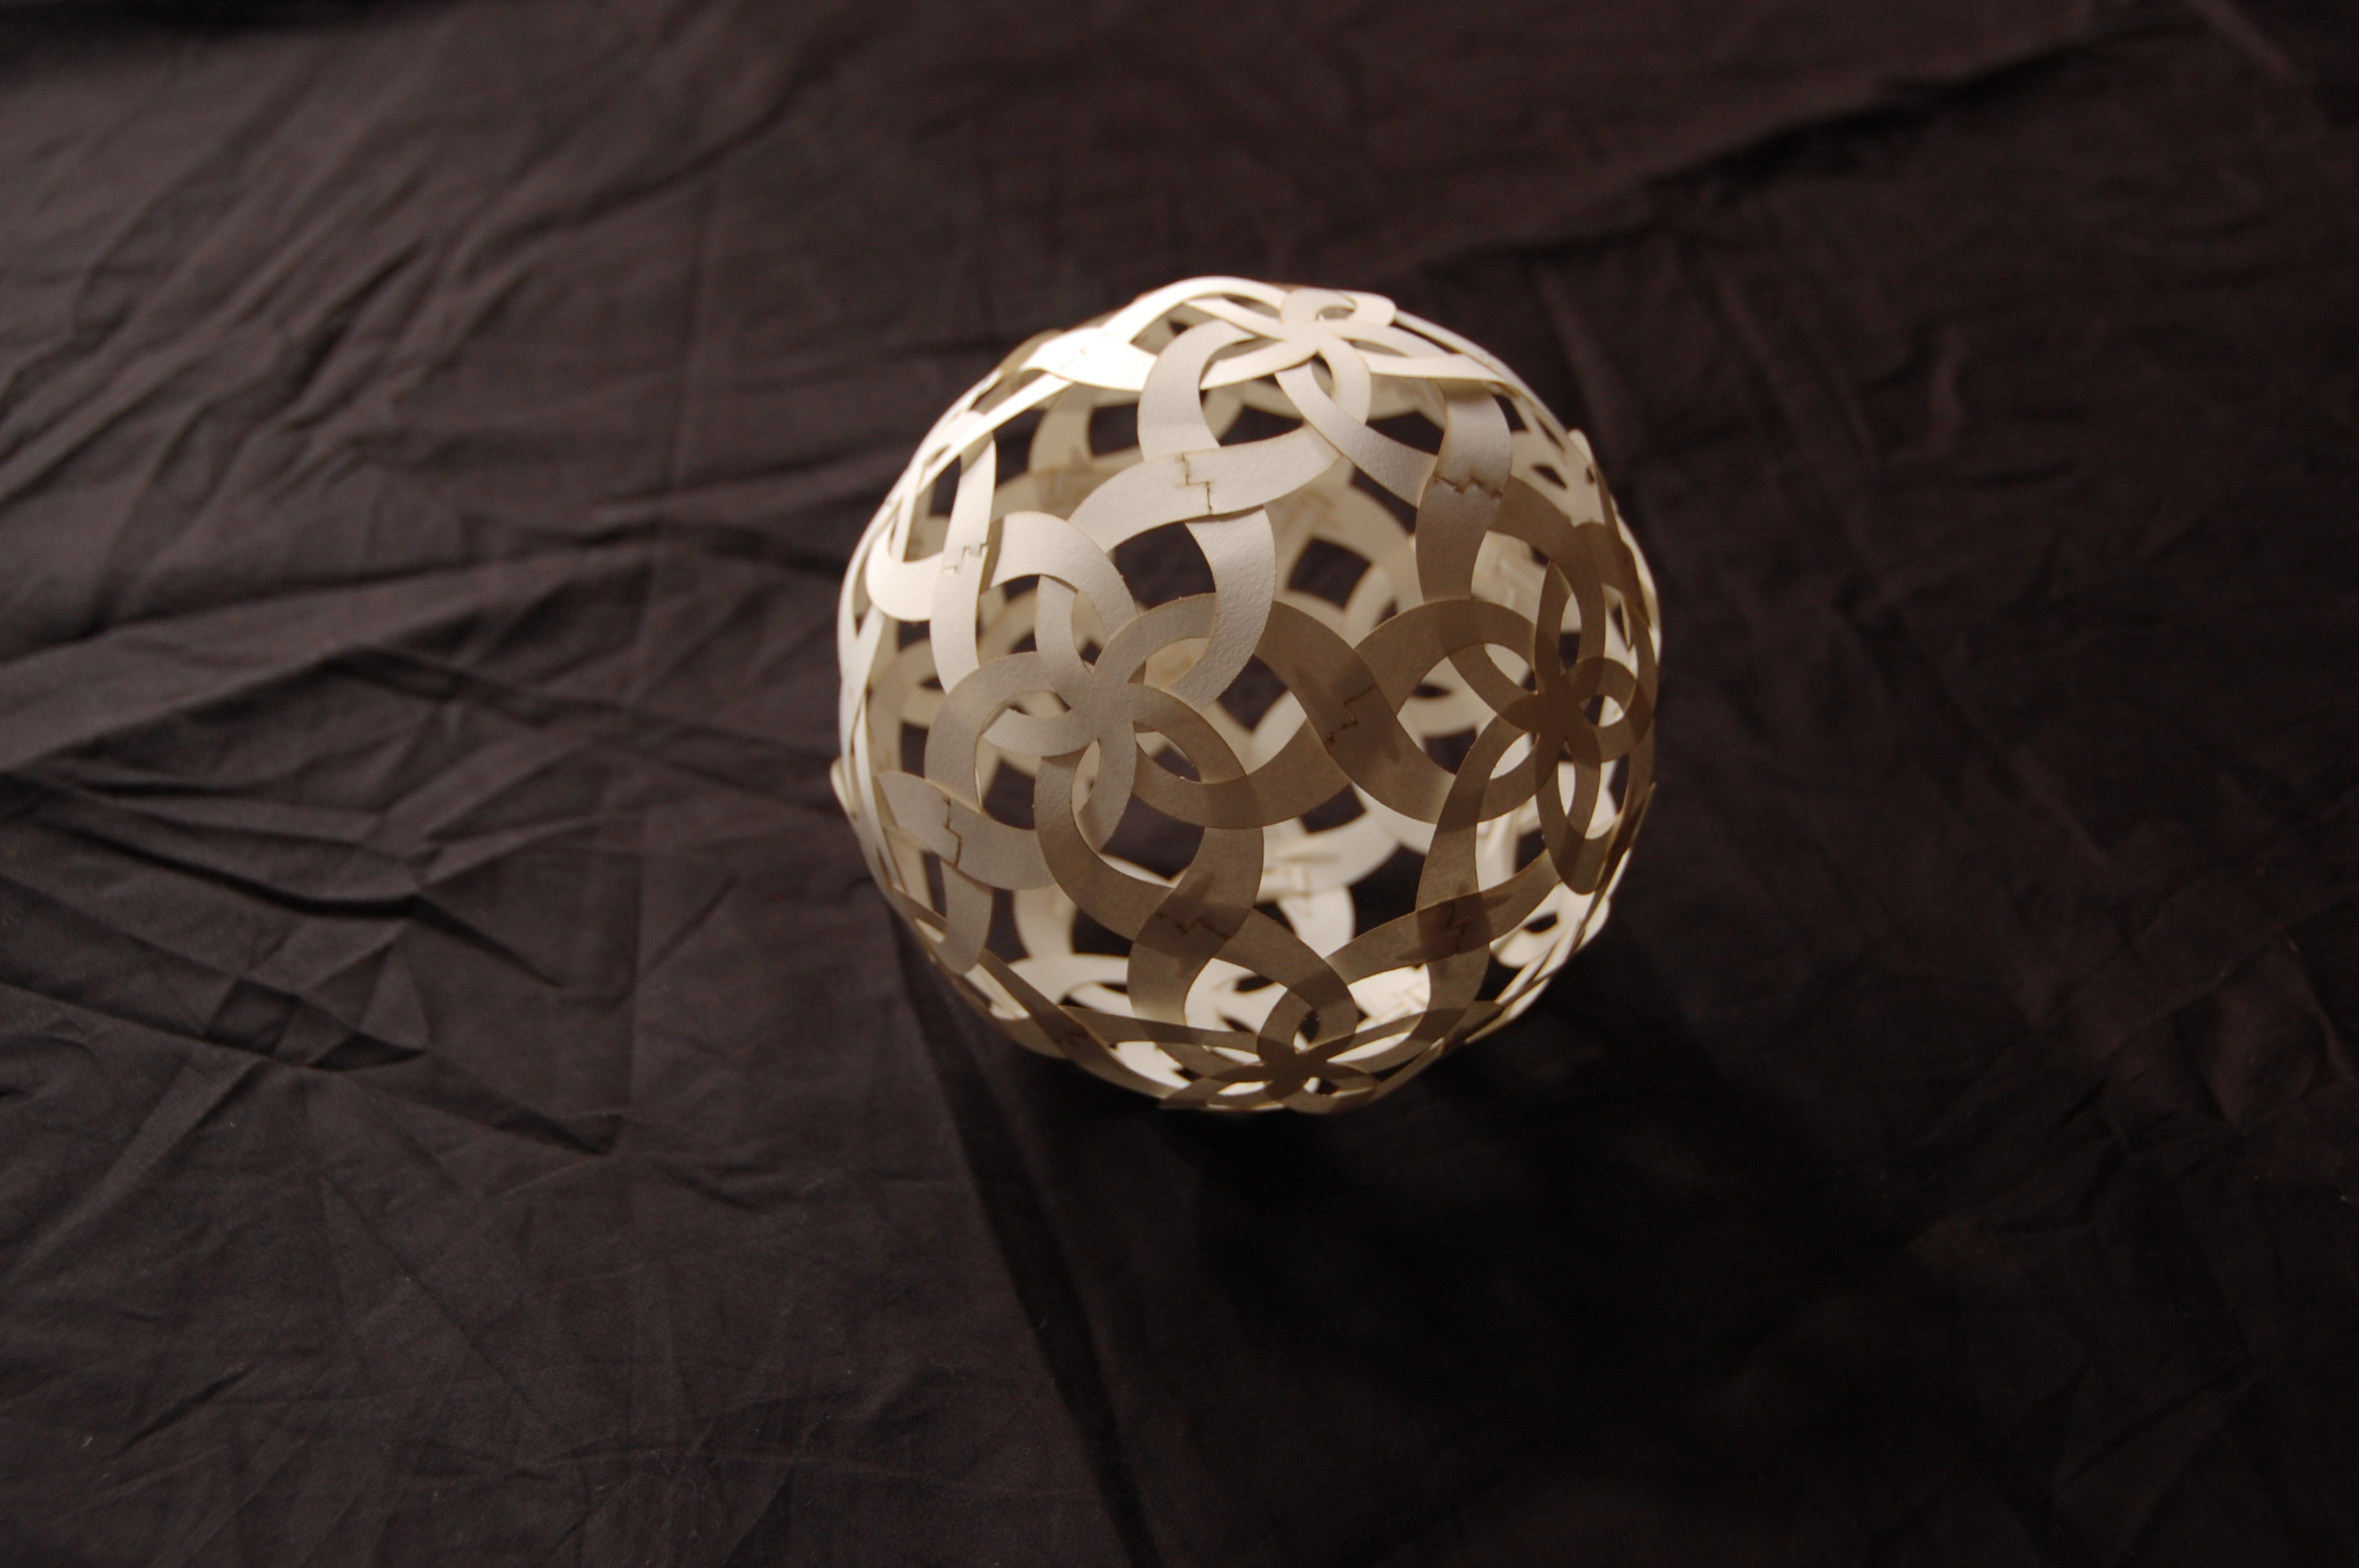
Edmund Harriss laser cut sets of paper pieces that cleverly slotted together. I took two chiral sets of five-pronged pieces and combined them to make this neat woven ball.
DSC_9422
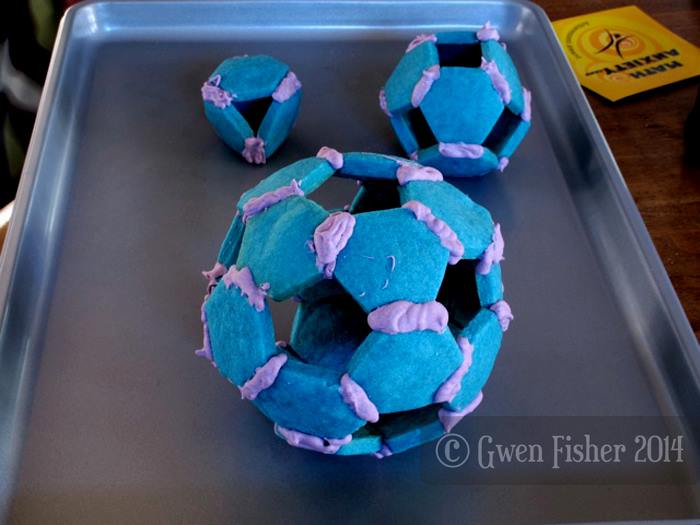
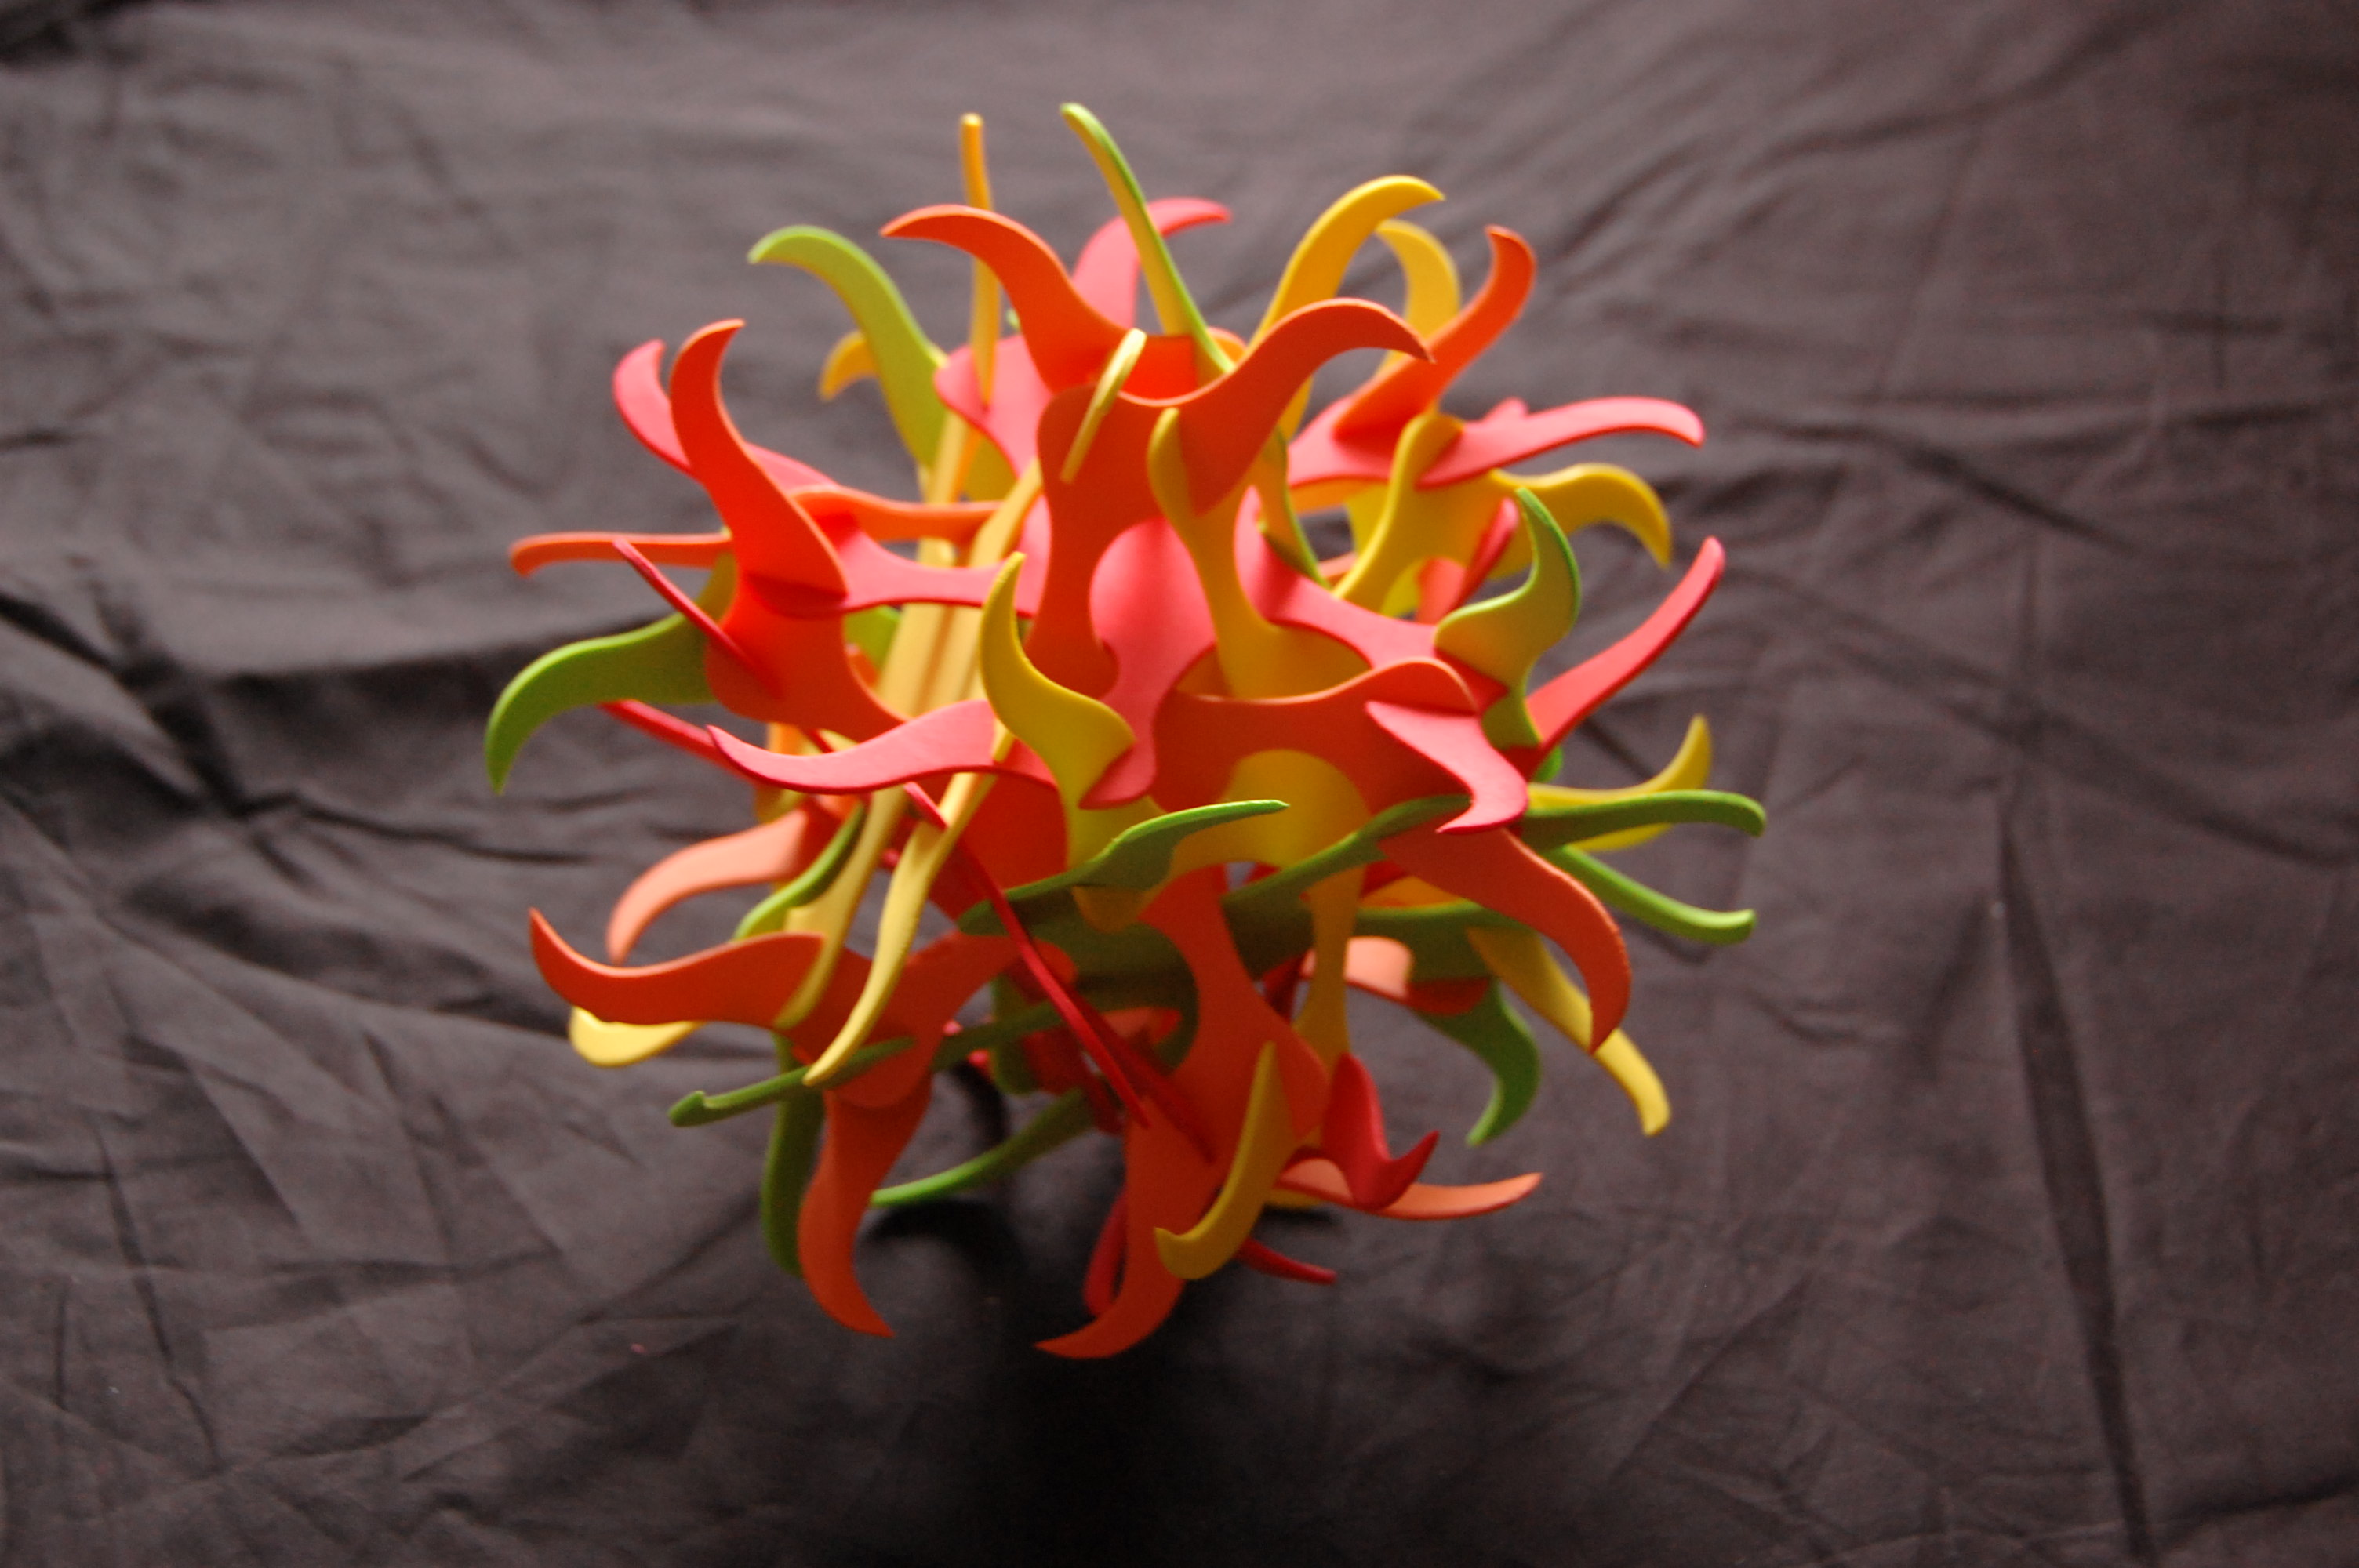
Eve Torrence gave me a set of pieces for her gorgeous “Small Ball of Fire”. I love the choice of foam as the material, as it is very forgiving and easy to assemble.
DSC_9424

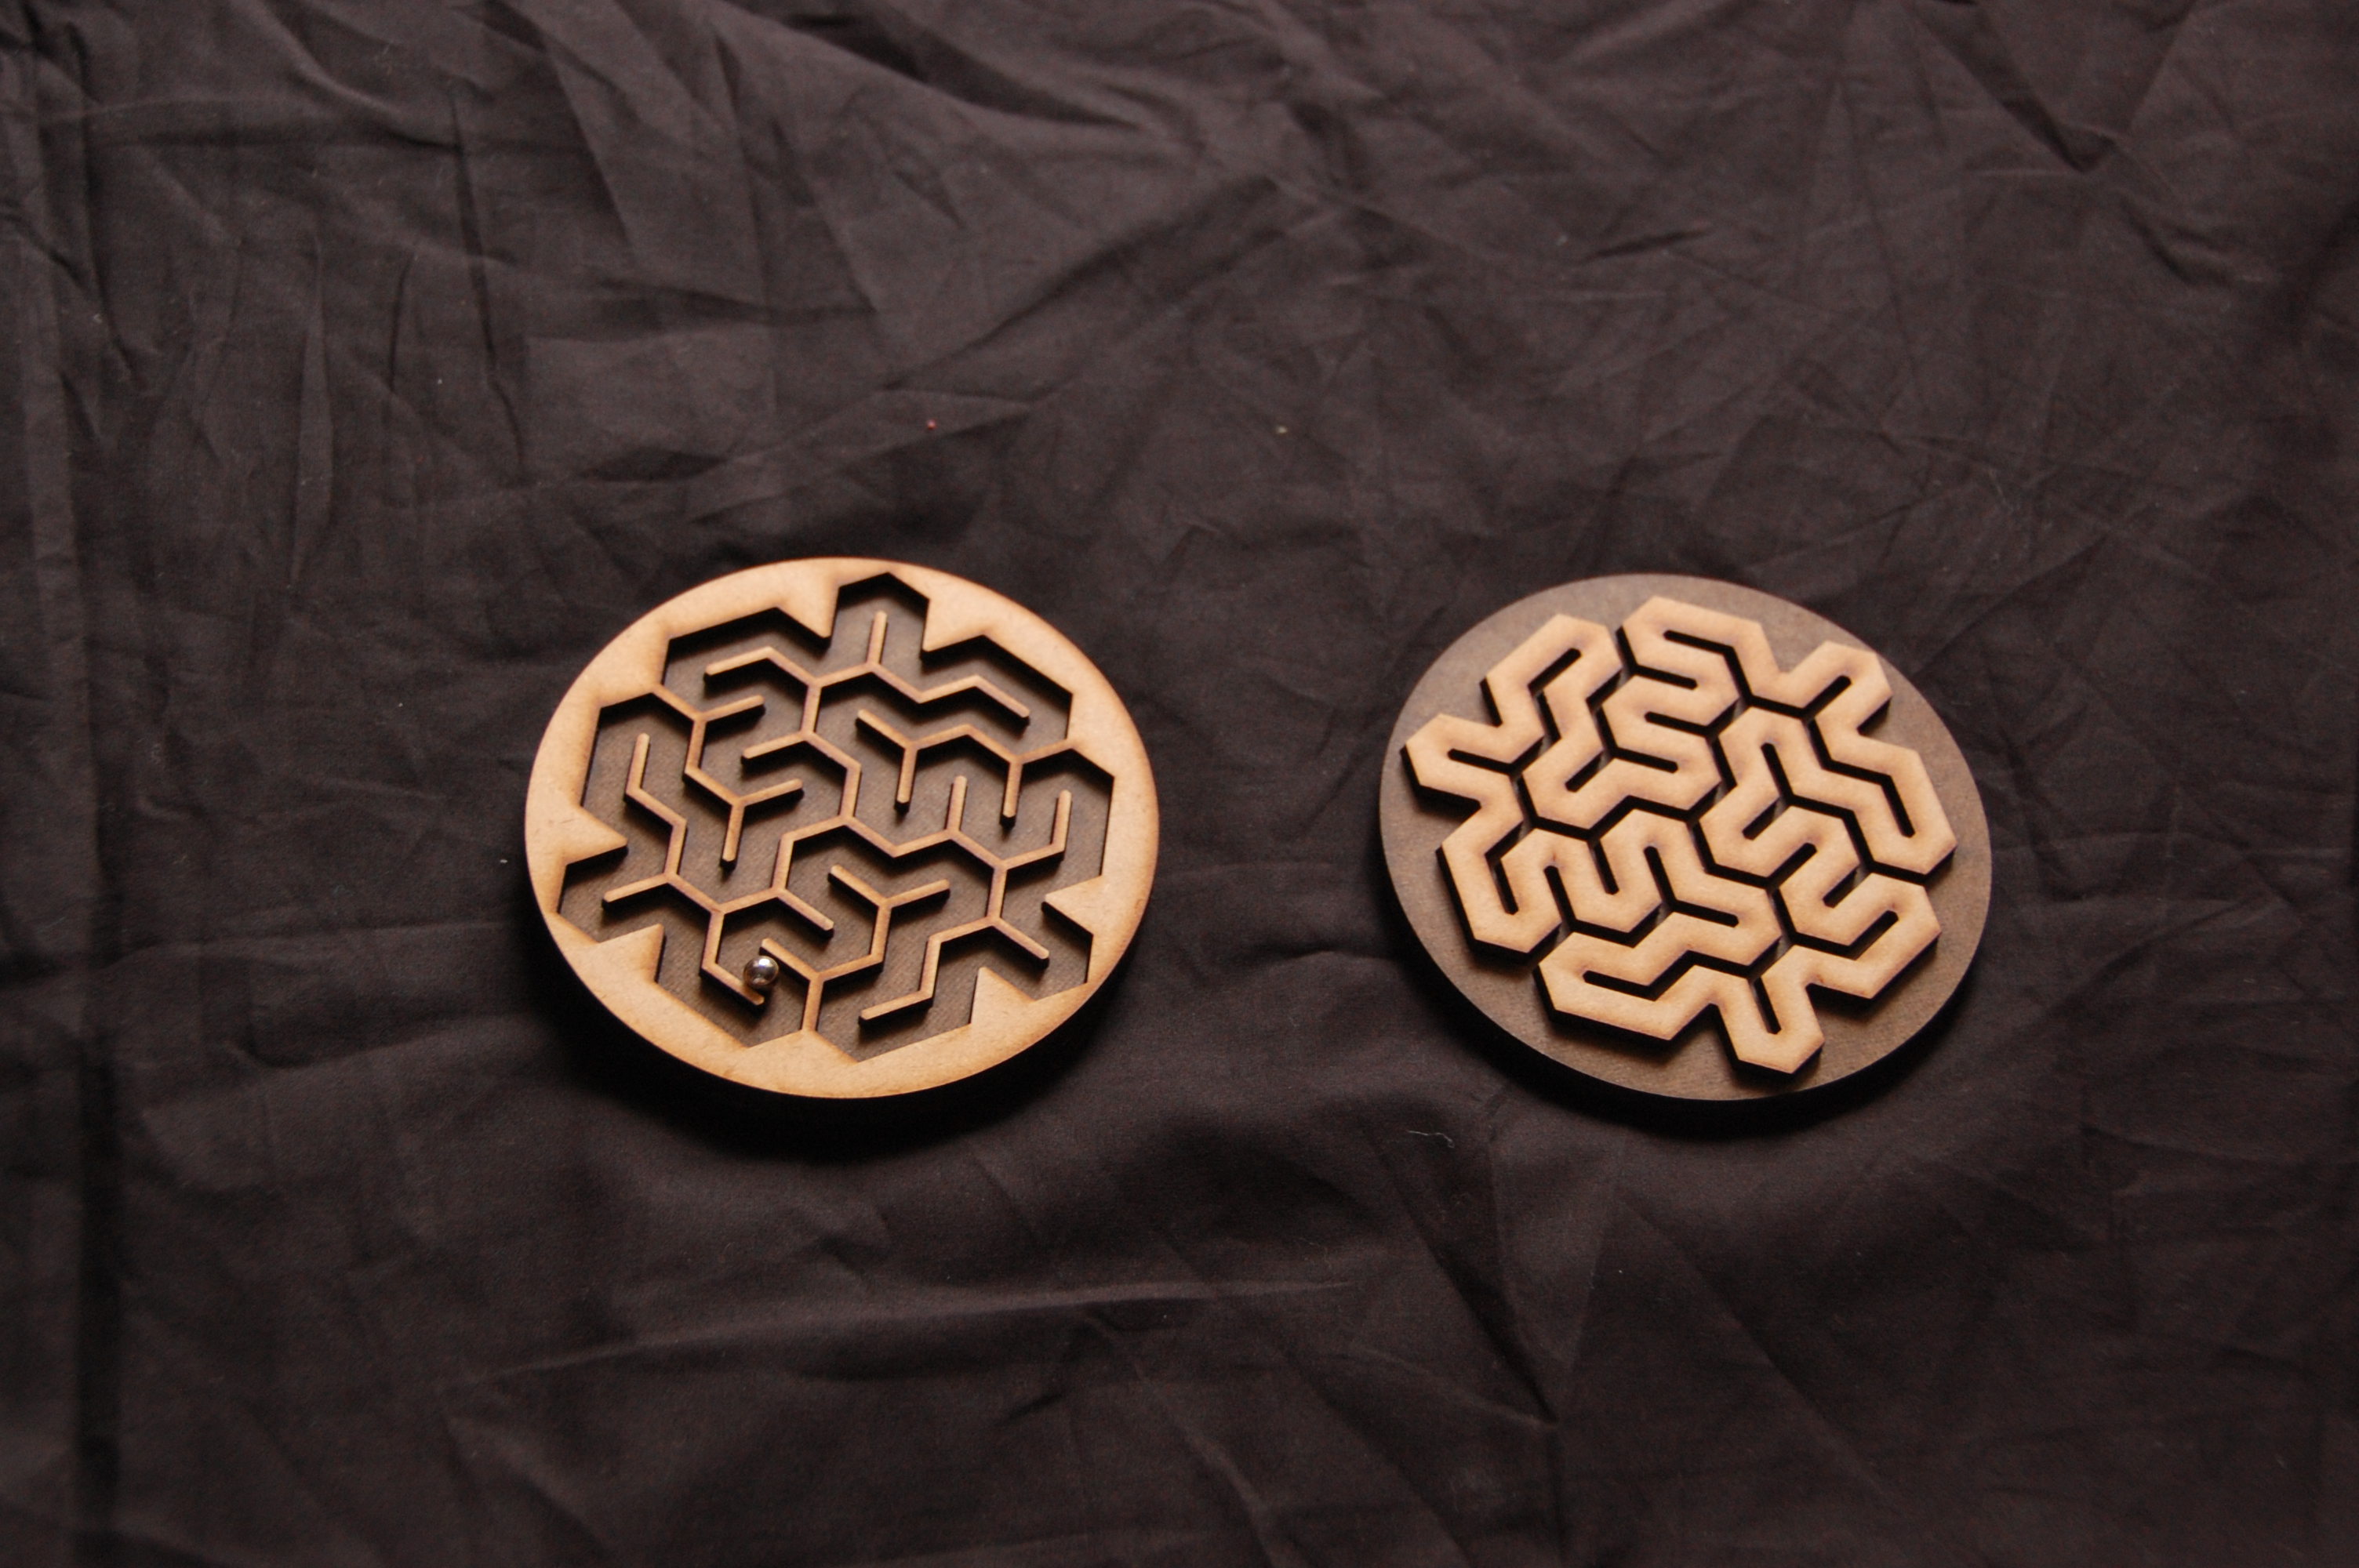
I got this surprisingly fun and meditative marble labyrinth from Bob Bosch.

DSC_9423
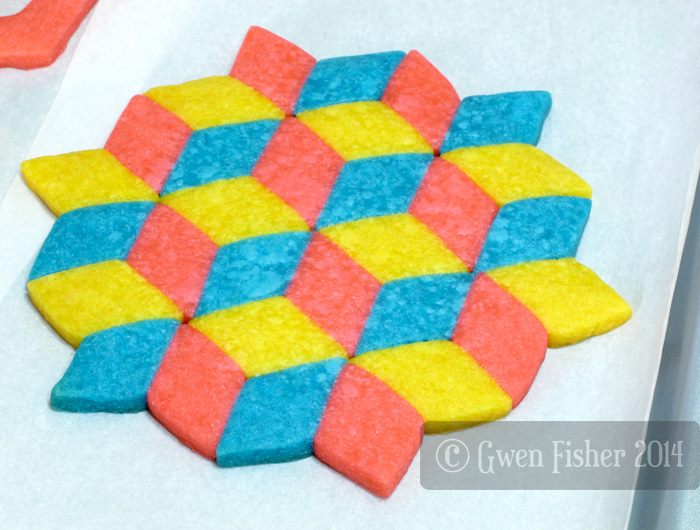
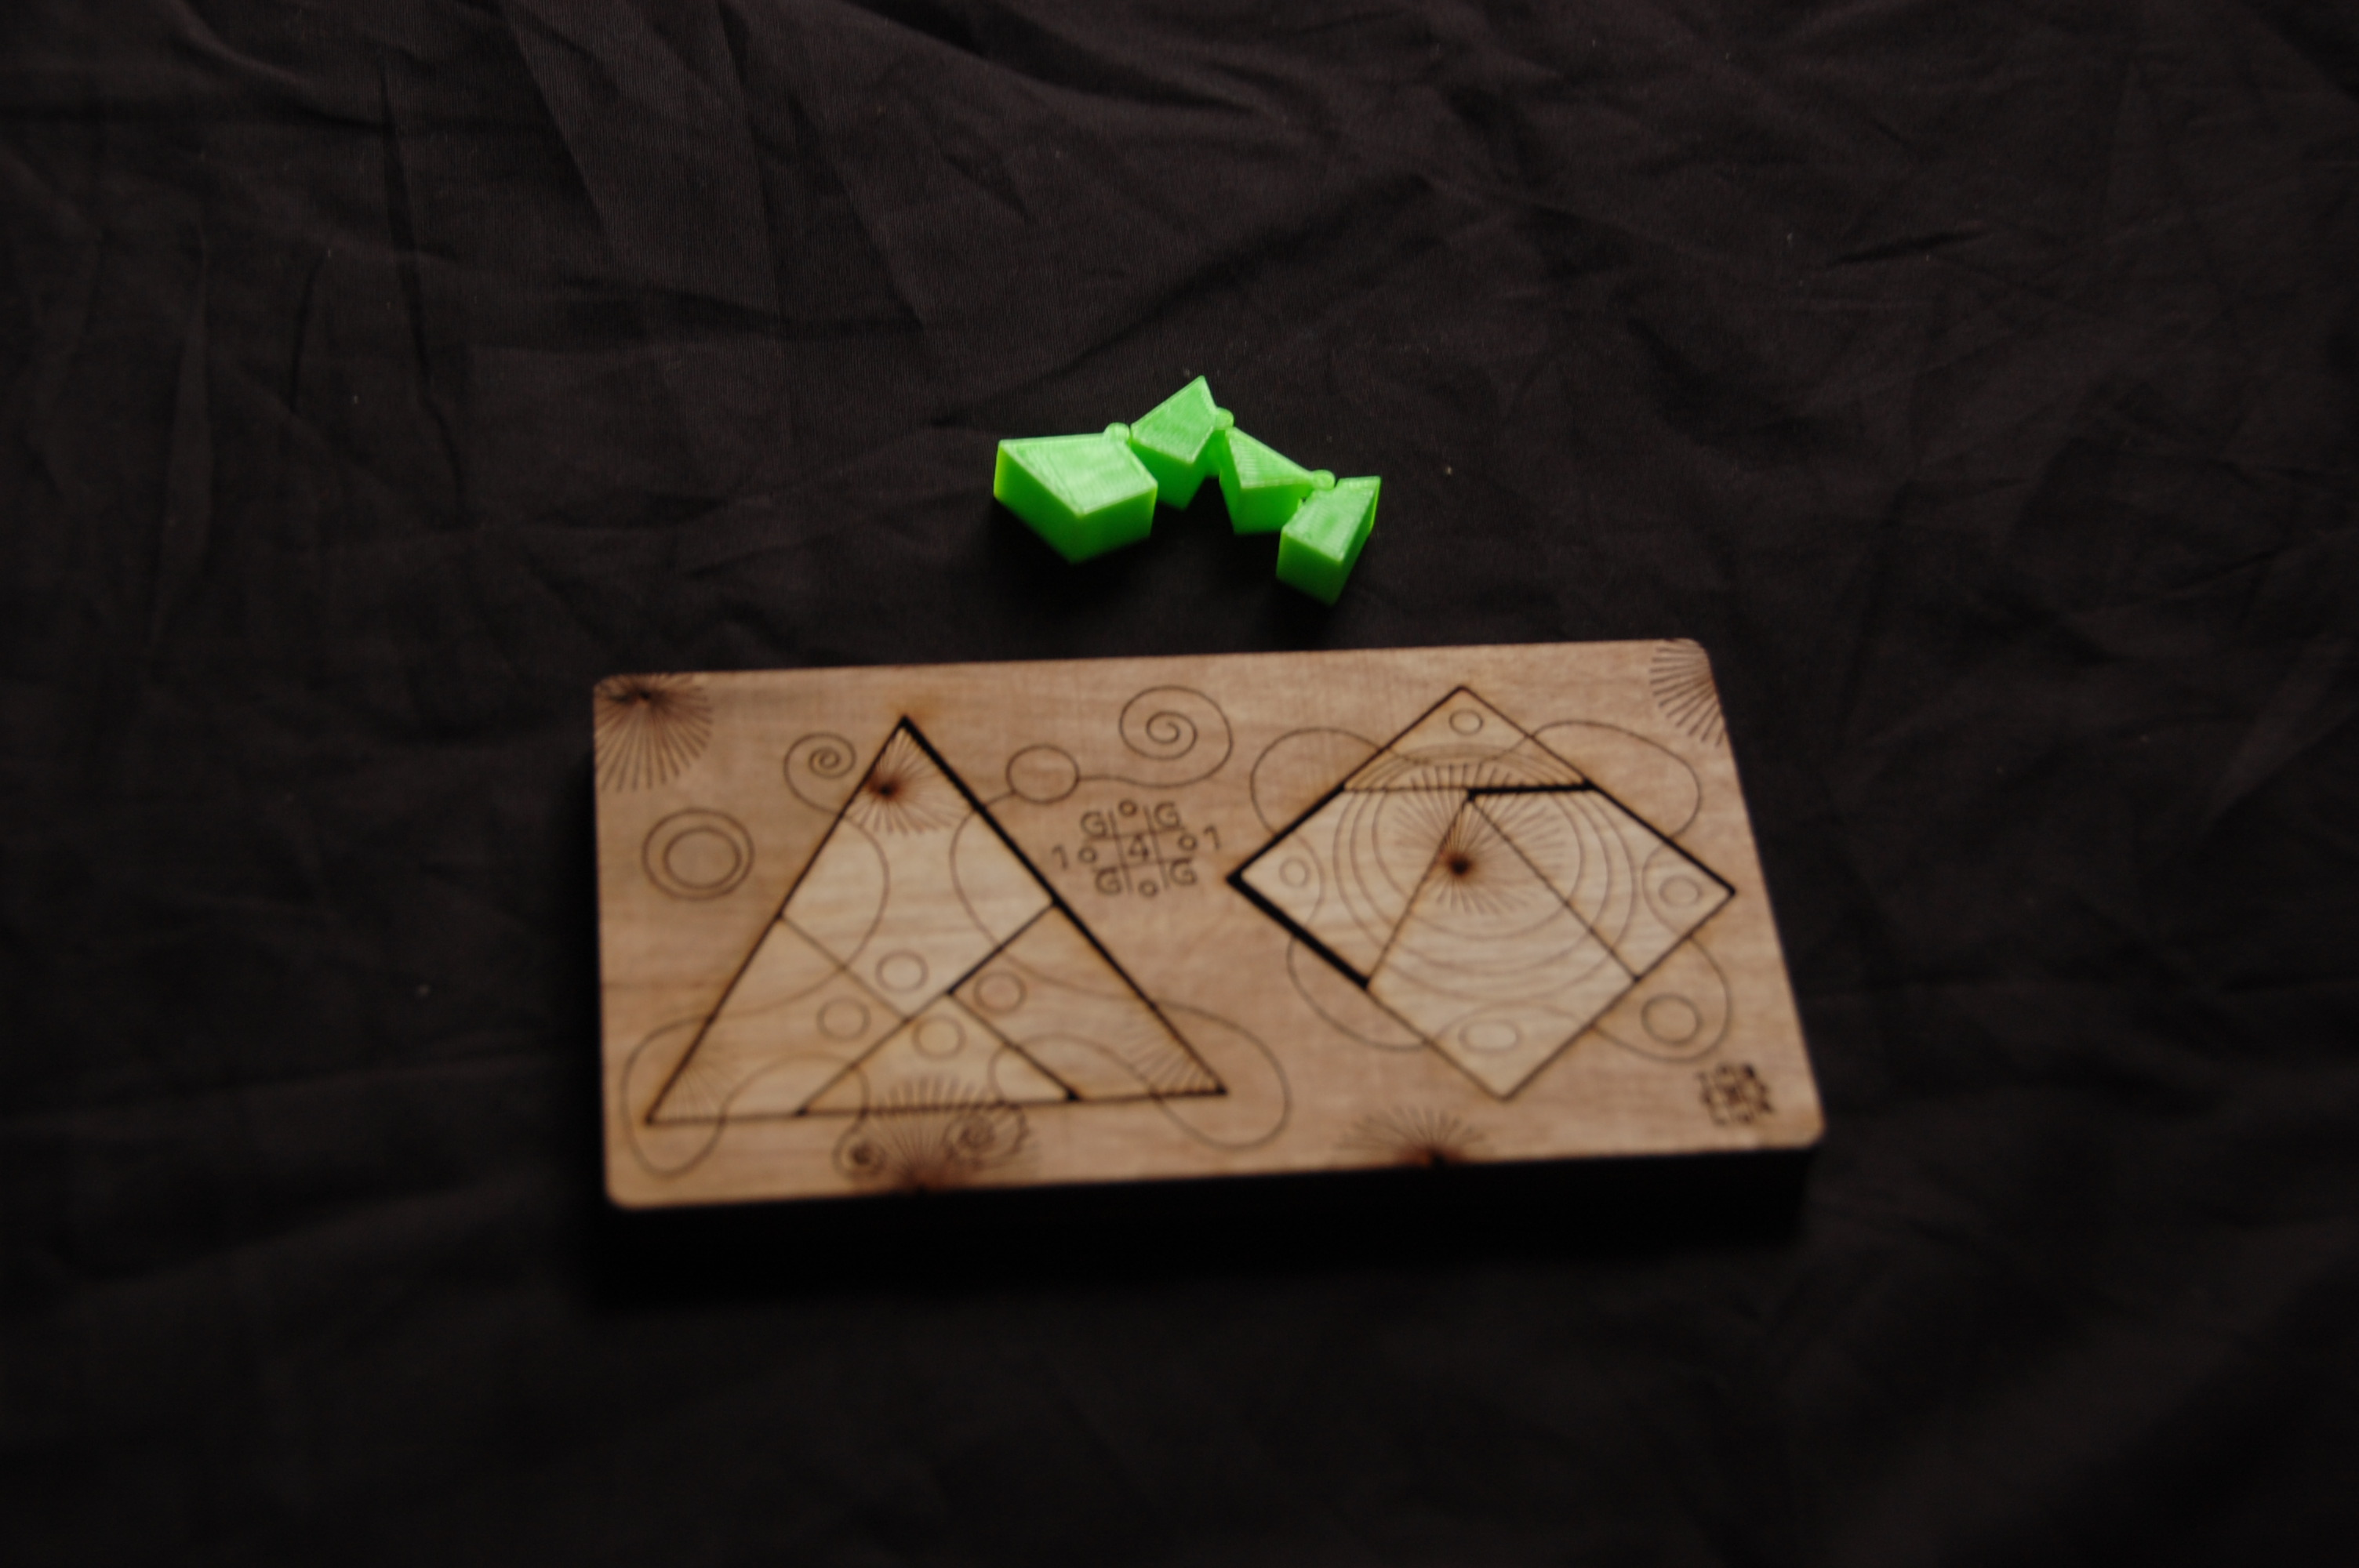
And two different versions of a square to equilateral triangle dissection. The hinged one was 3d printed by Laura Taalman. The wooden piece is from Dick Esterle
DSC_9427

Finally, the gift exchange includes many fun puzzles and papers that are interesting, but not as photogenic. I particularly liked the “turn MI into MU” (solvable variant) puzzle from Henry Strickland.

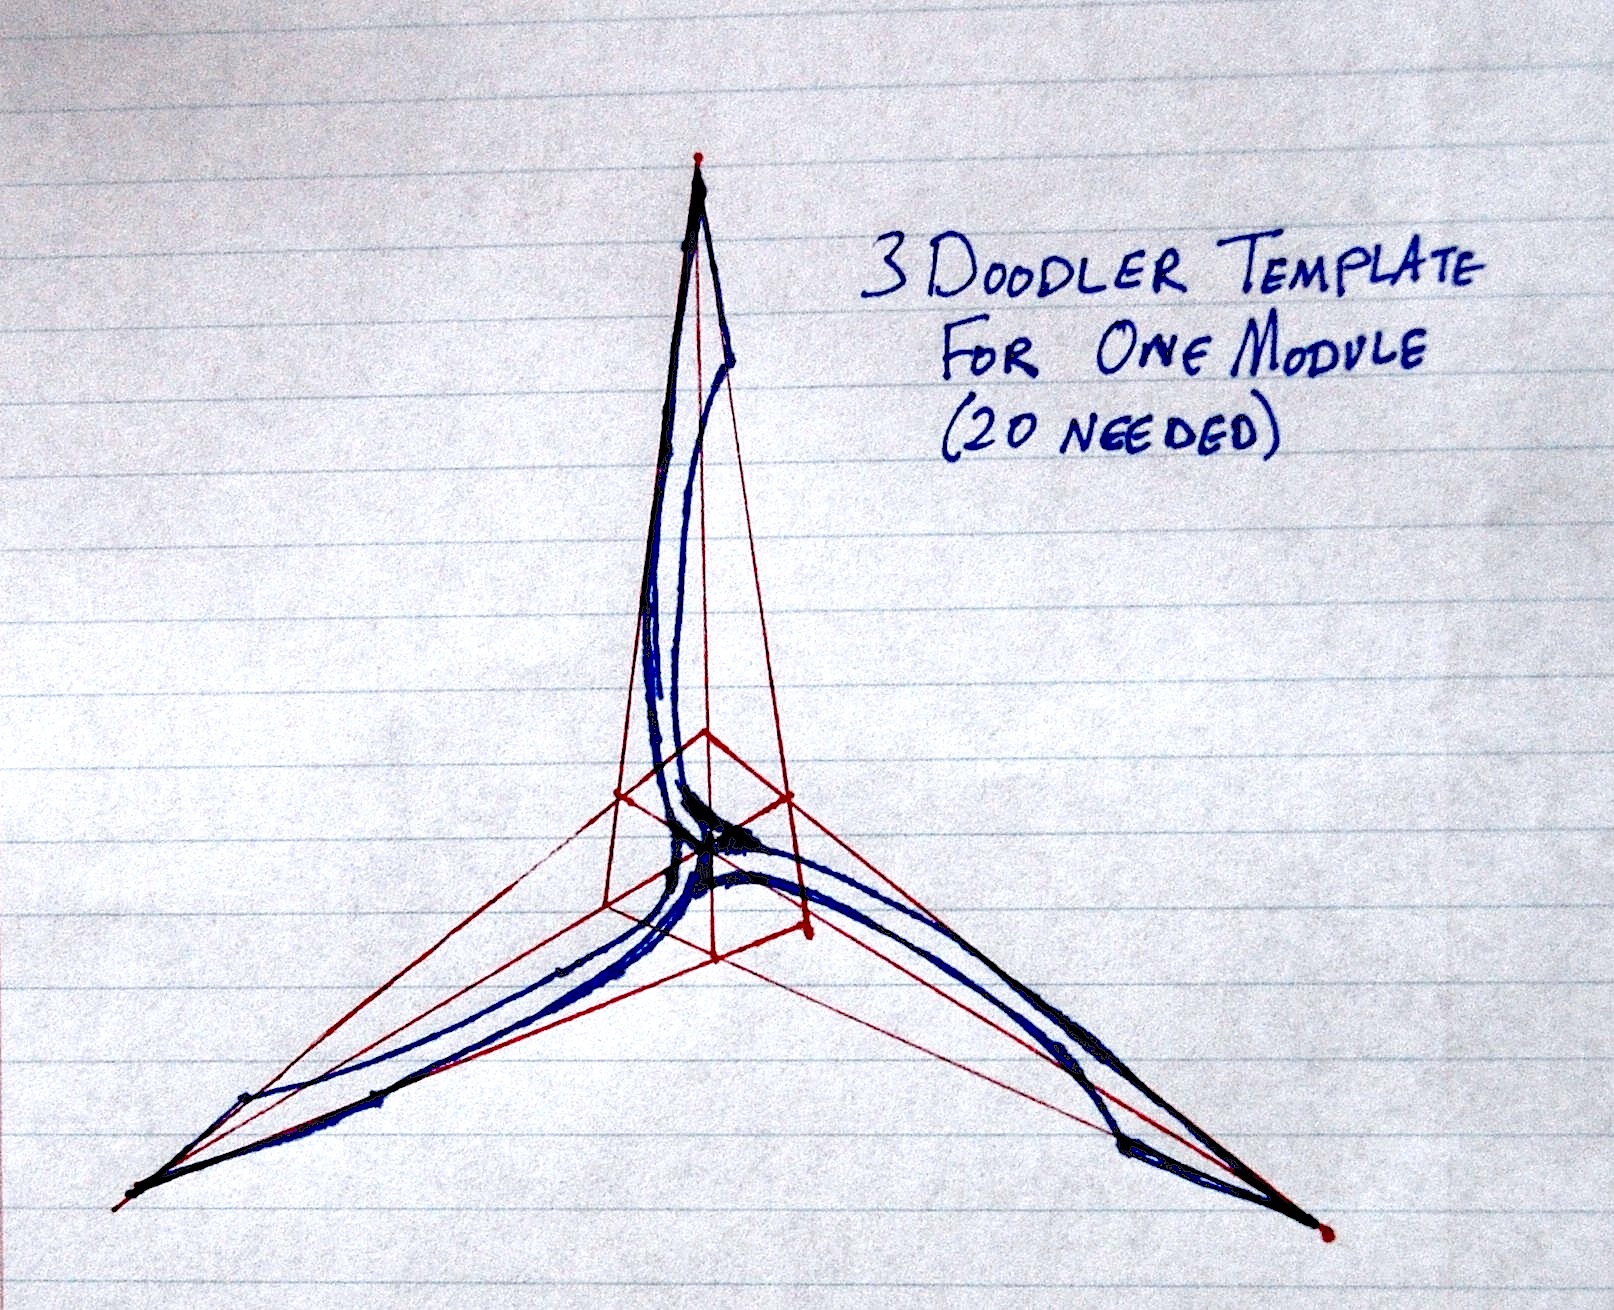
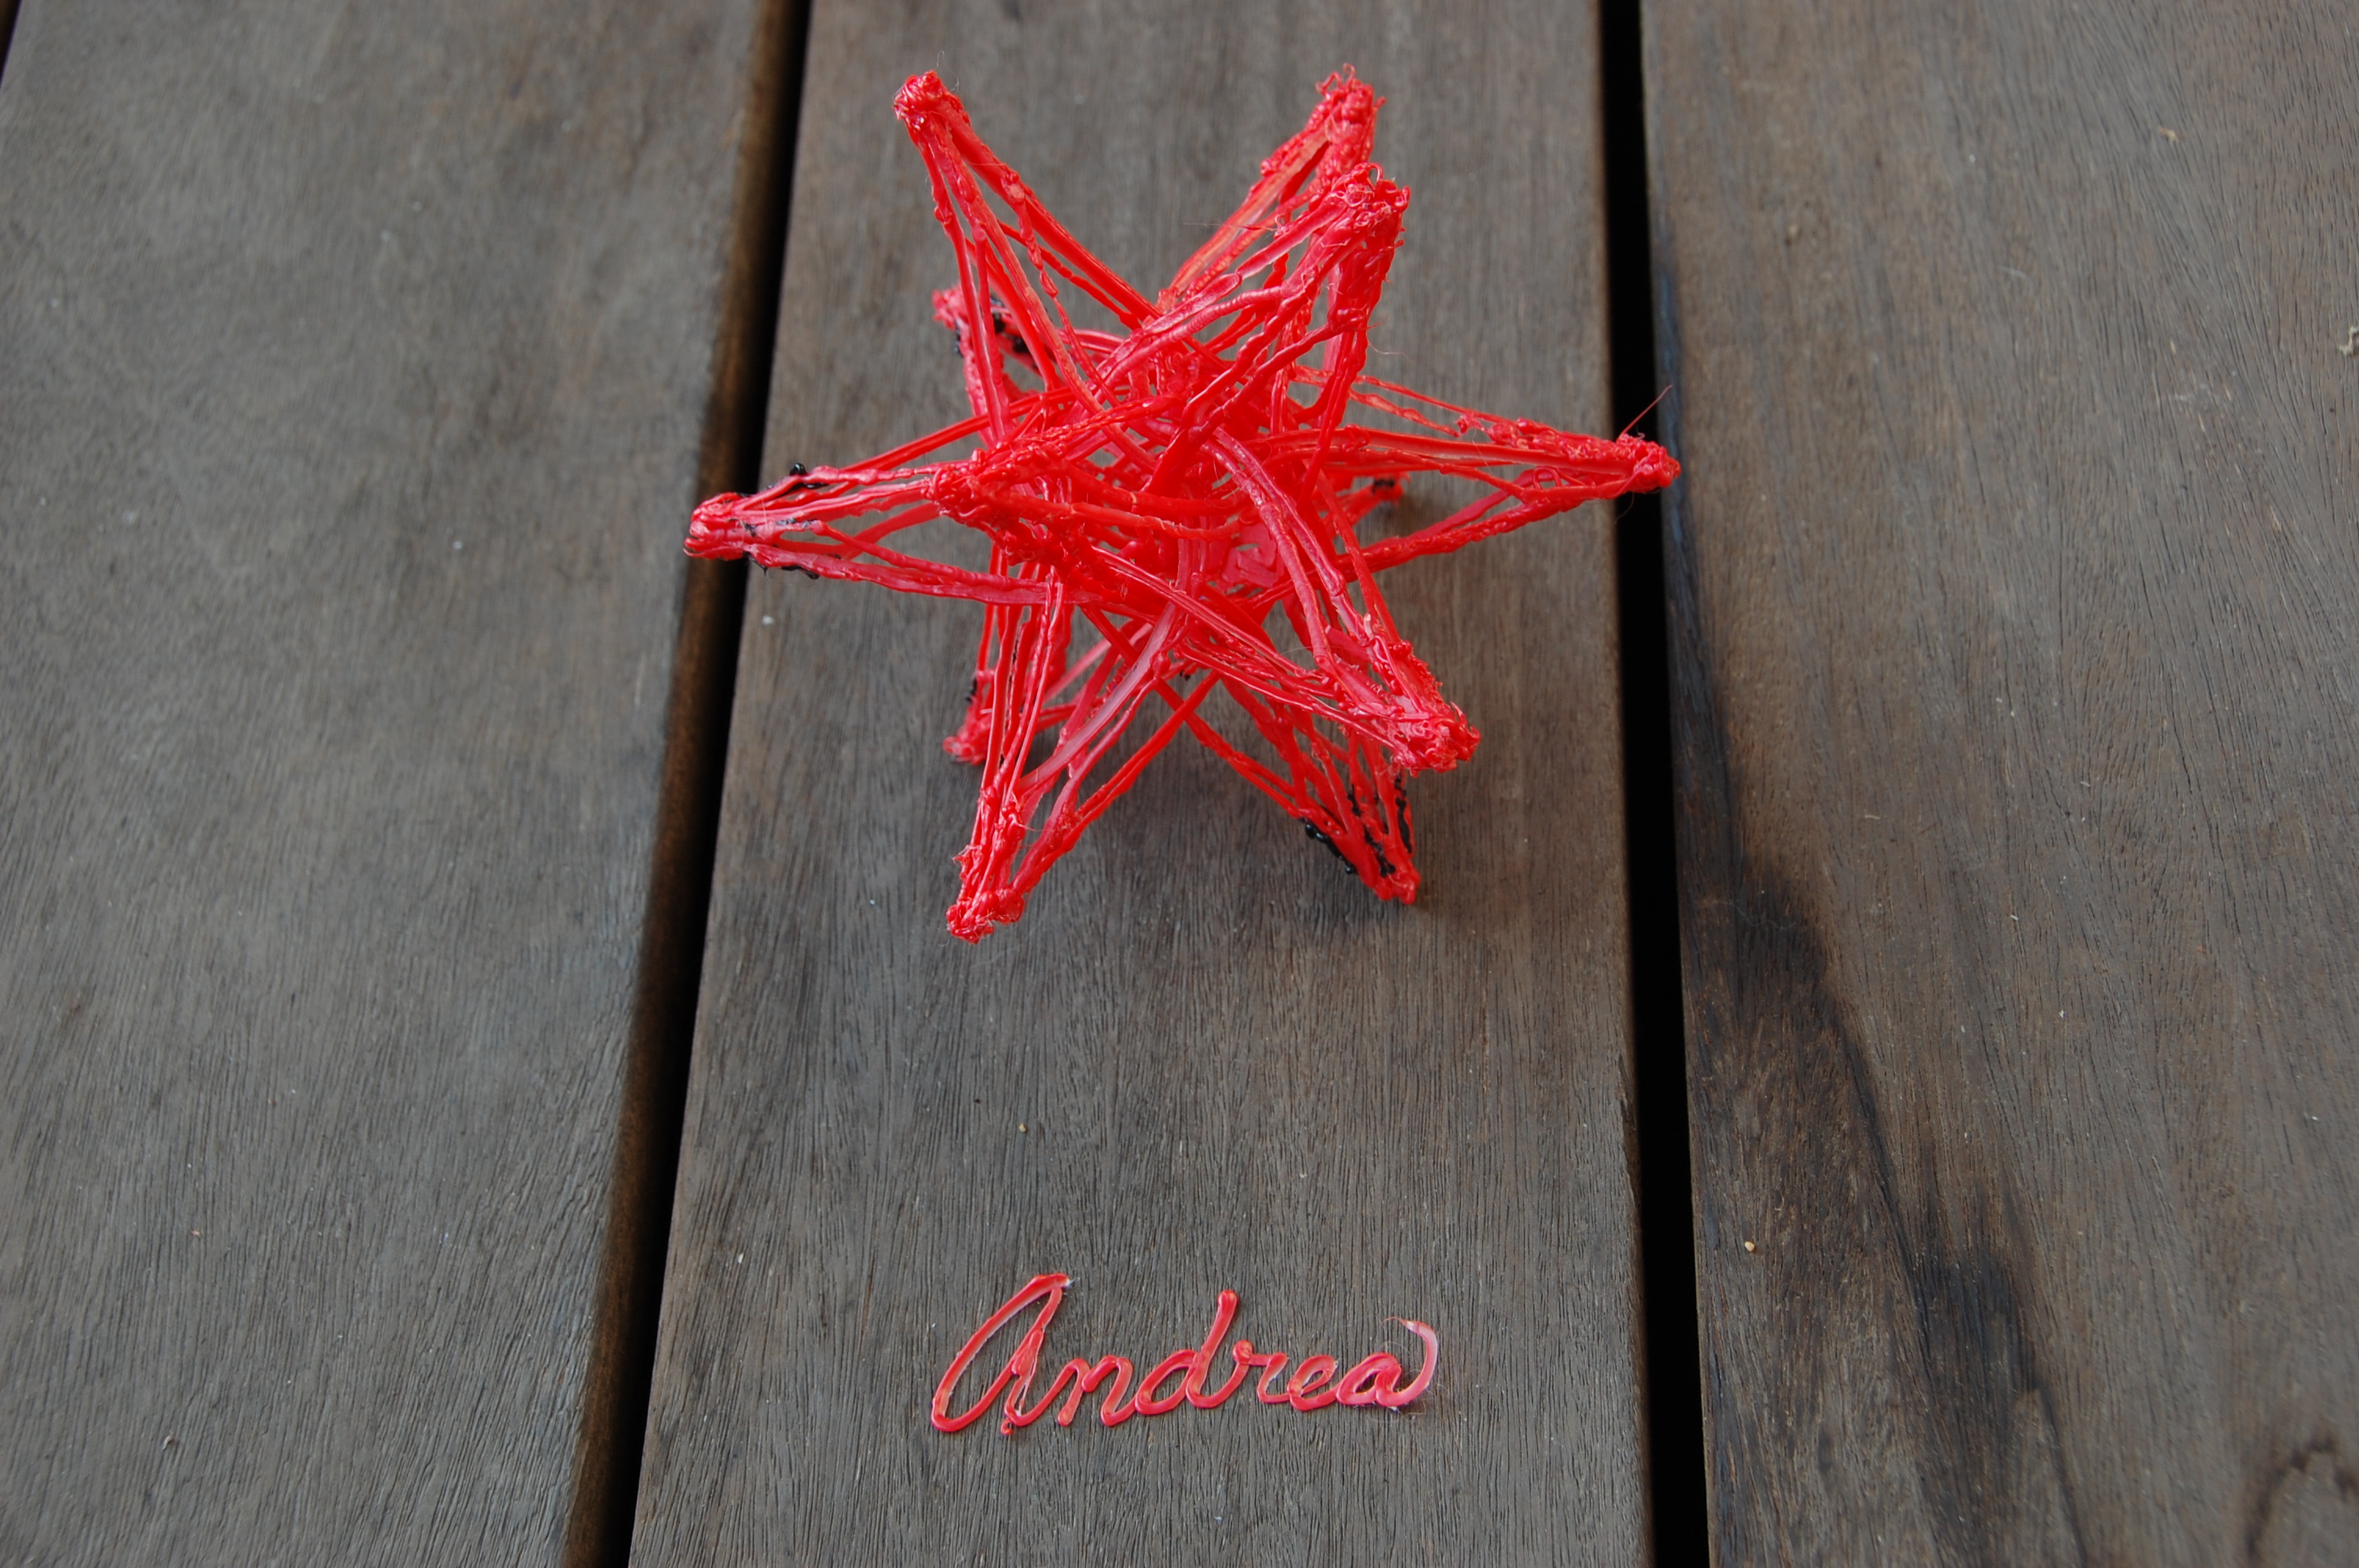
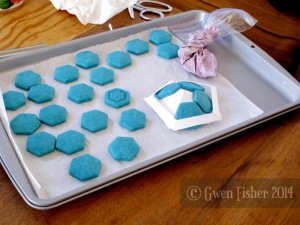
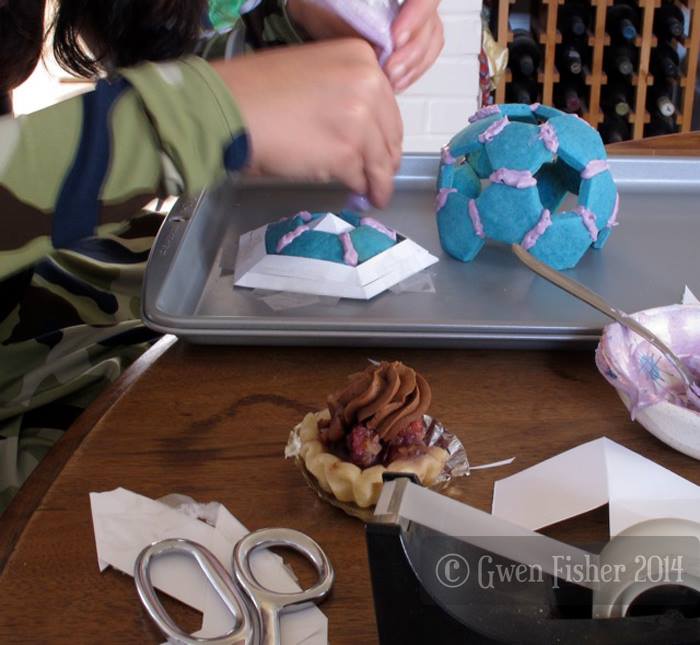
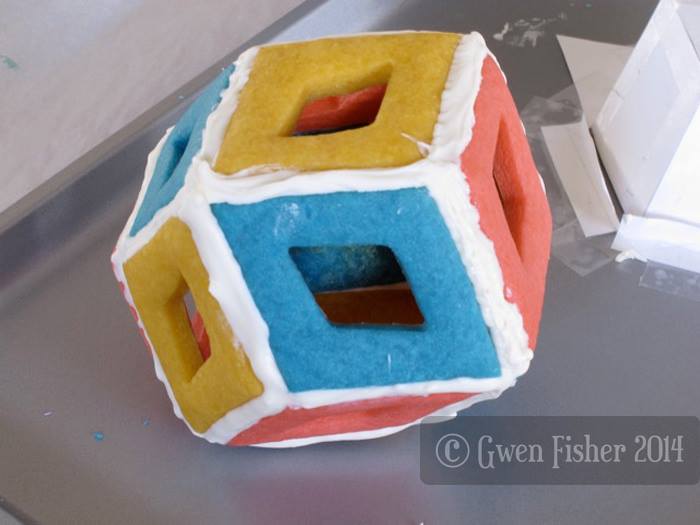
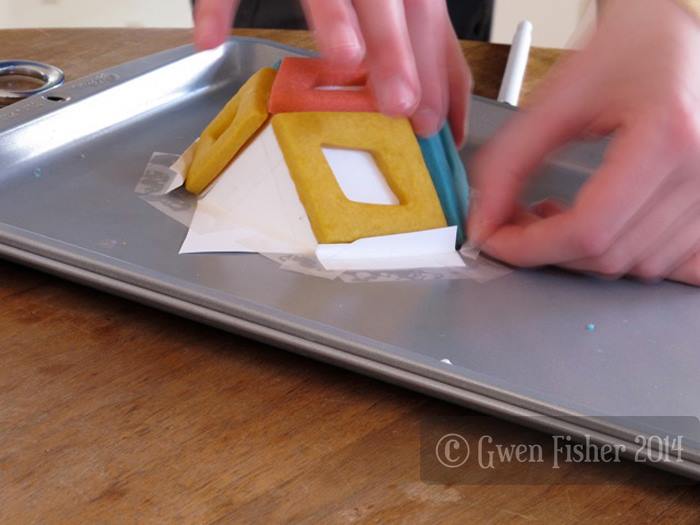
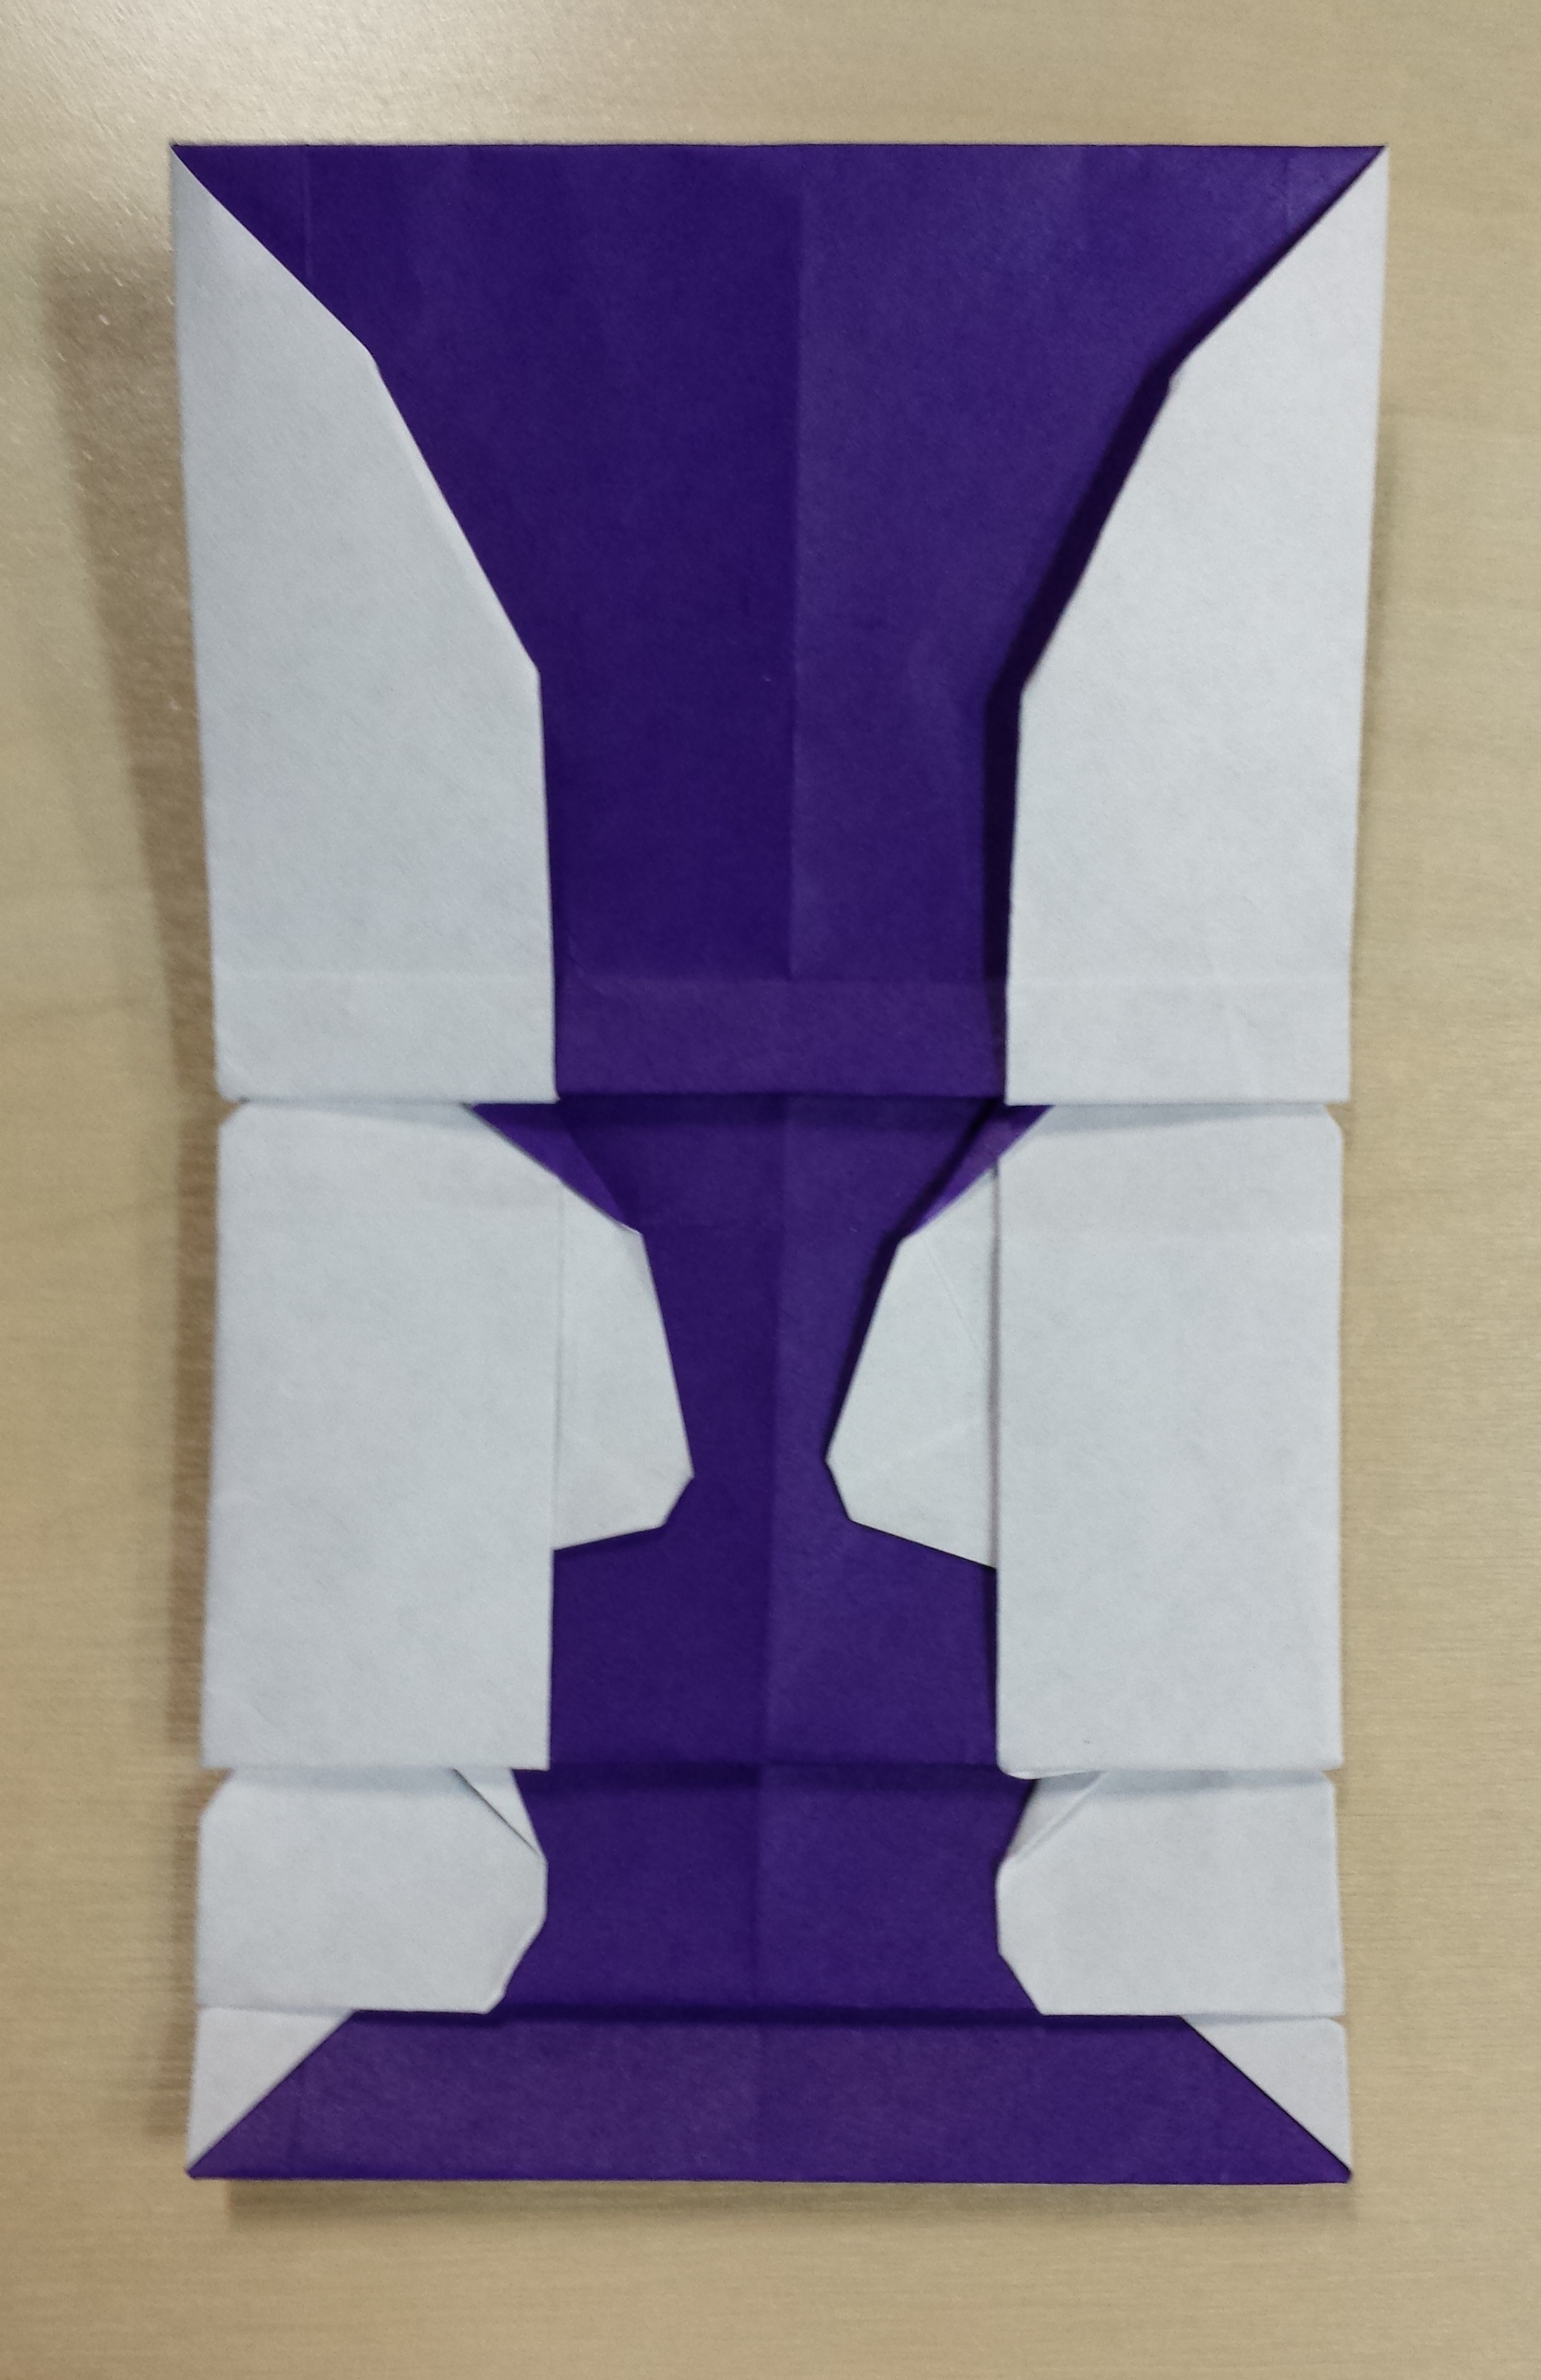
In my next post, I will talk about my own G4G exchange gift, that you can construct at home even if you didn’t attend G4G!

3Doodling with my 3Doodler

Like tens of thousands of other people imagining epic 3-dimensional doodling abilities, I purchased a 3Doodler on Kickstarter. Last weekend, I decided to sit down and actually try doodling something cool.

close-up

The first problem that I discovered when 3Doodling is that it really isn’t very easy to doodle accurately in the air. The plastic takes just enough time to dry that you still have to deal with sag. On the other hand, the plastic does detach easily from paper. People seem to mostly suggest tracing 2-D templates and then putting the pieces together.

My 3Doodled piece was made out of 20 interwoven 3-pronged pieces that were doodled onto a flat 2D template that I sketched out quickly beforehand. It is based off of the Medial Triambic Icosahedron. The red outline in my template below is representative of the full face of the medial triambic icosahedron. The blue line is the template I traced. This is a portion of the face selected such that the faces would spiral around each other rather than intersect in my final model.

template

The second problem that is that (at least on my device) the feed mechanism is flaky and plastic comes out in spurts followed by nothing, which makes drawing accurately even on paper rather difficult. This problem makes drawing in air seem pretty impossible. My device also has a relatively minor issue of the top “fast” button having a tendency to catch and get stuck in the “on” position.

You can see the resultant unevenness in this close-up of one vertex where some of the lines are notably thinner or blobbier than others.

DSC_9283

The last issue is that the 3Doodler is an ergonomic nightmare. Holding the 3Doddler for several hours while pressing the “extrude” button with my thumb gave me sufficiently severe thumb and wrist pain that I am unlikely to do much 3Doodling in the future.

All of this is unfortunate because despite it’s issues, the 3Doodler is really quite nifty and fun to play with. If I was able to use it without wrist pain, I would be seriously considering how to purchase more plastic (as you can see, I actually ran out of red towards the end of my model and started connecting corners with black). There is definitely something rewarding about drawing something very solid and physical, and as far as end results go, I was actually reasonably pleased with my doodle.

As I’ve mentioned before, a lot of models like this one cast impressive shadows. Here are some pictures of this model’s shadow.


Shortbraid and other geometric cookies

What happens when you combine three recreational math artists with a fantastic pastry chef?

Last weekend, Vi Hart, Gwen FisherRuth Fisher and I got together to try this experiment. Ruth provided several colors of shortbread dough and white chocolate “glue” and a few assorted cookie cutters. Gwen took photos (shown with permission below) and Vi took a bunch of video.

Our first idea was to make polyhedra cookies. The hexagon cookie cutter seemed to suggest truncated tetrahedra, octahedra, and icosahedra. We tried making one of each.

cookies12

Assembly was a bit tricky and required the use of an assortment of cardboard jigs to keep pieces in place while the chocolate dried.

cookies3  cookies1

While our hexagon cookies were baking, Vi got started making a rhombic dodecahedron. We used a straight-edge to cut rhombi with the correct dimensions.

cookies5

cookies9  cookies4

She wanted to have little cut-out holes in her polyhedron, and used a rhombic cookie cutter that happened to have just the correct dimensions to tile the plane nicely.

cookies8  cookies6

Which, of course, got us thinking about more interesting geometric tilings. For example, non-periodic Penrose tilings. Everyone likes the kite dart tiling and we made ourselves some cookie cutters out of card stock to generate kites and darts quickly.

cookies7

A real math cookie party isn’t complete with out some fractals (here we have some Sierpinski Tetrahedra)…

cookies10and some shortbread “shortbraids”. The three rings here form an 18-crossing Brunnian link.

cookies11

The East Bay Origami Convention

this year had the theme, “Impossible”, so I decided to stay thematic by teaching an “Impossible” origami model. Of course, I didn’t have any such model pre-designed, so my pre-convention challenge was to design a thematic model that could be taught to a mixed level audience in no more than 1 hour.

One of my early thoughts was to design an origami version of the impossible triangle illusion, but I quickly decided that that had already “been done” sufficiently. However, this got me to thinking about various illusions and impossible figures. Possibly my favorite classic illusion is the Rubin’s Vase or Face-Vase illusion, so it’s not surprising that I ended up with the Rubin’s Vase as my model.

Origami Rubin's Vase
Origami Rubin’s Trophy Cup

Folded out of gold or silver foil, it resembles a trophy cup, hence my final name for the model, the “Rubin’s Trophy Cup”. When folding out of foil, it is also possible to add some nice rounding to the cup.

Other exciting notes from EBOC 2013, include having my fox finger puppet model published in the convention book (the very first time I have ever published origami diagrams), meeting Janessa Munt, and having my non-origamist boyfriend win the scavenger hunt challenge.

The official convention website is here: http://calorigami.berkeley.edu/eboc.html and the official convention pictures are here: http://www.flickr.com/groups/2449839@N22/