Hair Tie 120-cell

Image by Lucas Garron

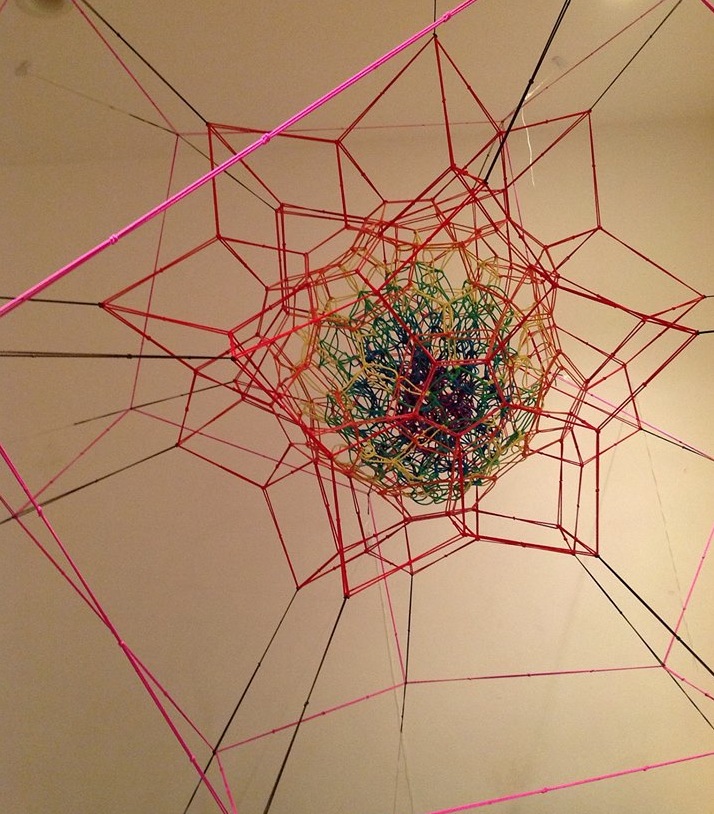
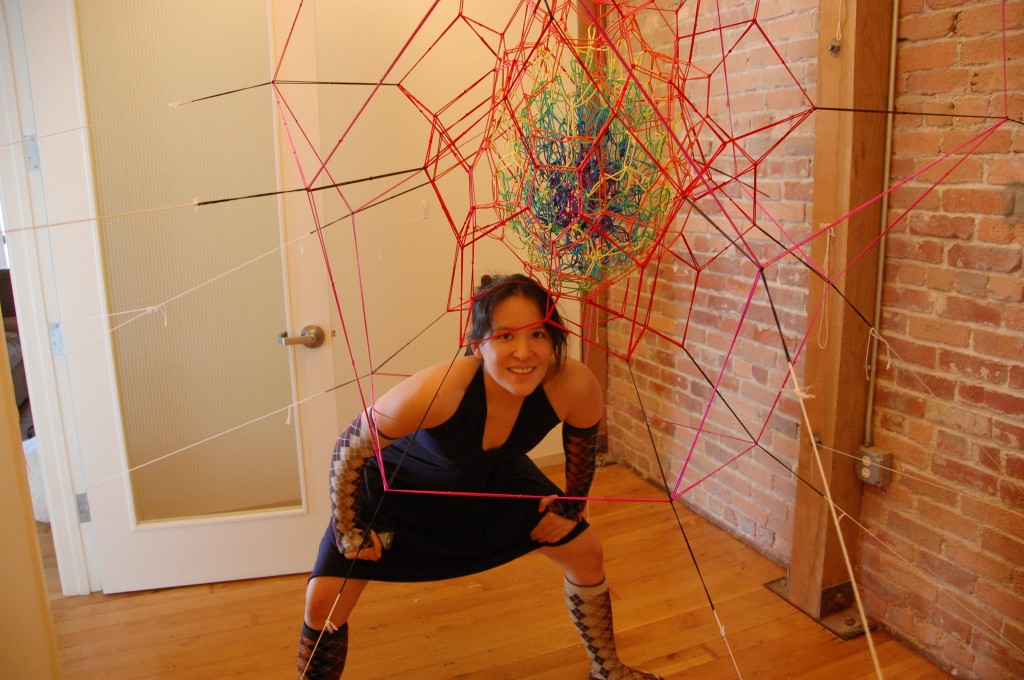
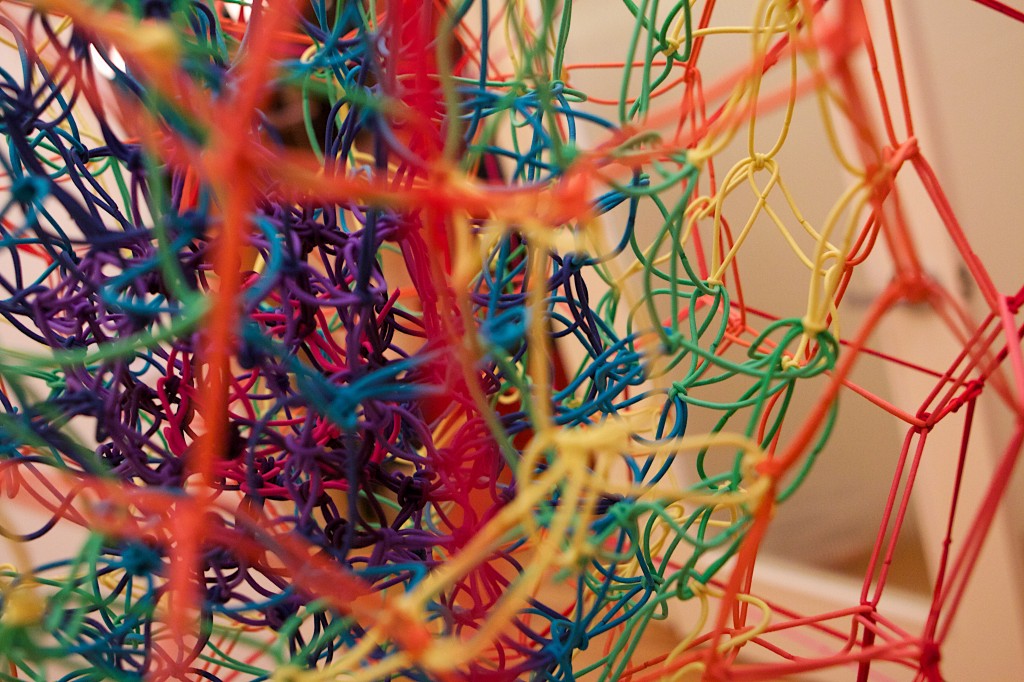
About two years ago, I decided to make a 120-cell out of hair bands. I had just come back from Gathering for Gardner 10, where I had helped my friend Zach Abel build a cool, giant rubber band sculpture. This sculpture was fantastic and I loved how boingy it was. I was incredibly inspired by his idea and technique of using elastic bands to create geometric sculpture, and I wanted to try making my own.

2012-03-31 17.04.15

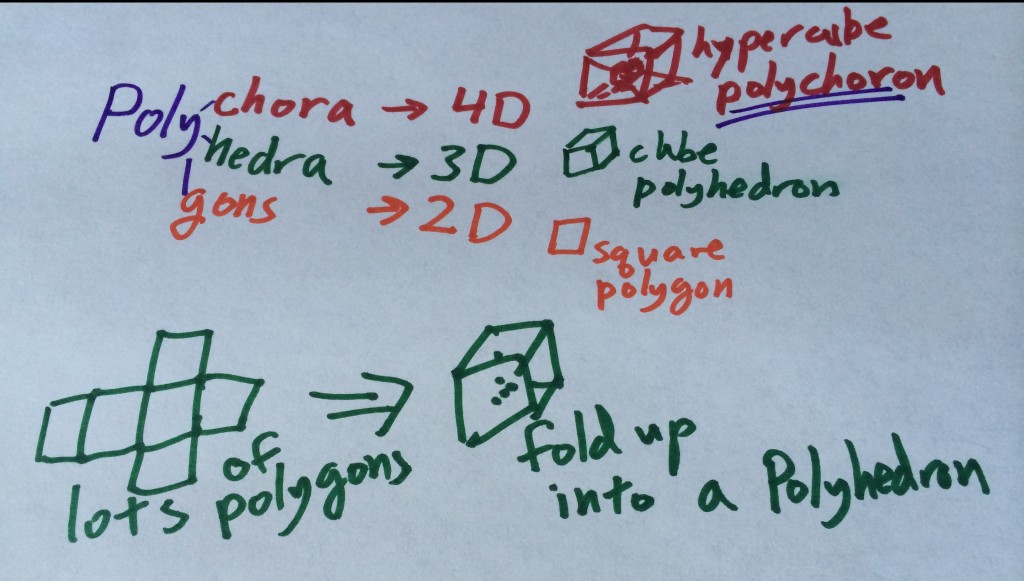
Shortly thereafter, Vi Hart asked me what my favorite polychoron was, a question to which I immediately answered “the 120-cell“.

See, my favorite number is five (a long-standing fact that first emerged when I was 5 years old), and, by extension, my favorite polygon is the five-sided pentagon. It naturally follows that my favorite polyhedron is the regular dodecahedron comprised of 12 regular pentagons. The 120-cell, made out of 120 regular dodecahedra, was basically a shoo-in for my favorite 4-polytope.

photo 2 (2)

Thus, when I discovered CVS selling colorful hair bands by the hundred, it seemed obvious that I needed to make a giant, bouncy (projection of a) 120-cell out of them. Hair bands seemed like a natural thing to use for a 120-cell. Their natural stretch means that you don’t need to get the lengths exact (just close), they come in all kinds of colors, and they have a truly delightful sproing to them which encourages people to really interact with the final sculpture.

I immediately purchased 600 hair bands (buying out the CVS in question), and got started. I particularly like the way that the Schlegal diagram of the 120-cell shows all of the edges and vertices and has a regular dodecahedron in the very center and one on the outside, so I knew that my 120-cell was going to use that projection and have 1200 edges, so this seemed like a good start. I assumed that I would be able to return to the store once I’d used up my hair ties and buy some more. Unfortunately, what I hadn’t account for was that CVS doesn’t actually restock that quickly. Moreover, since only the innermost edges of the sculpture were a single band length, and I was using a color scheme to keep track of my place in the sculpture, I was going to need way more than 1200 hair ties.

In desperation, I tried hair tie shopping at a different local store, but they didn’t have the same hair bands. I ended up buying out 5 or 6 CVS all across the Bay Area to finally end up with enough hair bands for my sculpture.

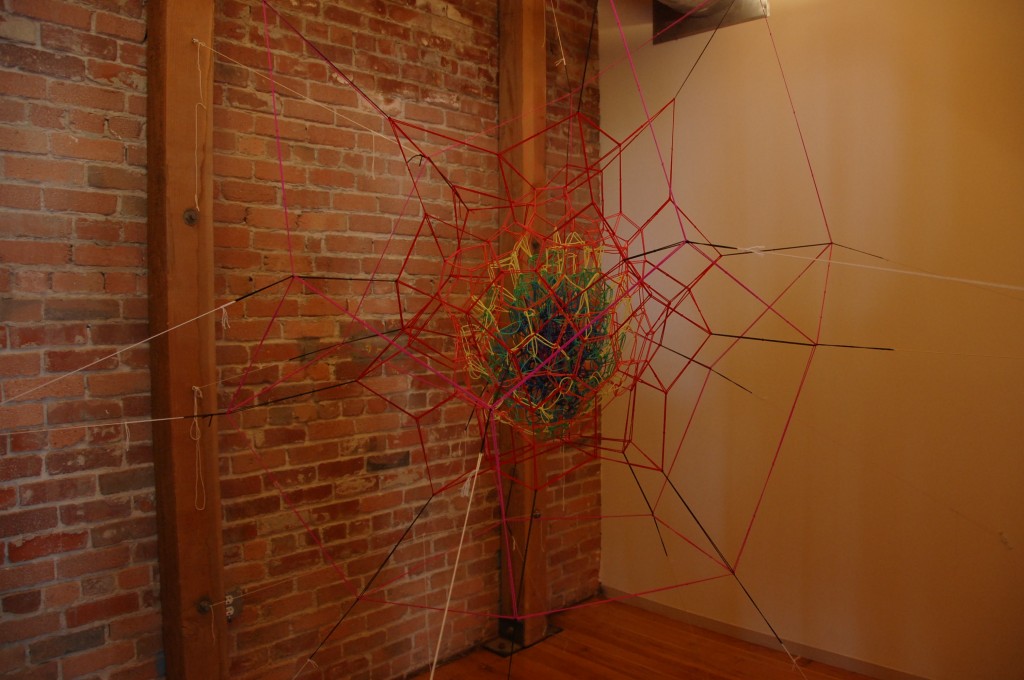
With the structure completed, I ran into a different issue. The sculpture was going to be huge and was going to need to be stretched out from multiple corners. It was probably going to fill a whole room, and I didn’t actually have a spare room handy. Fortunately, my boyfriend had a small extra bedroom in his apartment, and, one weekend we took a bunch of 3M command strips and attached it above the bed, which was awesome, but also a bit strange. This picture was carefully cropped to hide the bed.

120-cell

Not long thereafter we ended up taking the 120-cell down. Above one’s bed just isn’t a good permanent location, and the 120-cell languished in a bag for over a year before I had another opportunity to put it up in a small room in the CDG office.

DSC_9335

Did I mention that the 120-cell is rather large?

Check out this Youtube video to learn more about the hair tie 120-cell.


Hyperbolic airplane skirt

DSC_9476

You might have gathered from my last post that I’ve been doing some sewing lately, and, while nearly all sewing projects require math, it’s probably not surprising that my latest project involved a bit more math than most.

See, a while back, my friend Vi, who is rather fond of hyperbolic geometry (though, aren’t we all?) brought a bunch of awesome airplane fabric to one of our math art get-togethers, with the plan of making the punniest hyperbolic plane quilt.

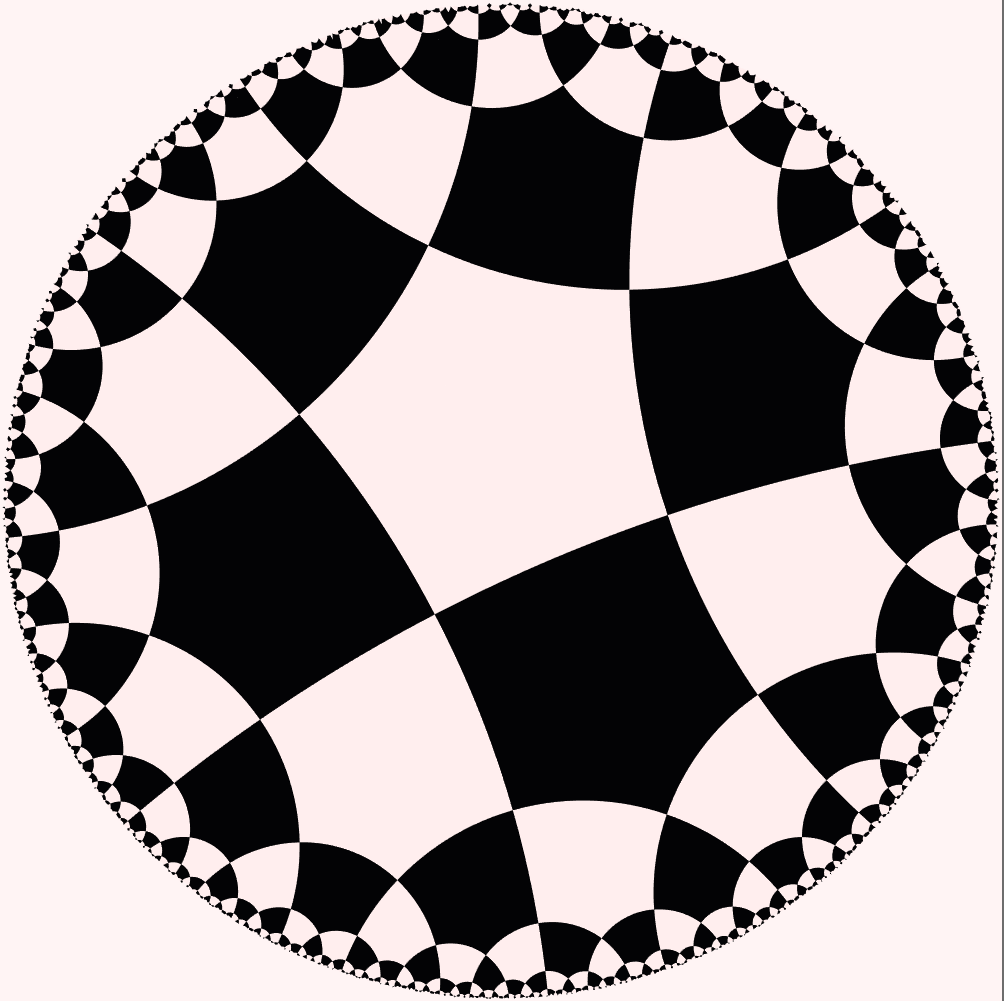
You may already know that the {5, 4} hyperbolic tiling is my favorite (yay! pentagons!), so it’s not surprising that we agreed that the pentagon tiling was the way to go. In particular, the {5, 4} tiling is a regular tiling that checkerboards nicely, has a Gaussian curvature that differs relatively minimally from that of a Euclidean plane compared to other checkerboarding tilings, and requires cutting relatively fewer pieces for the surface area. This makes it a natural choice for a hyperbolic quilt and it is unsurprising that other people who have made hyperbolic quilts appear to have independently made the same choice.

5-4-hyperbolic-checkerboard
{5, 4} Regular Hyperbolic Checkerboard drawn using the Poincaré disk model

Unfortunately, after cutting a number of pentagons, Vi ended up abandoning the project. Some time later, I inherited her fabric, and, while cutting pentagons in a vain attempt to make the quilt longer (hyperbolic space just has way more space than Euclidean space, and tiles required is exponential to the desired radius), it occurred to me that what I really wanted wasn’t a quilt, but a skirt.

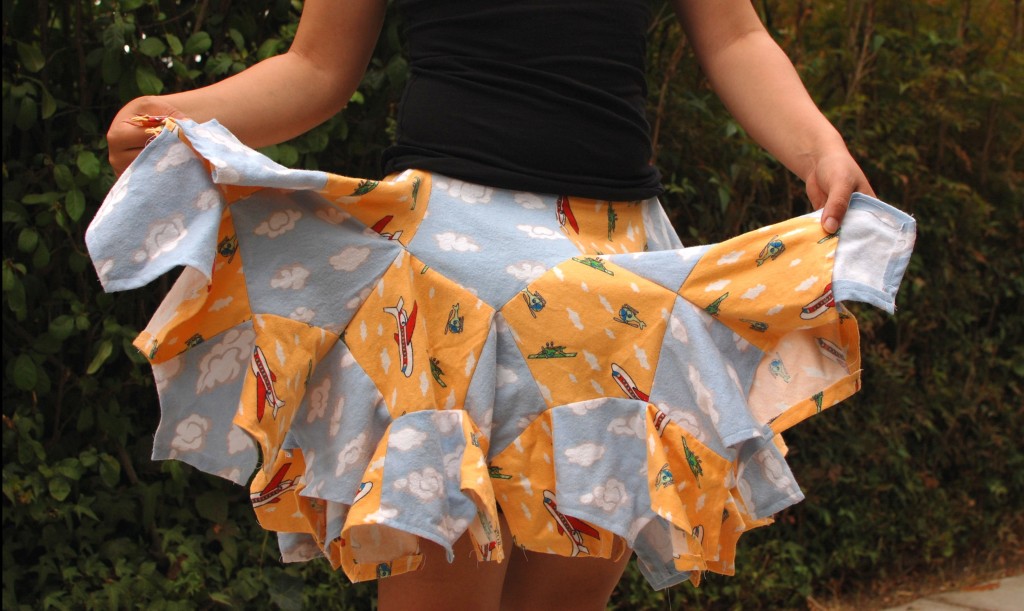
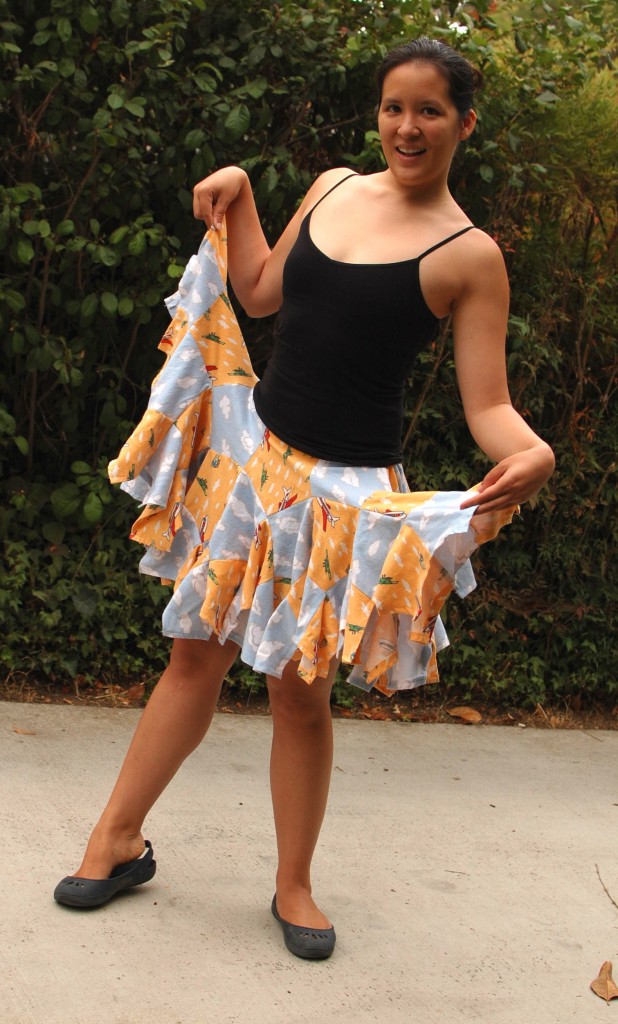
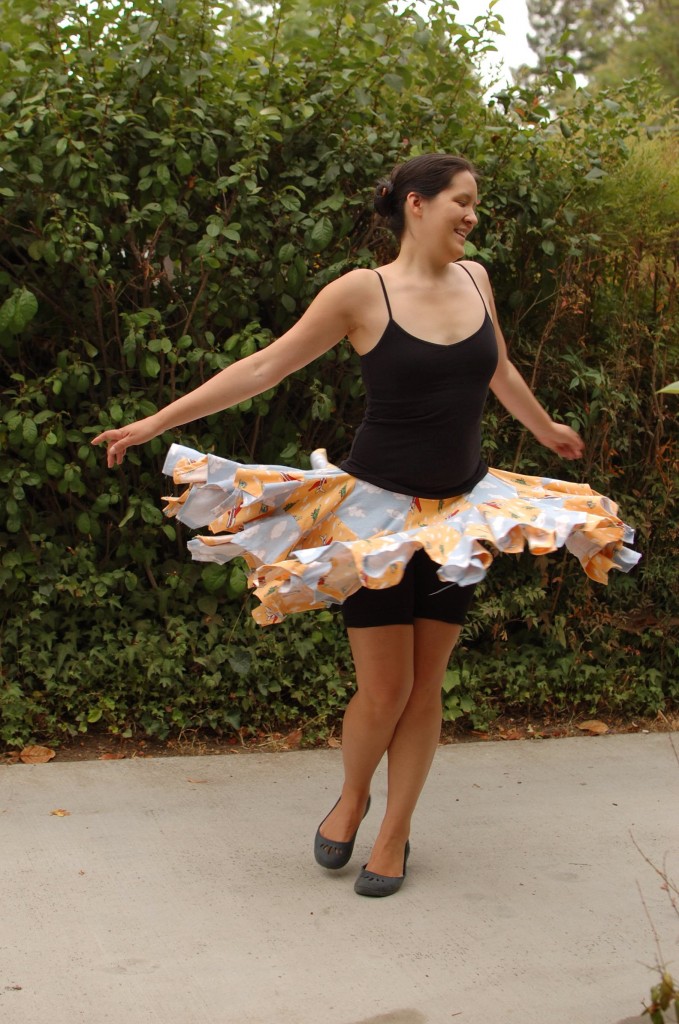
I seam-ripped a hole for the waist, used up nearly all of the fabric making a skirt long enough to actually wear outdoors, and spent a truly ridiculous amount of time hemming to create the worlds first hyperbolic airplane skirt.

DSC_9473

Here are some take aways if you want to try making your own hyperbolic skirt.

  1. It would have been quite useful to have a hyperbolic iron and ironing board
  2. Ditto on hyperbolic fabric. Did you know that pentagons don’t tile the Euclidean plane?
  3. On that note, a tiling of 6 equilateral triangles might use space on the origin fabric better.
  4. Also, you’re going to need a lot of fabric.
  5. Bigger tiles would have made this skirt much easier. Then the waist could have been a single missing pentagon (on my skirt, I just ripped a seam line to make the waist), and I would have needed fewer tiles to achieve the same length.
  6. Be prepared to hem for a really long time. My skirt had 202 pentagon sides worth of hemming along the edge. How fast is that growth? Well, the waist is a slit along 3 pentagons (length 6 around) and if I hemmed after just one layer, the hem would have been 24 sides long. Yeah…

Finally, hyperbolic skirts have the most amazing swoosh. Wheeee!

DSC_9468


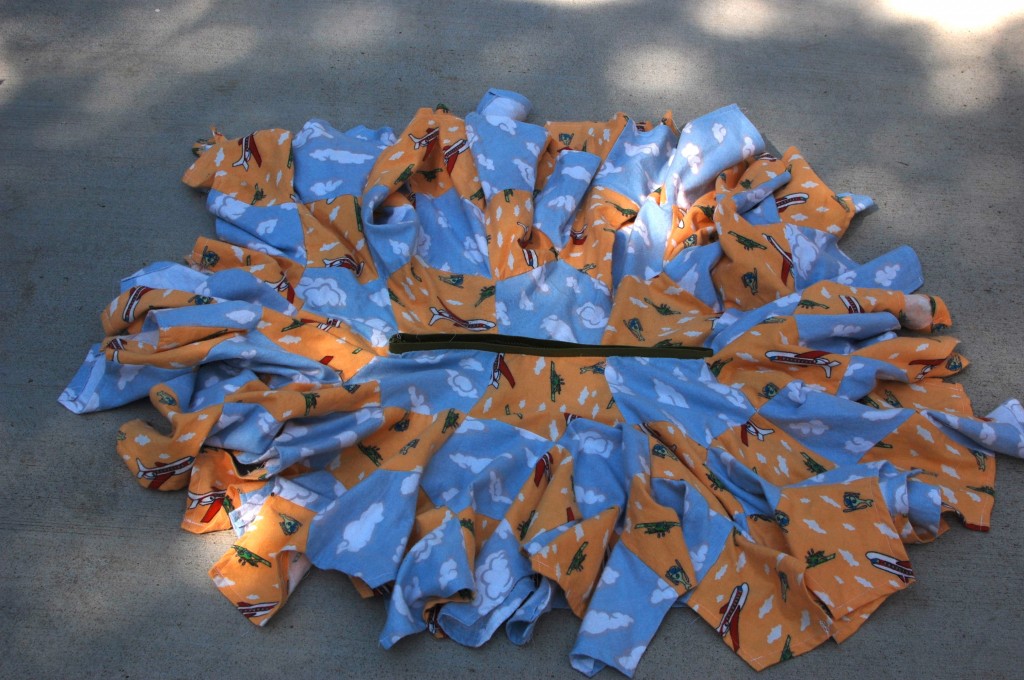
Edit: By request, here are some extra pictures and sewing tips. Lighting conditions were different, so the skirt looks a bit more vibrant in these pictures.

DSC_9481

The waistline is literally just a slit in the hyperbolic plane that happens to be the right size for my waist. When the dress is laid flat like this, with the waist closed, you get a nearly seamless hyperbolic plane. I added some green elastic (to match the airplanes!) for the waistband.

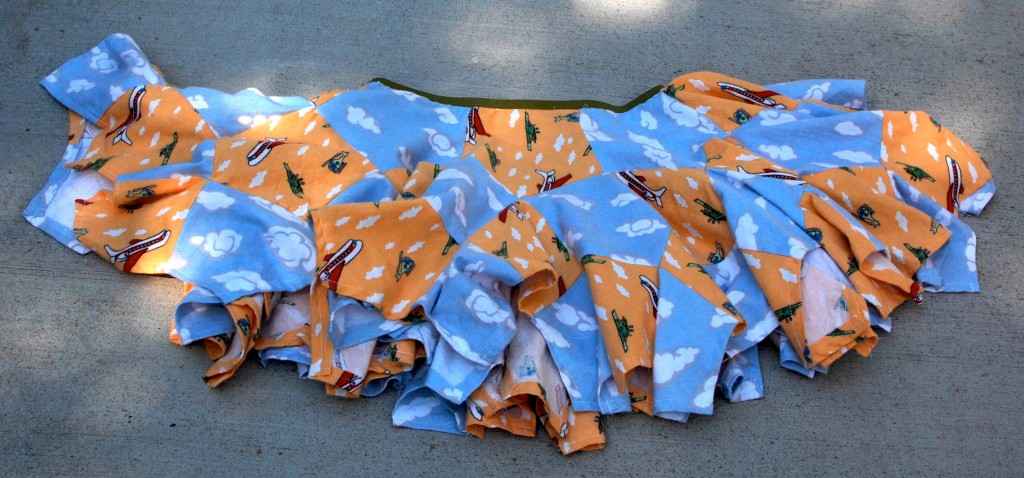
DSC_9480The skirt has two lines of reflectional symmetry – the front and back are the same, as well as the right and the left. Towards the end, I folded the skirt into quarters along the lines of symmetry and carefully made sure that they were really lines of symmetry.

I generally sewed two or three patches together, then sewed groups of patches onto the skirt. Sewing on groups of patches let me avoid having to sew corners – instead each patch set could be added as a roughly straight line.

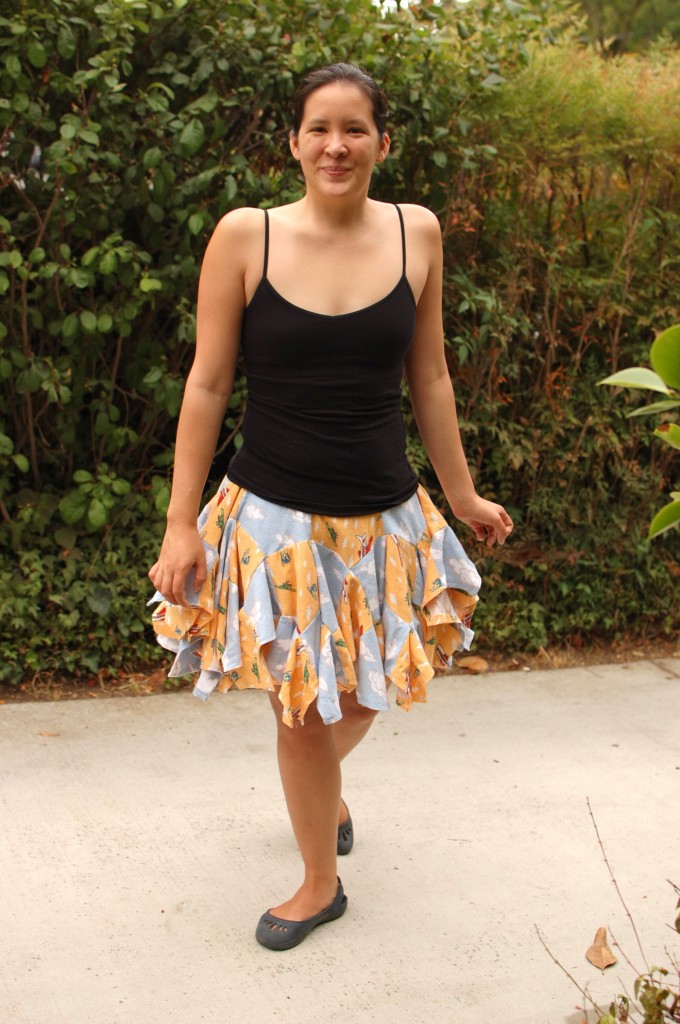
Finally, here is what the skirt looks like when not being held out or whirled:

DSC_9460


Musings on an “unseamly” dislike of mathematics

I run into a lot of people who tell me that they don’t like math. It seems to be “cool” to claim that you dislike math (a result, I suspect, of the tedious and uninspiring way it is often taught in schools), and a lot of the things I do and write are intended to stimulate the realization that math is awesome and appears naturally in practically everything.

  • Proportions in food? Math
  • Movement of people on a dance floor? Math
  • Folding a sheet of paper? Lots of math

These are all things where the math is *already there*. It just needs to be pointed out.

But the fundamental, required math in some things, like sewing, is so obvious that it would seem like it shouldn’t require a discerning eye to notice it.

Which is why I was taken aback when I met a professional clothing and sewing pattern designer who promptly informed me that she “doesn’t like math” when I mentioned what I do for a living. “But, doesn’t sewing require a lot of math?”

“It does. But I only like sewing math, not regular math.”

I designed and stitched up this outfit over the weekend. Trust me, there was math involved.

I didn’t get a chance to delve into this deeper, but I really wish I had because being good at the math involved in sewing is an awful lot like being good at the basic math that is taught is school, and, simultaneously, actually understanding how useful it is.

Off the top of my head, designing and adjusting sewing patterns requires a fairly good understanding of arithmetic, fractions (notorious for being the place where math loses people), geometry (including lots of circles!), and algebra. My best guess is that a lot of people learn the math required for sewing in a way that is more intuitive and immediately applicable and understandable than the math that is taught in schools. But it still seems odd to me that they would partition those math skills off as being something “different” and “more likable” than, well, math.

I do also wonder if the dislike of math is somehow trendy, or if there are gender norms involved. Seamstresses are traditionally female, while mathematicians are traditionally male. I, personally, went to school in a district where top students would turn down positions on the Mathcounts team because “girls don’t do math”. It would not be a difficult stretch to imagine those girls turning into women with real math skills who enjoy sewing, but have an aversion towards “mathematics”.

Have you ever met anyone who disliked math even when it seemed like they really ought to like it? Do you dislike math or have your own theories as to why someone might? I would love to get other peoples insights into this.

A Pipe Cleaner Palooza

Continuing on the theme of creating mathematical art from everyday materials, this week we explore pipe cleaner creations. While pipe cleaners were originally developed to clean pipes and are even still regularly used for this functionality, I have pretty much only seen the colorful varieties sold as a craft supplies.

I can’t really claim to be a master of mathematical pipe cleaner sculpting. That award must surely go to Trevor and Ryan Oakes whose hyperbolic masterpieces are currently on exhibit the Museum of Mathematics in NYC.

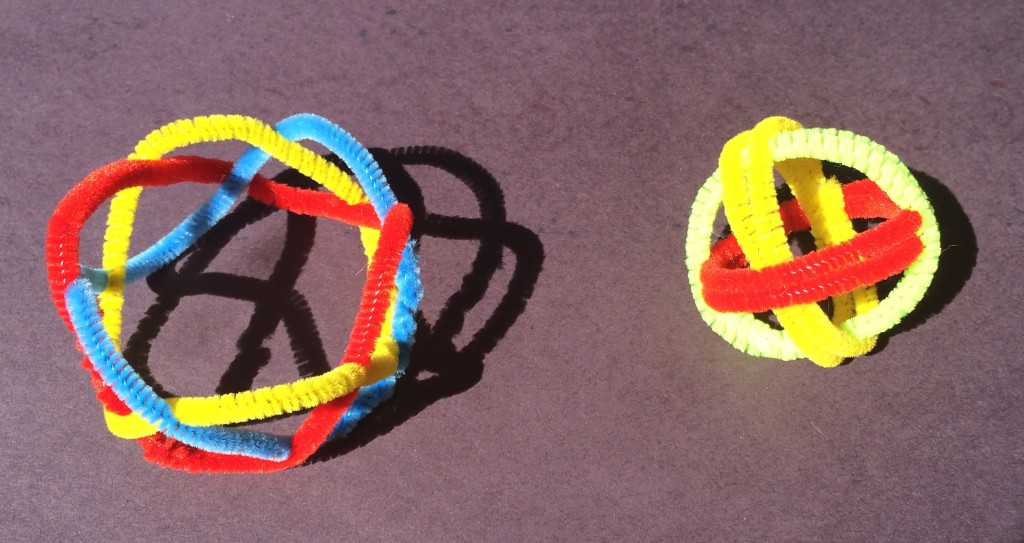
Indeed, pipe cleaners are such a ubiquitous crafting supply that I’m sure nearly every mathematical artist has doodled with them a bit. George Hart has a lovely page about creating woven pipe cleaner spheres. And, indeed, pipe cleaners are fantastic for adding instant stiffness to knot and weaving structures that would otherwise just look like a tangle of thread. The Borromean rings and a 3-strand round braid are both Brunnian links, and pipe cleaners have the stiffness and flexibility to make this easy to identify.

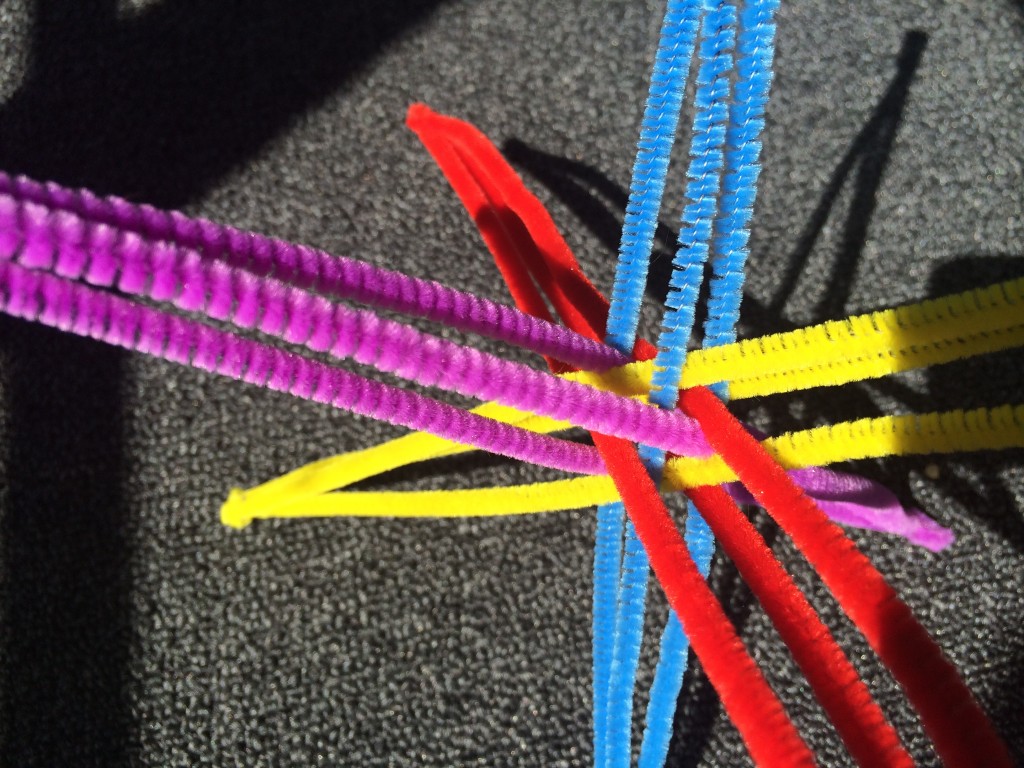
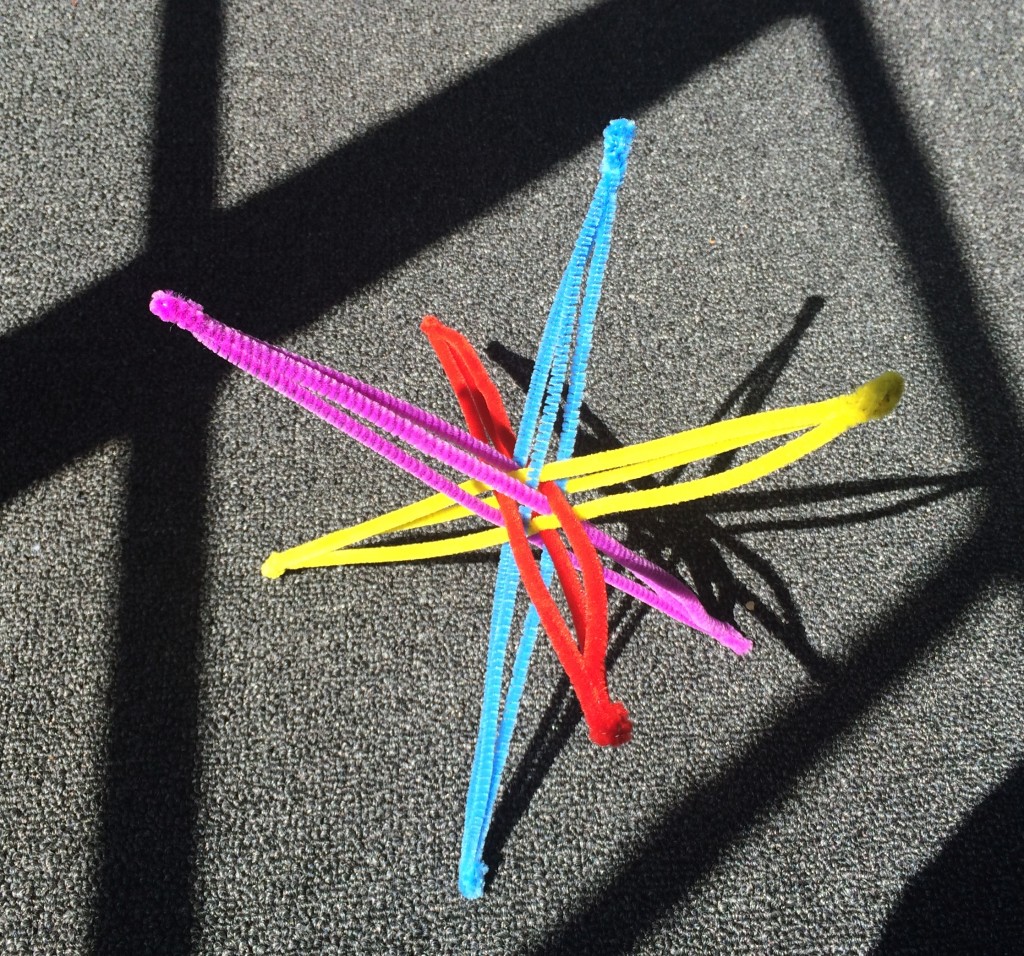
photo 5Colorful pipecleaners also let you create pretty geometric star sculptures. This 4-axis star is a make-at-home version of the stars developed by John Kostick and, independently, Akio Huzime. This star has 8 points and octahedral symmetry. As you can see from John and Akio’s websites, many other stars based on other symmetries are possible. If you too have a plethora of pipe cleaners, you might consider trying to create some of them yourself.

photo 2

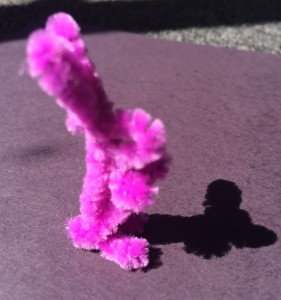
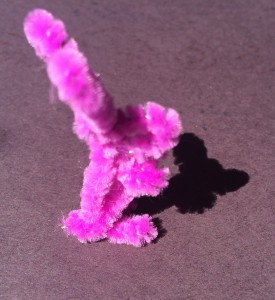
Finally, on an entirely non-mathematical note: Bunny!!!

photo 5 (1) photo 4 (1) photo 3 (1)


Fibonacci Lemonade

How would one make mathematical cuisine? Not just food that looks mathematical (like math cookies), but something that you truly have to eat and taste in order to experience its mathematical nature.

Henry Segerman proposed this question, and today we had our first experience tasting the answer. A masterpiece of mathematical art, the answer I came up with is simple enough that anyone can make it at home, surprisingly visually beautiful, delicious…

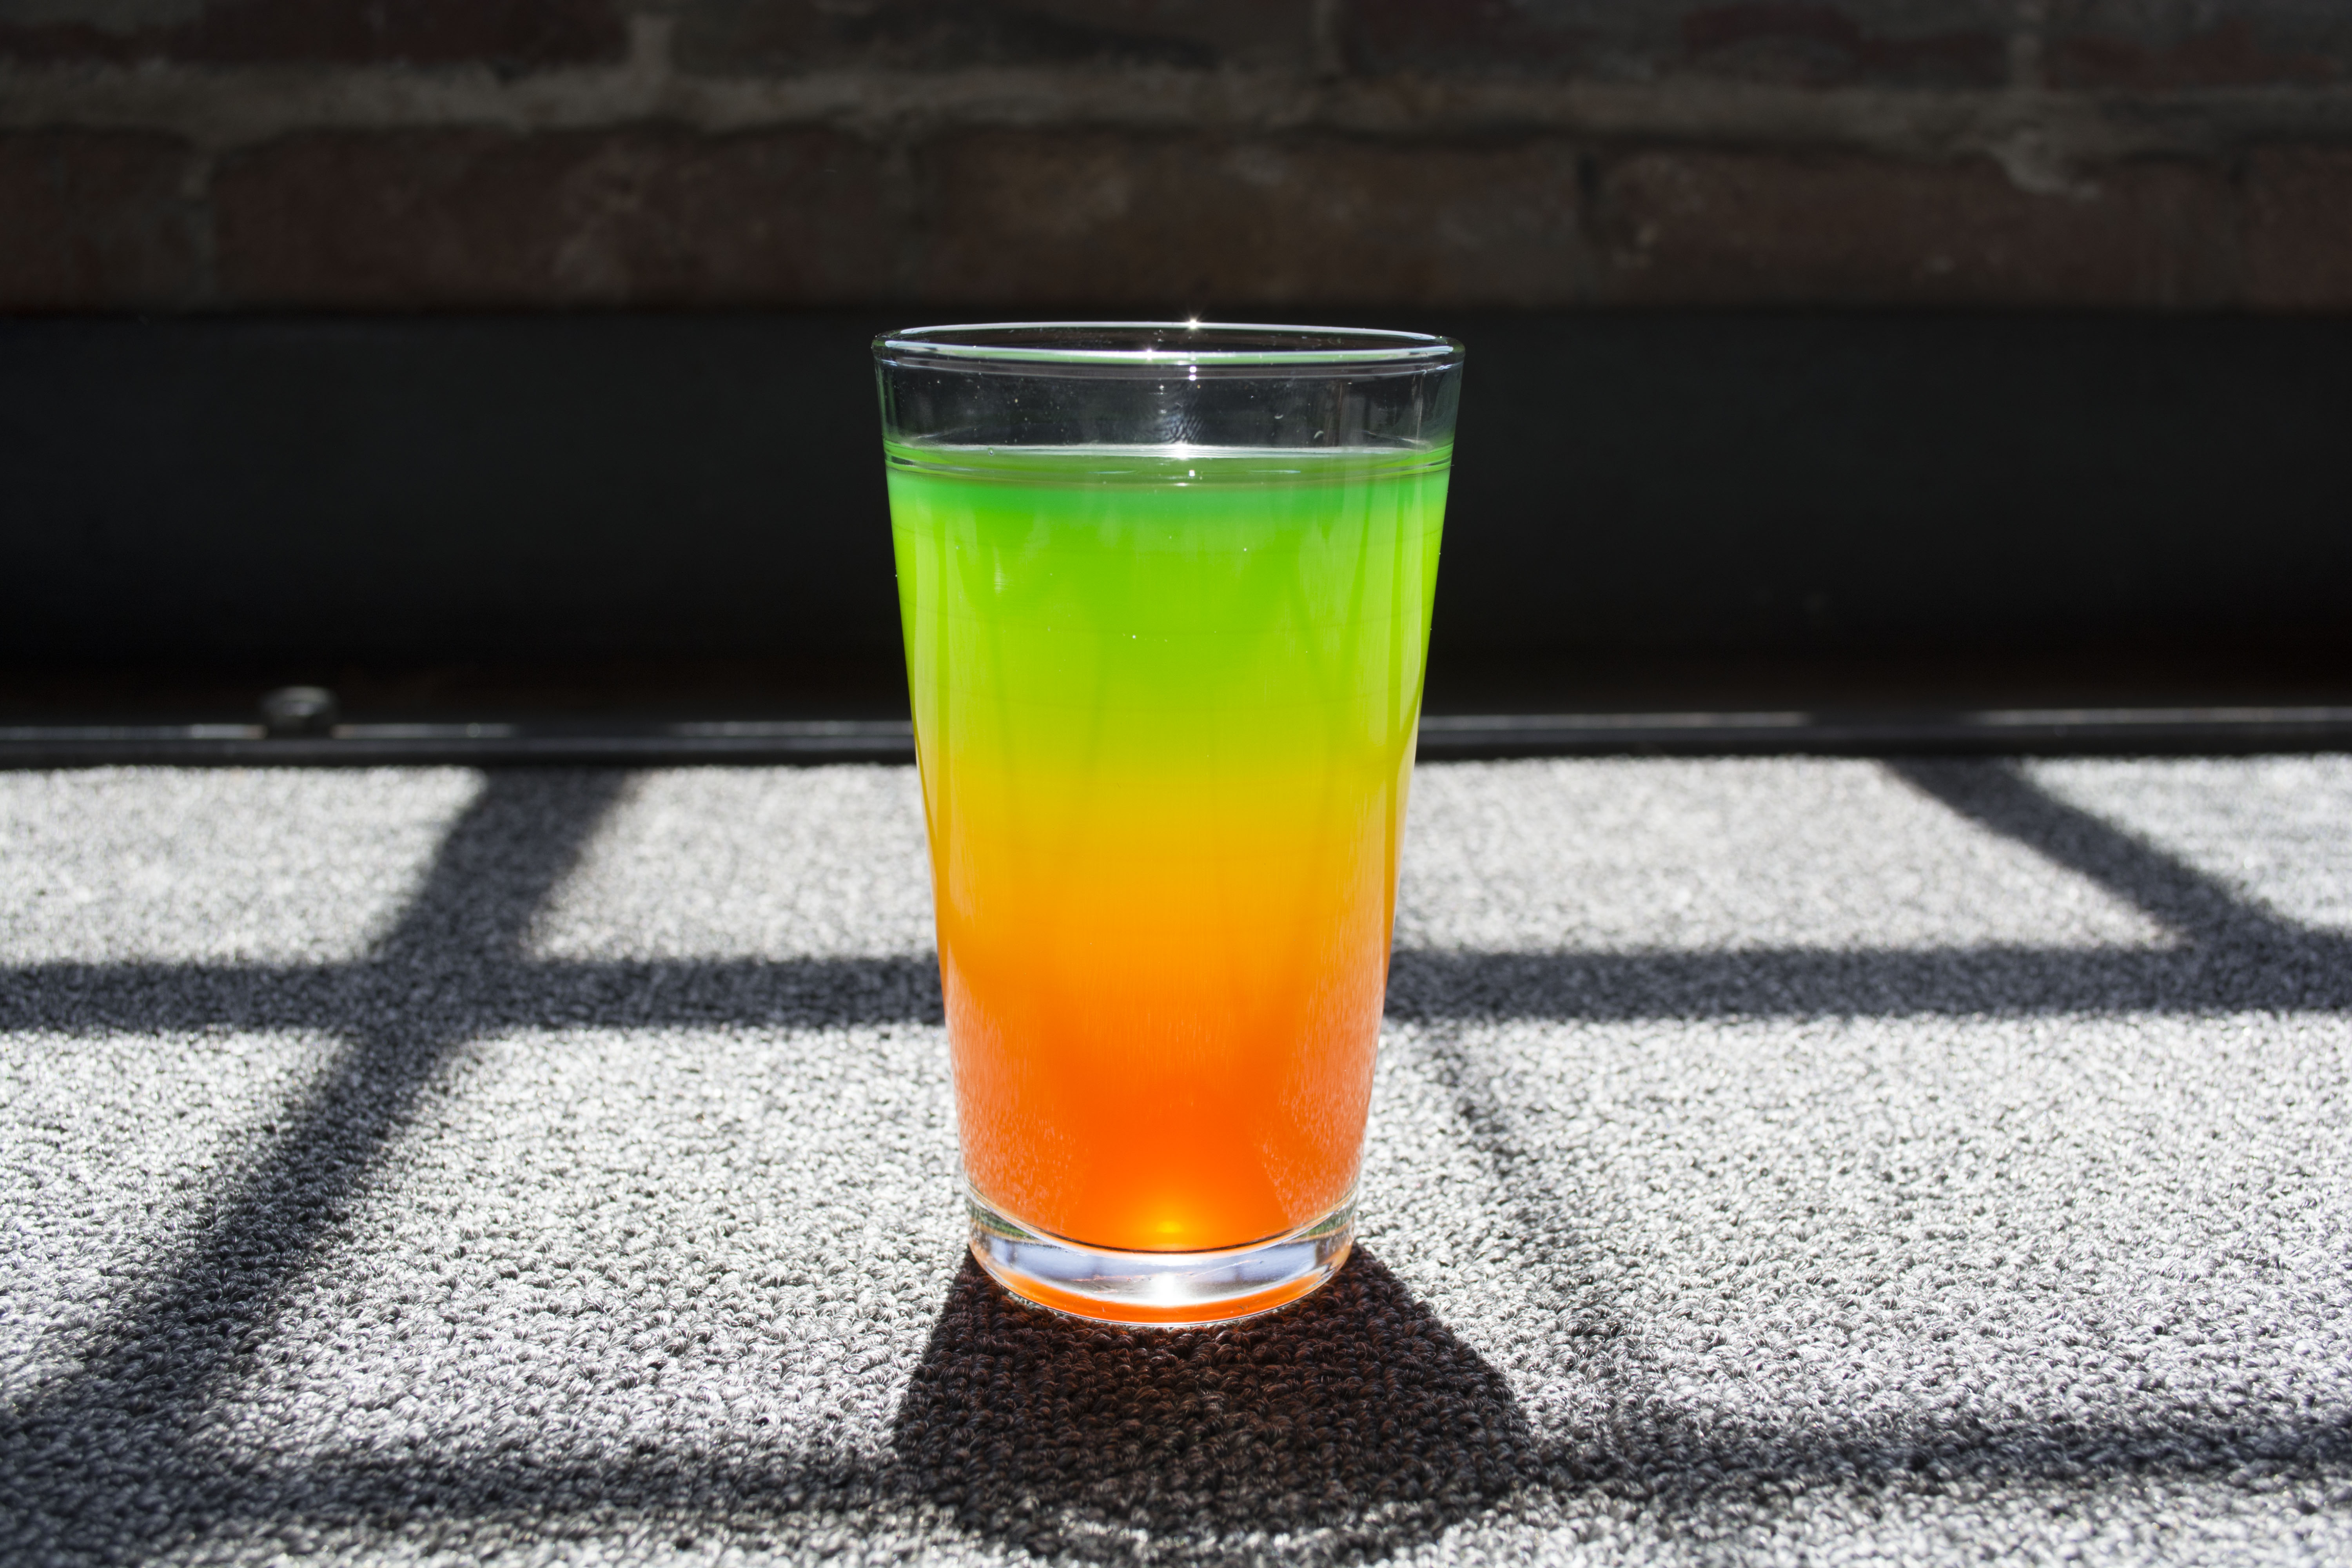
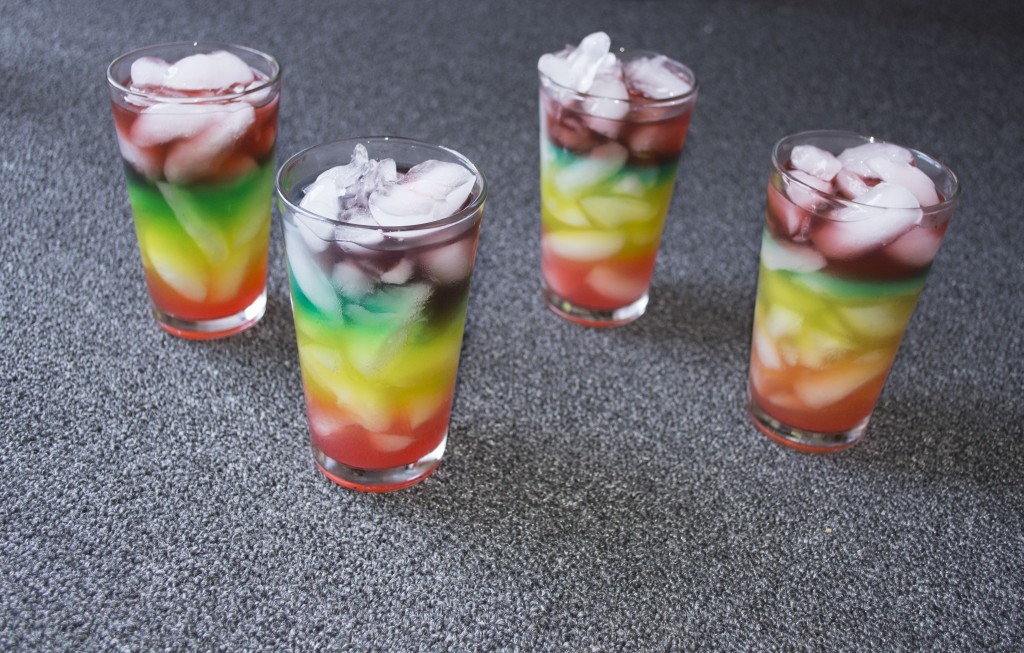
Layered Drinks!

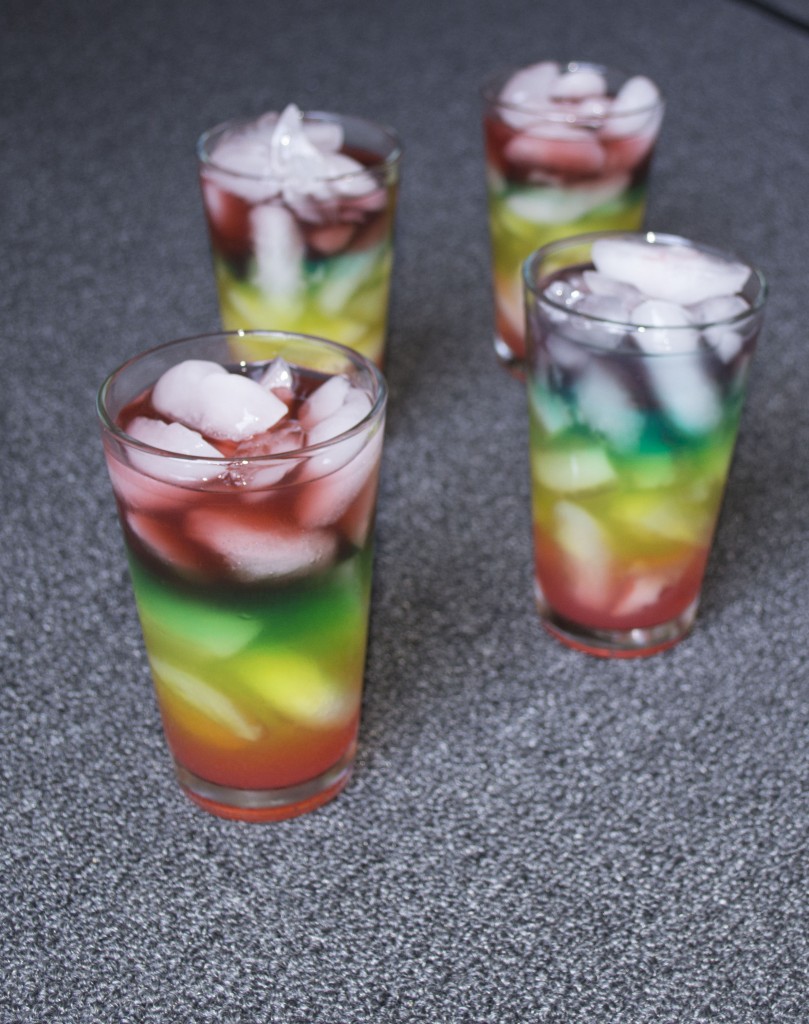
fibDrinkIce

Not just any layered drinks, of course. In our layered lemonade, the intensity of flavors as you go down the layers increases exponentially. The sugar and lemon juice proportions for the same quantity of liquid increase according to the Fibonacci sequence. The sweeter layers are denser and naturally keep separated lower down. Indeed, the nature of layered drinks is that they are monotonically increasing in sweetness (and/or decreasing in alcohol). Thus, there is an intrinsic mathematical property to all layered drinks.

Additionally, the ratio of sugar to lemon juice in our lemonade isn’t constant. The top layer of our drink is 1 part lemon, while the second layer is 1 part sugar syrup. Following the Fibonacci rule, each subsequent layer has proportions that are the sum of the previous two layers proportions.

Layer 3 is 1 part lemon, 1 part sugar. Layer 4 is 1 part lemon, 2 parts sugar, and so on.

Generically, for layer n > 2, there are fib(n-1) parts sugar and fib(n-2) parts lemon juice. These are adjacent Fibonacci numbers, so as the drink is consumed the ratio of lemon to sugar approximates the Golden Ratio. This drink may be the worlds first tastable example of the relationship between the Fibonacci sequence and the golden ratio!

Surprisingly, using golden ratio relative proportions of lemon juice and simple syrup actually seems to make rather good lemonade. When consumed, the beverage starts out fairly flavorless, then rapidly ramps up. It also alternates between being a bit sweet to being slightly sour (of course this is a matter of personal taste), as the approximation of the golden ratio alternates between being slightly high and slightly low.

You too can make Fibonacci lemonade and experience the taste of exponential flavor, the golden ratio, and the Fibonacci sequence. Just follow the recipe below!

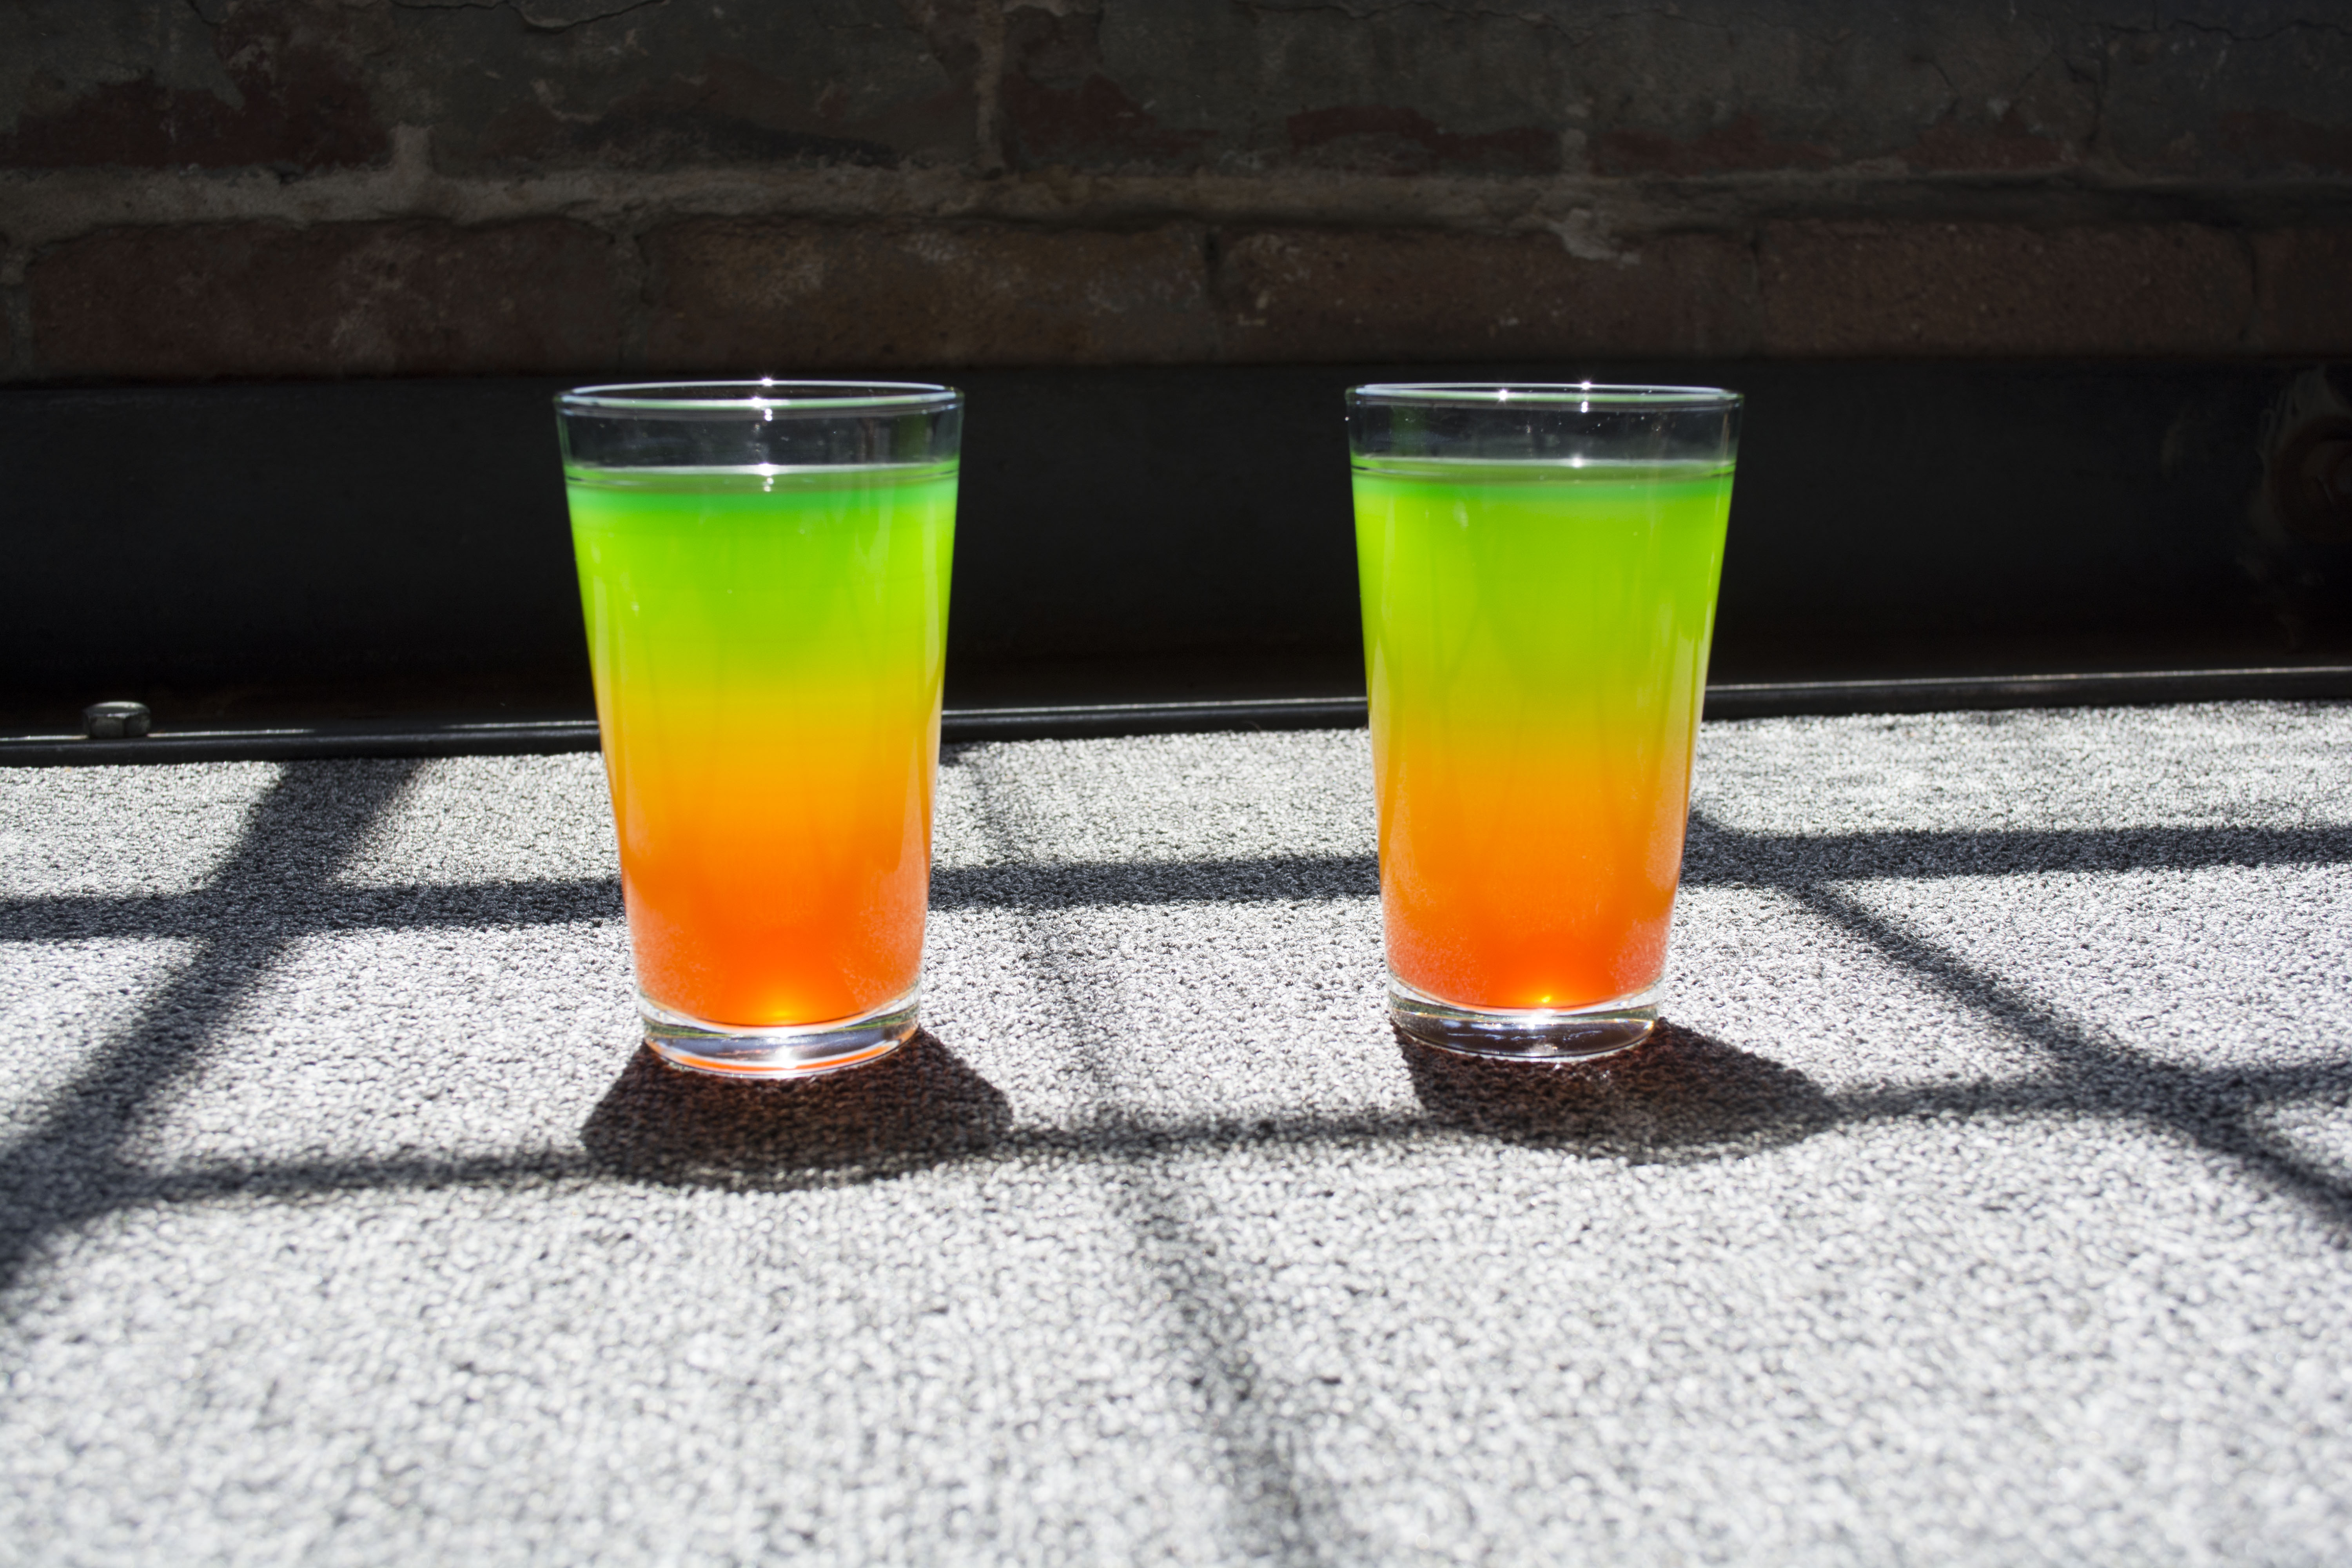
fibDrinkIce2

Ingredients and Materials:

Lemon Juice
SImple Syrup (1 cup sugar dissolved in 1 cup water)
Water
Food Coloring (optional but makes it pretty)
Ice or a spoon for slow pouring (the ice free strategy is much harder)

The Method

You must start with the sweetest and densest layer and work your way backwards up the drink. I describe the layers for a 7 layer drink below, although you may choose to make a different number of layers to start. The drink could also be made without the first layer, in which case it is neatly just two offset increasing Fibonacci sequences, one per ingredient.

First, fill your glasses with ice. Then, do the following steps for each layer. Finally, sip your mathematical masterpiece.

  1. Add the proportions of lemon juice and simple syrup indicated below to your liquid measuring cup.
  2. Add food coloring if desired.
  3. Fill measuring cup to the 4 oz. (1/2 cup) line.
  4. Stir to blend all ingredients in your measuring cup.
  5. Slowly pour a layer from your measuring cup into your drink glasses. You want to pour directly onto an ice cube, the ice cubes are there to slow down your liquid as it goes down the cup and to help keep the layers distinct. (You can pour the first layer normally)

The Layers

  1. 1 tsp. lemon juice
  2. 1 tsp. simple syrup
  3. 1 tsp. lemon juice, 1 tsp. simple syrup
  4. 1 tsp. lemon juice, 2 tsp. simple syrup
  5. 2 tsp. lemon juice, 3 tsp. simple syrup
  6. 3 tsp. lemon juice, 5 tsp. simple syrup
  7. 5 tsp. lemon juice, 8 tsp. simple syrup

Tips

  • Many simple syrups are 2 parts sugar to 1 part water. If yours is like this, halve the amount of sugar you are using (or it will probably be far too sweet).
  • For a more authentic, less watered down experience, you need to make your drinks without ice. This is much harder, and I don’t actually recommend it unless you are patient or really know what you are doing. You can find directions for layering without ice here